Neck Coolers

For this project you will need:
A sewing machine (but any kind will do--just a straight stitch--nothing fancy)
cotton fabric and coordinating thread
A sharp scissors (and/or a rotary cutter)
a measuring tape
pins
I started by picking some fabrics out of my stash, but you could buy a yard at the fabric store and make 9 neck coolers with it. I cut my fabric 4 inches the whole width of the fabric (usually 45 inches). If you were making coolers for someone who's petite or for kids, you probably wouldn't need to cut them as long. You should prewash your fabric before you make your neck coolers. The fabric gets softer, and you won't have to worry as much about possible color bleeding.

I used my rotary cutter to cut several strips of fabric (I mean if I'm going to be dragging out the sewing machine, I might as well make a bunch). You could easily mark off four inches with a ruler and cut with a regular scissors.

After your strips are cut (and washed), fold them in half so the top is on the inside and the back is showing. I ironed them so that I wouldn't have to bother with pins for this step. Then go ahead and sew a straight line along the open edge. I used the tightest straight stitch on my little simple sewing machine (it's like the kind you buy for a preteen to learn to sew on--it's about as simple as it gets). Then use the presser foot as your guide for the seam allowance. Then comes the most tedious and hardest part of this whole project--turning those tubes back out to the right side. I don't own a Loop Turner (I have a tiny sewing machine--so I don't have all the fancy tools), but I hear those help a bit. I turned a couple of them while watching TV, and set forth for the next step. [Update! Hubby helped figure out a good way to turn these inside out using a dowel and a push pin. Check it out here.]

Fold your tube in half to find the center. Mark it with a pin. Then top stitch a straight line in that spot. I went over each line twice to make it good and durable. Then unfold your tube (that now has a stitch in the center, and pour 1/4 tsp of Water Crystals down one of the sides of the tubes. It doesn't seem like much, but they expand to fill it--I promise, you don't need more. Which means that I could make a gazillion of these coolers with that bag of water crystals (which isn't that big--remember, tiny sewing machine).
Note: Different brands of crystals may expand differently. If you're using something other than Miracle Gro crystals to make these coolers, you may want to do a test with a quarter teaspoon to see how much they expand.

Shake your crystals down so they are all situated next to the line you stitched. Then measure 4 inches and stitch another line. Pour another 1/4 tsp down the tube, shake, and measure 4 inches and stitch that section closed. Then move to the other side and repeat. You'll end up with 4-4 inch sections stitched into your tube--each with 1/4 tsp of water crystals (so 1 tsp for the whole neck cooler).
These sections help the neck cooler to bend and keep the crystals from clumping up in areas. You may want to adjust the size of the sections a bit if you're making a smaller one for kids.

This photo below is of a 36 inch neck cooler I made from a fat quarter (cut two 4 inch wide pieces the width of the quarter, so 18 inches long, and sew them together to make a 36 inch long cooler). The contrasting thread makes it a bit easier to see the 4-4inch sections sewn into the cooler (click the image to make it larger).

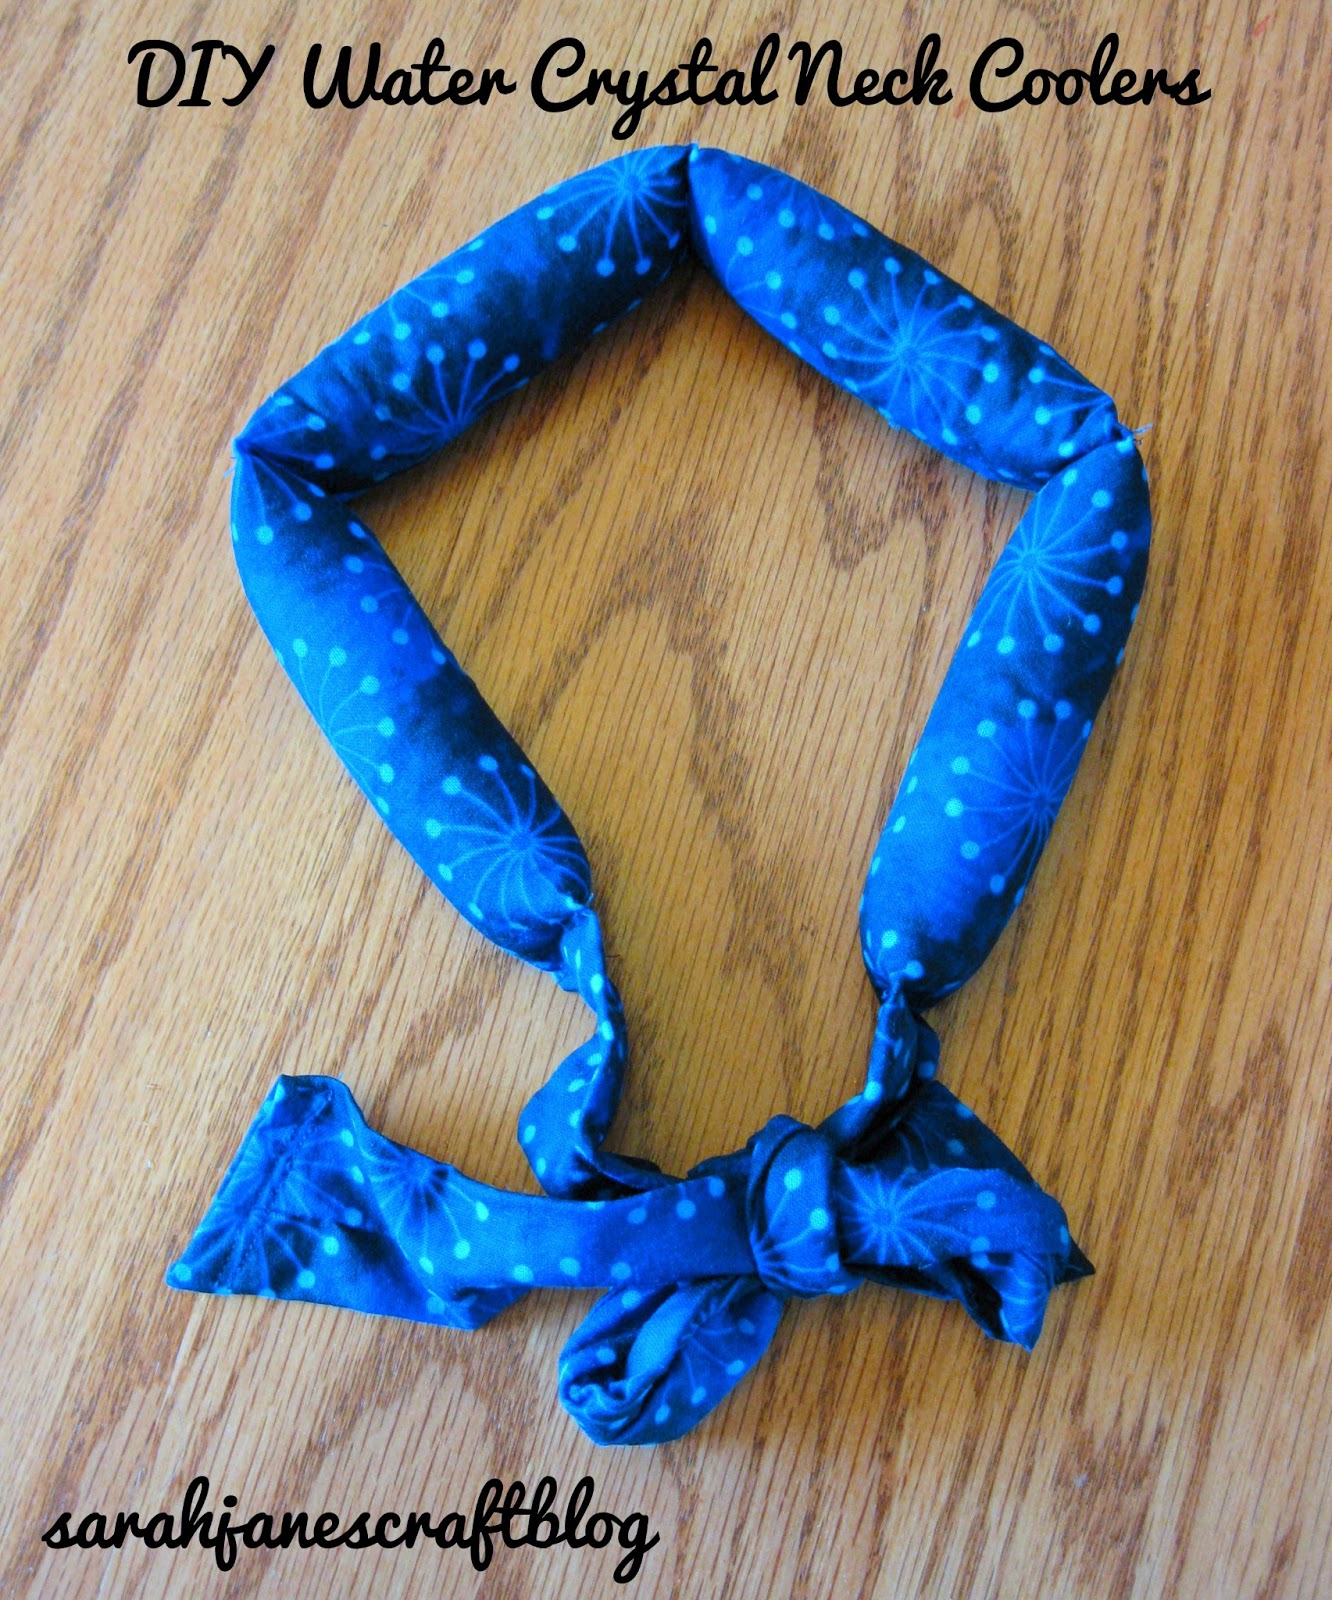
Then when you're all finished with the crystals and the sections, tuck the ends of your tube in and top stitch them to finish the neck cooler off. I did the blue one below at an angle and the starry printed one in a straight line. I like the angled finish better and will probably use it for the rest of my neck coolers.

They don't look like much when they are dry--which means they are super easy to store in a camper or drawer at home. Then when you need them, toss them in a sink or bowl filled with water.

After ten minutes they looked like the photo below--and they continued to plump after that (see photo at the bottom of post). So allow atleast 20 minutes of soaking time for full effect. Then toss them in a zip top bag in your cooler or fridge to cool them off even more.

With the investment of a $7.99 bag of water crystals, I can make neck coolers for everyone I know and still have some crystals left for my potted plants. :)
Update: We wore our first batch while doing yard work and they worked fantastically! They stayed cool for hours, and they stay plump for days! It amazingly took about 10 days before they dried out enough to be stored flat again.
Update 2015: I'm still using the same set pictured, they dry out and re-plump with a soaking like the first day we used them.


I have a question, can you wash these after they have absorbed all that sweat, and can you wring all the water out or do they drip
ReplyDeleteHand wash only with liquid dish detergent. I use Dawn most of the time, but you can use any brand. Line dry.
DeleteThey drip a bit right after you soak them, but the crystals really do hold onto most of the water. A quick ringing or just letting them set for a while before wearing (like in the fridge or cooler) should take care of most of the dripping.
ReplyDeleteI would suggest hand washing them, but I honestly haven't tried tossing them in the washer on gentle. They'd obviously take on water, but I don't know how they'd hold up.
I accidentally washed mine. I found it after it went thru the dryer. It held up fine, but it wasn't as plump as it started out. So you will loose some of the crystals.
ReplyDeleteYeah, I'm just afraid one would break open in the wash and you'd be trying to pick little crystals out of everything! :)
ReplyDeleteI received one where I worked in 2006. It was a hot summer and the plant was not air conditioned. Everyone found they made a big difference. I bought the crystals so I could make my own.
ReplyDeleteI have never put mine in the washer but if I did, I would tie them in a sock. That way the crystals wouldn't spill out if the cooler broke :)
That's a great idea! Just make sure it's a sock with a tight weave. :)
DeleteHi . Just a quick question. I made mine with water crystals and they started going through the cotton once swollen. 1/4 of a spoon in 4 pockets. Any one know . I will get some miracle grow crystals tomorrow to see if it makes a difference.
ReplyDeleteI heard if you use too many crystals, they will push through the fabric. Different brands swell differently. The ones i use require far less. I use 1/2 a tsp total and it's almost too much.
DeleteGreat point! Other brands may expand differently. I added a note to the article.
DeleteDid the crystals have any type of chemicals on them I wanna make some for my 6 yr old baseball player,
ReplyDeleteThanks,
Jenny
Similar crystals are used in diapers, so my guess is that they are fairly safe, but do your own research into superabsorbent polymers to be sure it's right for you.
DeleteThankyou for this post. Living in Western Australia one of these would be fabulous. I don't think I could get away with making just 1 or 2, cause friends of friends would soon want one as well. Thanks again.
ReplyDeleteSo glad you stopped by the blog! Good luck making your neck coolers!
DeleteI have reviewed several post about how to make these. Your's is by far the best.
ReplyDeleteThanks! I hope your neck coolers turn out great!
DeleteI'm confused about the measurements. How do you get 4-4 inch pockets out of a 4 inch piece of fabric. In the 36inch sample you sewed 2 -4 inch pieces of fabric together and got 4-4inch pockets sewn down for the crystals?
ReplyDeleteDid I read it too fast?
The 36 inch sample is from a fat quarter which is 18 inches wide. I cut a strip that was 4 inches by 18 inches and sewed it together to create a strip that was 4 inches wide by 36 inches long. Whether I used a fat quarter or a (4-inch wide) strip from a standard bolt of cotton fabric, I stitched it into a tube, then found the center and stitched across it. Then I made two 4 inch pockets on either side of the center stitch that got the crystals put in them. I hope that answers your question.
DeleteI had one of these for many years and loved it! You don't need to wash it, every time I put it in water I gave it a swish around to rinse it. It never smelled or looked dirty. I lost mine last year and I miss it so much! I am so excited about your blog, I am going to make another one. Thank you so much!!!
ReplyDeleteYes, just a rinse is usually enough! Thanks for stopping by the blog!
DeleteI have had mine for years and they finally stopped soaking up water. So glad I found this post so I can make new ones
ReplyDeleteMine are still going strong! Hope the new ones turn out great!
DeleteCan you freeze them?
ReplyDeleteI haven't tried it. I've put them in the fridge (and coolers) with no issues, though.
DeleteCarrie, I've accidentally froze some of the water beads in the back of my fridge. So far they're thawing out and not mushy and they didn't burst either. I was having issues finding water crystals but I came across some Squoosh-O's water beads, 14oz jar that I got from Walmart for $8. They remind me of Orbees. They seem pretty sturdy.
DeleteI want to make some neck coolers. I bought alot but want to make for friends & family. Im just confused is there a better size of crystals to use. I really don't want to take mine apart to check. Thanks everyone
ReplyDeleteI don't think the size of the crystal matters, but different brands do take on water differently. If you've already made the neck cooler, soak it in water for an hour and see what it looks like. If the sections don't look full, you'll need to add a bit more to your next ones. If they are so plump it looks like the seams will burst, it's too much crystal. Good luck!
DeleteJust found this! I manage a greenhouse in southern Iowa. Heat & humidity can be awful. I will be making these for my crew for next season. Maybe even put some out for customers to buy!
ReplyDeleteFantastic! I hope your neck coolers turn out great!
DeleteCrystals are not good for plumbing. I would handwash
ReplyDeleteThat's an excellent point.
DeleteI hydrated my crystals first and then inserted into the fabric tube.
ReplyDeleteInteresting...you'd definitely know how much you had that way.
DeleteDo these work in humid weather?
ReplyDeleteYes. But they work even better when the moisture can evaporate instead of heating up on your skin.
DeleteI made some of these. Do you think I could add a drop of citronella to the outside to keep mosquitoes off?
ReplyDeleteMight be worth a shot. Just make sure the citronella is safe for skin contact.
Delete