Posts

Showing posts from July, 2020

Most Popular Blog Posts

Image
While I'm finishing up a few craft projects this week, check out Sarah Jane's Craft Blog's Most Popular projects: Most Popular Post Collection .

Modified Olson Mask Tutorial

Image
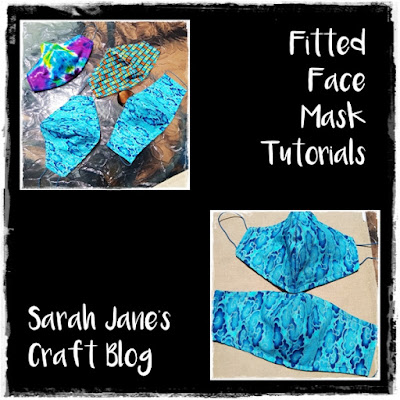
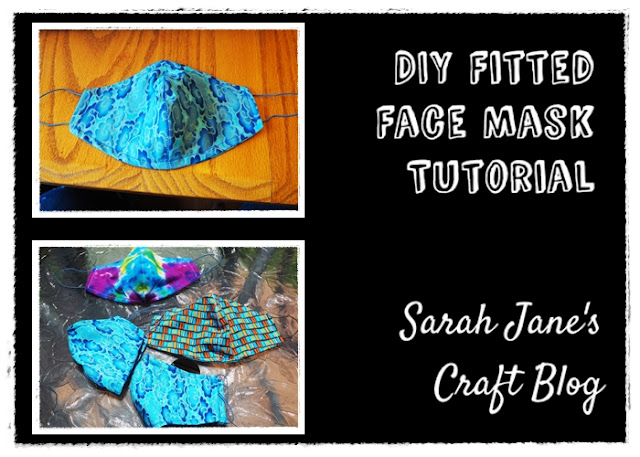
When the pandemic started, I did a little research and found a pattern from a local hospital to make some masks. Those masks turned out well, but took quite a while to put together and sometimes felt a bit small. So, when I realized I would need to make more masks, I went looking for another pattern. There is no shortage of face mask patterns out there these days. So I found a new mask pattern , but when I did, I realized I could easily modify the old Olson mask pattern to sew up more quickly and keep it's shape better. So, earlier this week I showed you how I made the new pattern . A the same time, I cut out the front face piece from the old Olson mask pattern so that I could try a more streamlined version. I cut out 4 pieces from one of the front pattern pieces (on the right). Then I placed two pieces of fabric right sides together and stitched the curved seam that runs from nose to chin. Then I repeated the process with the other two pieces o

DIY Fitted Face Mask

Image
Towards the beginning of the pandemic, I made some face masks to wear when going to the grocery store. They turned out pretty well, but as this crisis has continued, it became clear that we would need more masks. So, I set out to find a pattern that I could sew more quickly and that fit a bit better. I wanted one that was a little bit longer from nose to chin than the Olson mask I made last time so I felt comfortable talking while wearing it and wouldn’t worry about it slipping off my nose or chin. I also wanted a pattern that had fewer steps to sew so I could crank out a few in a sitting. As I was searching online, I came across a pattern from Made by Barb that seemed to do the trick. I made a test mask and found that it was actually a bit big. after the first mask, I cut the bottom of the pattern off at the seam allowance line on the paper pattern to make it a quarter of an inch shorter. Everyone's face is a bit different, so when you find a pattern that seems clos

Dripped and Flamed Alcohol Ink Candle Holders

Image
I found a couple of candle holders from the dollar store in my craft stash and decided it would be fun to do some flamed ink. I hadn't done a flamed project in a while, so I got out my inking supplies and got started. I laid out my craft mats and some blue and green alcohol inks along with a sheet pan covered in tinfoil. The craft mats are heat resistant and protect the table from ink. Then a place cork trivet under the sheet pan just in case it gets hot (it usually doesn't get too hot, but it does help make it easier to turn the tray so you can see all the sides of what you're inking). And then I put my sheet pan covered in foil (just to protect it from ink) on top. I clear out all of the rubbing alcohol and inks so they are far away from the flames. I dripped various shades of green and blue down sides of the candle holder and immediately lit the line of ink of fire. The ink spread out, dried, and became a bit darker with the flames. For

Alcohol Ink Craft Collection

Image
Check out all of the Alcohol Ink Craft Tutorial Posts from Sarah Jane's Craft Blog here: Alcohol Ink Craft Collection