Posts

Showing posts with the label As Seen on Pinterest

Tested Life Hack: DIY Shower Head Cleaner

Image
It's been awhile since I've tested one of those life hack tricks floating around on Pinterest and the Internet. But, I was cleaning my shower and noticed how gross the shower head was getting and I remembered seeing a trick for cleaning shower heads: a plastic bag full of vinegar tied to the shower head. It was an easy enough thing to test out, so what did I have to lose? I'm sorry about my gross looking shower head. But you needed to see what we were up against. It was not only a bit of hard water, but also some mold and mildew--so it was definitely time to clean it. I grabbed a gallon Ziploc bag because it's what I had--but any sturdy plastic bag should do the trick. I put about 3/4 of a cup of vinegar in the bag and attached it to the shower head as best as I could. I used a couple of twist ties and some scotch tape to keep it on the shower head and to keep the vinegar covering as much of the shower head as possible. I checked on my shower...

Dremel Engraved Plastic Ornaments

Image
There's a post floating around with plastic  ornaments engraved with a dremel . They are beautiful. These--are not. For starters, she managed to find plastic ornaments that are white underneath. All of the ones I had in my stash were made of gray plastic. I also only have one engraving tip size for my dremel--but I figured I'd give it a whirl.  It's really hard to get anything resembling a smooth line. The dremel wants to shoot right off of the ornament. After ruining a couple red ones, I was left with some small gold and silver balls. I opted for a quick starburst/asterisk design as I thought I could manage it given how excitable the dremel was on the surface of the ornament. The starburst was easy enough and would probably look good no matter what color the plastic is underneath the paint. Just be sure to work on a covered surface to catch all the little paint/plastic filings. Clearly this is one of those "as seen on pinterest" projects that is w...

As Seen on Pinterest: DIY Label Remover

Image
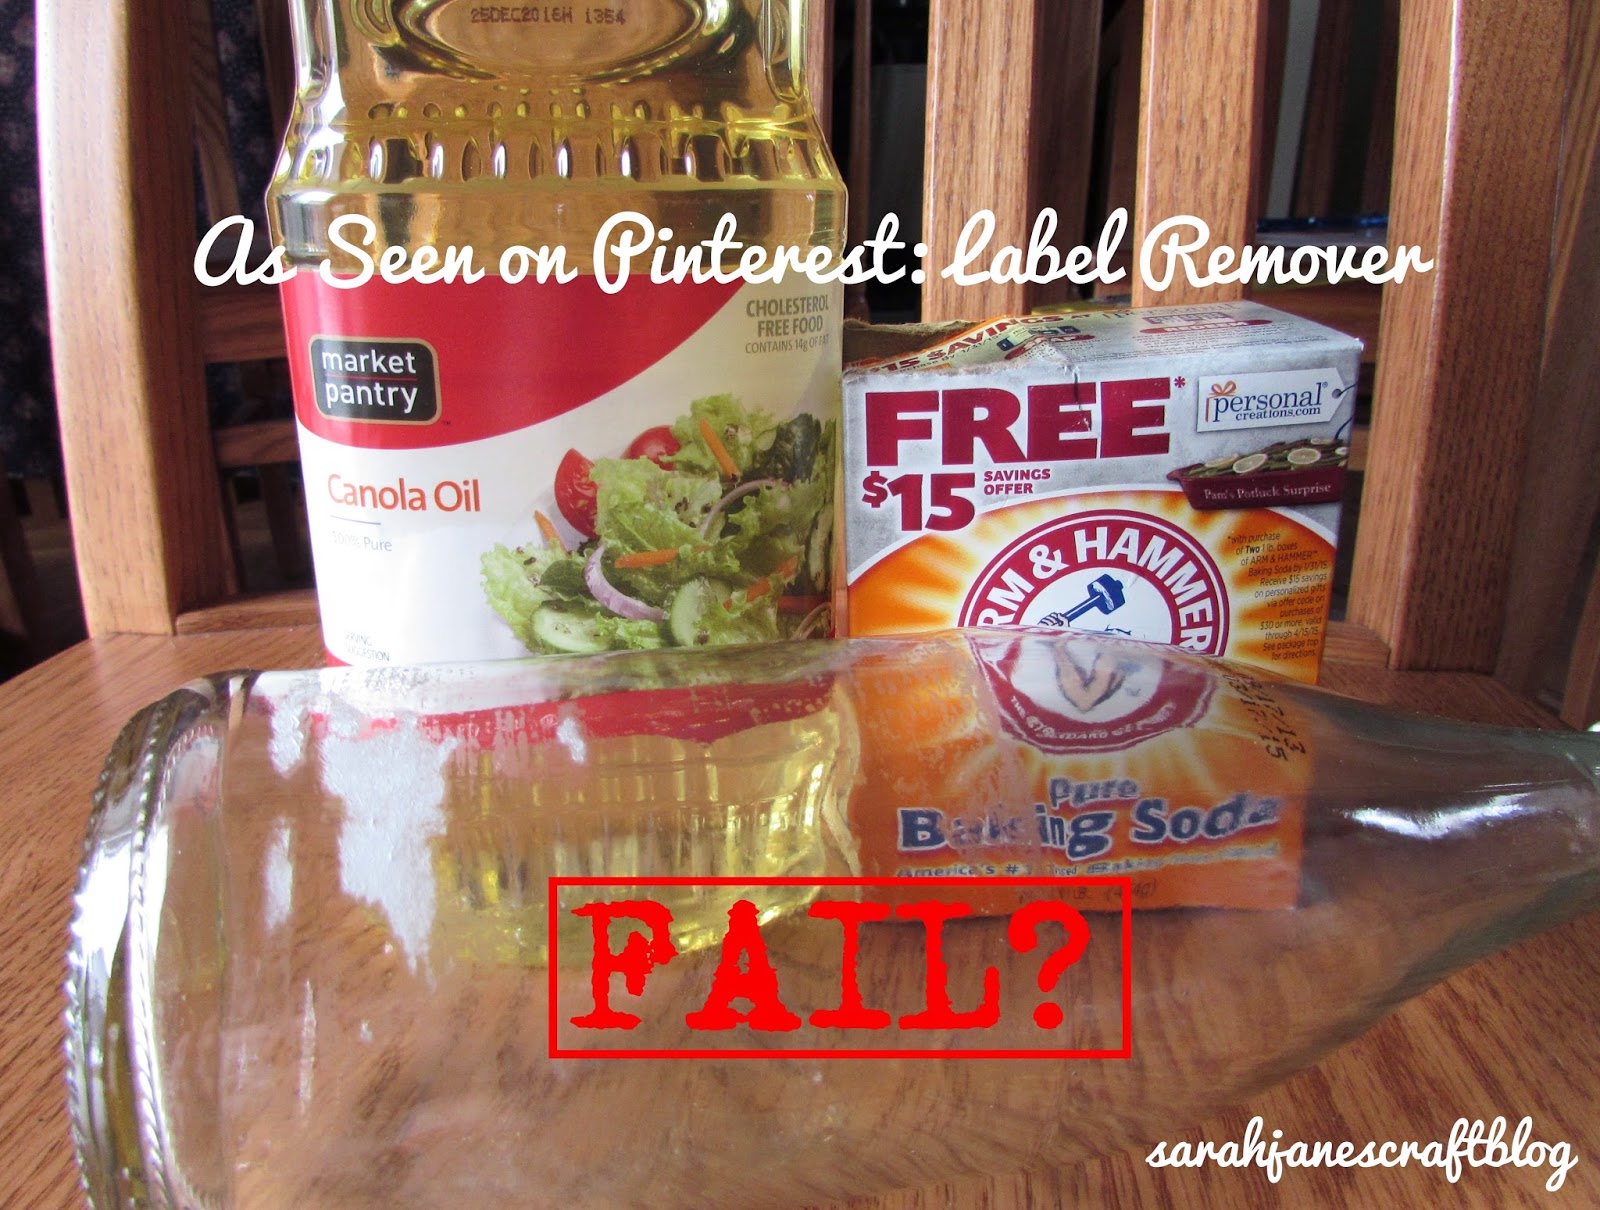
A while back I tried a DIY Pin for removing that stubborn glue residue leftover from labels. It called for equal parts cooking oil and baking soda made into a paste, spread over area and let it sit for 10 minutes, scrub off, and you'll be clean as a whistle. So I made my paste with some canola oil and baking soda. I spread it over my bottle, and let it sit for 10 minutes.  After 10 minutes I came back and started rubbing it off with a cloth, but I noticed from the small corner that I started wiping away, that it wasn't working, so I spread some of the excess paste back over that spot and let it sit for another 10 minutes, then I came back and scrubbed off the paste and rinsed off the bottle. It was less gunky, but it was not clean--not even close. So I took my bottle back to the sink and cranked my water to hot.  I grabbed a scrub brush and I used a bit of elbow grease along with my hot water to try and get it clean. After the hot water and elb...

Tip for Cleaning Wax out of Candle Holders

Image
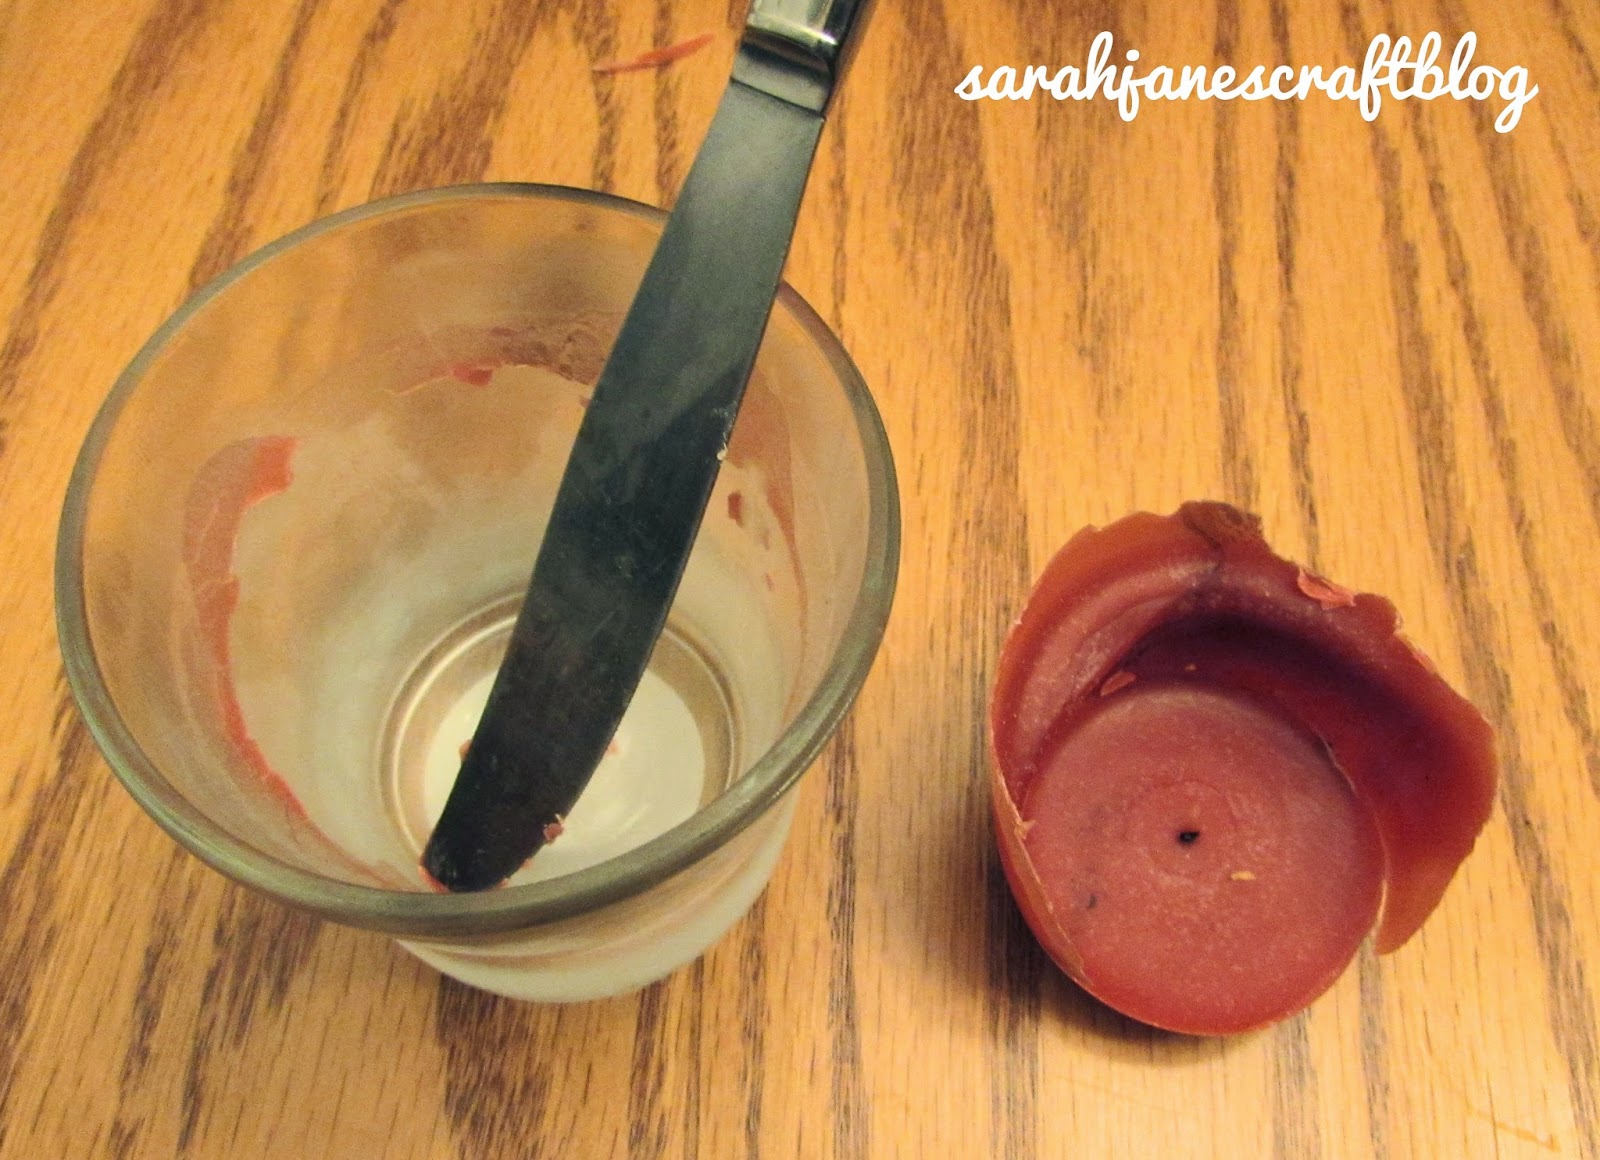
On Monday I posted a craft using some recycled Glade candle holders decorated with alcohol ink. Well, this is how I cleaned them out. Step 1: Put in freezer and forget about them (the forgetting is optional) Step 2: Take out of freezer and grab an old butter knife.  Pop wax out. Step 3: Run under increasingly warmer water (or let the glass return to room temperature and crank the water to hot right away).  Once the hot water has softened any remaining wax, use a paper towel to clean and polish out the candle holders. Step 4: Admire your work and decide what to do with your clean candle holders. Putting the candle in the freezer helps to solidify the wax and helps it pull away from the edges of the glass.  This method doesn't work as well for those candles you have burned down to practically nothing...but it did help keep the tiny disk of wax together as I scraped at it with my butter knife, so it's a helpful step to freeze them regardless.  The can...

As Seen on Pinterest: Baking Soda and Peroxide Nail Whitener

Image
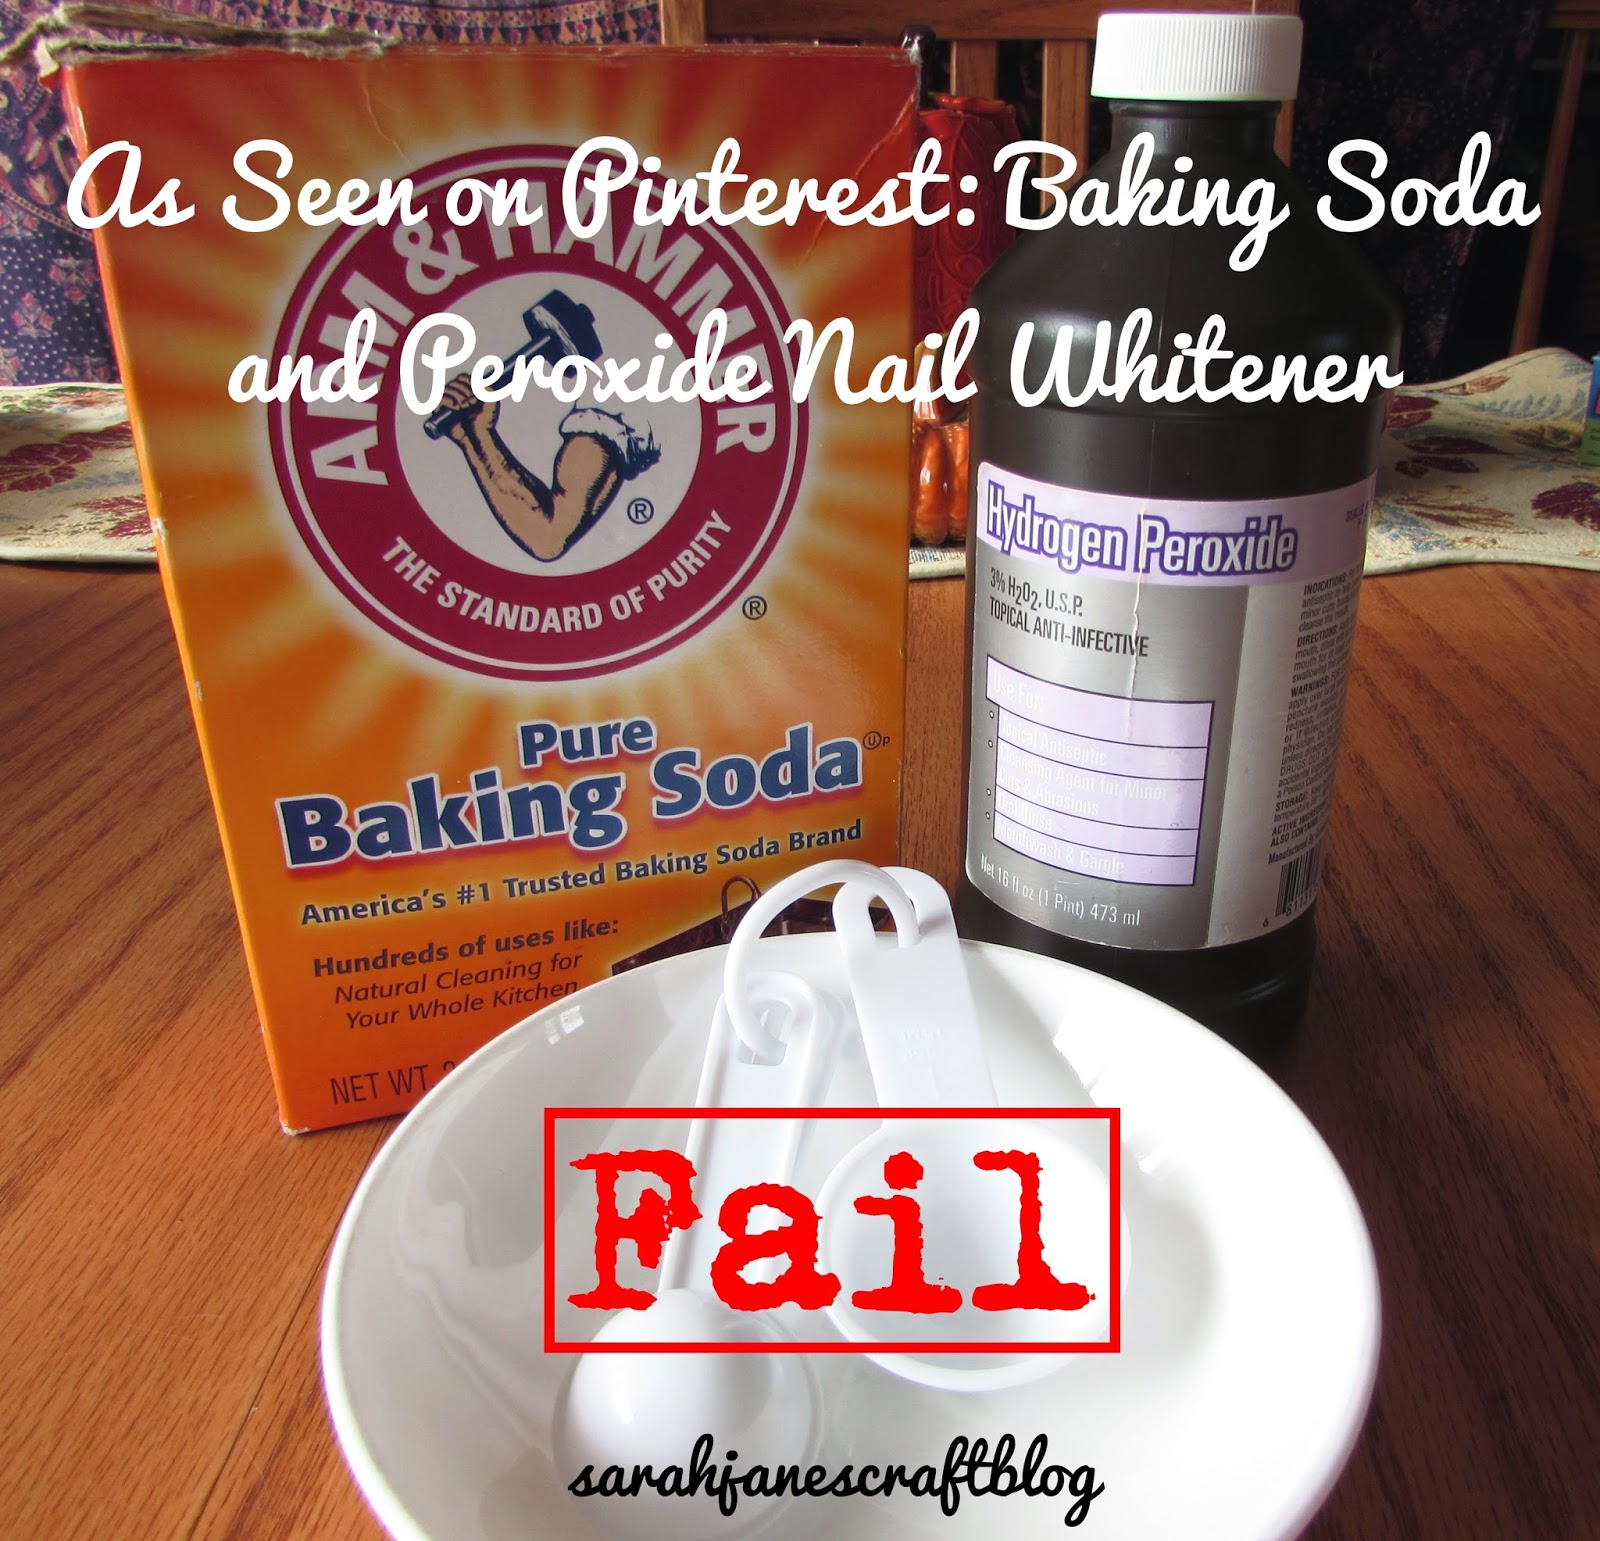
I've been wanting to test this pin for quite some time.  With the fall in full force and a week with flurries and highs in the 30s forecasted next week, I knew it was time to try to lighten my toe nails after a summer of wearing polish.  I've been polish-less for a week or two, and this year wasn't too bad.  It's just one big toe that's really discolored, the rest came out ok.  So I found the pin for whitening nails: Mix 1 tablespoon of hydrogen peroxide with 2 1/4 tablespoons of baking soda.  Stir into paste and let sit on nails for 5 minutes. So to start off with I was a bit skeptical because I don't know what a 1/4 tablespoon is, but I estimated and did my best.  I mixed my tablespoon of peroxide with 2 and a little extra tablespoons of baking soda and stirred it into a paste. I massaged the paste onto my nails and made a nice big mess. It gets all over your hands and quickly turns back into a powder, so be sure to try this in the kitchen or bat...

As Seen on Pinterest: Bathroom Cleaning System

Image
I went to Dollar Tree and picked up a caddy and a basket .  I put a disinfectant spray, glass spray, and toilet bowl cleaner and a bunch of rags in my caddy.  Then you can quickly hit each of your bathrooms without having to stop and start and look for cleaners.  When you're done with your rags, just toss them in the basket to put in the laundry.  With a fresh supply of rags you can keep cleaning even if one gets gunky or full of hair--just grab a fresh one.  The whole process made cleaning my bathroom a breeze!  I purposely shopped for smaller bottles that would fit nicely in my caddy.  The canned glass cleaner works great, but you could easy put the cheap stuff in a smaller spray bottle too. I did notice, though, that I wanted some disinfecting wipes, so I added that to my caddy.  My caddy would be better if it were just a smidge bigger, and I'd love to have a caddy that fit neatly into my basket so I could store the whole thing...

As Seen on Pinterest Revisit: Oil and Vinegar Wood Treatment

Image
About 3 months ago, I tried out a DIY  wood treatment to reduce the appearance of scratches that I had seen online.  I adjusted it slightly by foregoing the use of food grade oil for lemon oil designed to be used on furniture. After 3 months, the scratches have started to reappear in the furniture, so it was time to polish them again.   This time, I adjusted my ratio (since I later realized that I had flip-flopped the ratio from the inspiration articles) from 3 parts vinegar and 1 part oil (the inspirations listed 3 parts oil and 1 part vinegar) to 1:1.  The reason I tried this was that even though the inspirations used way more oil, when I used way less, it still worked, so I decided to try it out with 1 part oil and 1 part vinegar and see how it went. Spoiler alert--it worked perfectly--just slightly better than using 3 times as much vinegar, so if you're trying to stretch your lemon oil, feel free to use more vinegar. The next thing I changed in ...

As Seen on Pinterest: Baking Soda Oven Cleaner

Image
All over pinterest there are DIY recipes for cleaners made from inexpensive household products.  Baking Soda is one of the most popular ingredients (that and vinegar). I have seen a couple of recipes for oven cleaner made with baking soda, but recently I saw one that called for just baking soda and water  That's it. Nothing else. I figured it couldn't possibly work, but since it was so easy, I had to give it a whirl. This cleaner is billed as being able to clean your oven door and window to a clear shine.  All you need to do is cover the door in baking soda and water paste, let it sit for 30 minutes, and wipe it off. So I sprinkled baking soda all over the door and then I tried to use a wet dish brush to make the paste (so as to get a little scrubbing in even though the instructions didn't call for it), but there wasn't enough water on the brush to work.  So I got a paper towel wet and squeezed it out onto the baking soda a couple of times and then...

As Seen on Pinterest: Oil and Vinegar Wood Treatment

Image
A while back I saw a post on pinterest claiming that you could use canola oil or olive oil with vinegar to remove (or at least reduce the appearance of) scratches on wood.  I figured I had to try this out.  Sounds super easy and uses ingredients I have on hand.  I had some misgivings about the idea of using food-grade oil on wood.  I was worried that it might develop a smell.  So instead of trying this with food oil, I pulled out a container of furniture oil (seemed like a logical choice).  I had some Old English Lemon Oil on hand.  I grabbed a disposable plastic container and put in about 1/4 cup of the lemon oil (I eyeballed it) then I added 3/4 cup of vinegar (which I measured). I swirled it around in the container to mix it and grabbed some paper towels.  I then proceeded to find the most scratched up piece of wood in our house: the window sill of our picture window in the living room.  It's at doggy height and our pup is constant...

As Seen on Pinterest: Cloudy Solar Light Fix

Image
A few years ago, we picked up these great color changing solar light orbs.  After years outside (including our harsh winters), the solar cells had clouded over and the lights had mostly stopped working.  I tried wiping them down with a wet rag, but the cloudiness was not just dirt.  So I thought I'd try one of the fixes I'd seen online.  On Pinterest I have seen folks use clear nail polish and acrylic sealer.  I figured the acrylic sealer would be a better long term fix, so I propped my lights up, wiped off any dirt, then sprayed them with clear sealer. The results were downright miraculous.  The solar cell went from cloudy white to clear and black again in seconds.  I let the sealer dry, and they were still perfect black.  You could once again see the metal lines in the solar cell. Unfortunately, I can only give this As Seen on Pinterest review a "Sort of Works" verdict.  After they dried, I put them back outside, and eve...

As Seen on Pinterest: Roasted Starburst

Image
This spring, I started seeing a photo someone posted of roasting a Starburst circulating Pinterest.  My first thought--yum! My second thought, well, how does that work?  So, when we went camping last weekend, I used the opportunity to give this post a whirl.   I had lots of questions that I was seeking to answer, so here's what I found out: Do the Starburst roast?  Not really.  They mostly just melt. Do they caramelize? A tiny bit, but as soon as they get warm, the starburst start dripping off of the fork. Does it catch on fire?  Nope.  It just melts off the fork. We sacrificed one to find out....it will completely drip off the fork and won't catch on fire. Is it too hot to eat?  At first perhaps. I waited about a minute after bringing mine out of the fire before eating. Does it come off the fork?  Yes, it leaves less residue than a marshmallow if you let it cool a minute before pulling it off. Does it taste good? ...

As Seen on Pinterest: Spray Oil Manicure

Image
I'm testing out another one of the popular Pinterest DIY posts today.  This time I'm trying out the spray oil manicure.  The original pins suggest that spraying Pam (or a similar aerosol spray oil) will "instantly dry your manicure."  Well, it doesn't do that--not even close.   What it does do is create an oily buffer on your nails that makes them a little less likely to get nicked or smudged.  Awesome, right?  Well sure if you're hands weren't covered in slippery oil....and it only works if you put on a relatively thin coat of nail polish....glob on too much polish and the Pam will leave little bubbles in your manicure...not to mention that things that would normally be a no-no when your nails are drying are still a no-no--it's no magic bullet.  But heck, if you have a bottle of spray oil that's about to expire, chuck it in the bathroom cabinet, it could help save your manicure on a busy day--but be warned it's slippery stuff. ...

As Seen on Pinterest: Vinegar and Listerine Foot Soak

Image
I am one of those people who stops wearing socks as soon as it hits 65 degrees out.  I'm a sandals and barefoot kind of girl.  Which means that I was really excited about the prospect of a foot soak that would allow you to rub loose skin right off of your feet and leave them smooth!  The original instructions call for 1/2 cup vinegar and 1/2 cup listerine and 1/4 cup water.  Now, I know that I have big feet, but I can't see how this would possibly be enough for anyone to soak their feet in for 30 minutes.  I doubled the batch.  It still wasn't enough.  I ended up with 1 1/2 cups listerine (thank goodness I had the cheap generic stuff) and 1 1/2 cups vinegar and 3/4 cup water. I then soaked my feet for the full 30 minutes.  After which, they were blue. Alright so that's not that surprising--it is, afterall, blue listerine that I was using.  So I rubbed the solution off with a towel (this is when the dead skin is supposed to jus...

As Seen on Pinterest: DIY Shower Cleaner

Image
DIY shower cleaner made with vinegar and Dawn has been floating around Pinterest since it's early days.  I first tried it out last year when Pins recommended using it in a spray bottle and some recommended warming the vinegar in the microwave and using it hot when you cleaned.  I'm convinced the hot vinegar was mostly to help keep the mixture liquid enough for a spray bottle. When I tried the spray bottle version, I had to thin it down with 2 parts vinegar to 1 part Dawn to get it to come out of my spray bottle at all, and then the spray bottle was clogged with Dawn by the next time I wanted to use it.  However, it did work to clean my shower--it just stunk strongly of vinegar.  So when I saw the version using a dish scrubbing wand--I knew they had a good idea. I filled my dishwand with 1 part (or halfway) of Dawn Ultra (the standard blue stuff--the old regular Dawn has actually gotten hard to find). Make sure you use a blue scrubber and not a green on...