Posts

Showing posts from January, 2014

Pony Bead Sun Catchers: Valentine's Edition

Image
This fall I made some sun catchers out of melted pony beads using a muffin tin.  Then, I made some Christmas ornaments by melting the beads in cookie cutters.  I made a couple of heart shaped ornaments that look fantastic as Valentine's Day Sun Catchers. Check out the linked posts for full instructions! Here's a photo of one of the hearts right after I pulled it, cooled, out of the cookie cutter.  It just needed a little love from the dremel (to knock down some edges and drill a hole) before it was hung up.  Whether on the tree or in the window, these look fantastic!
Charger Plate Chalkboard

Image
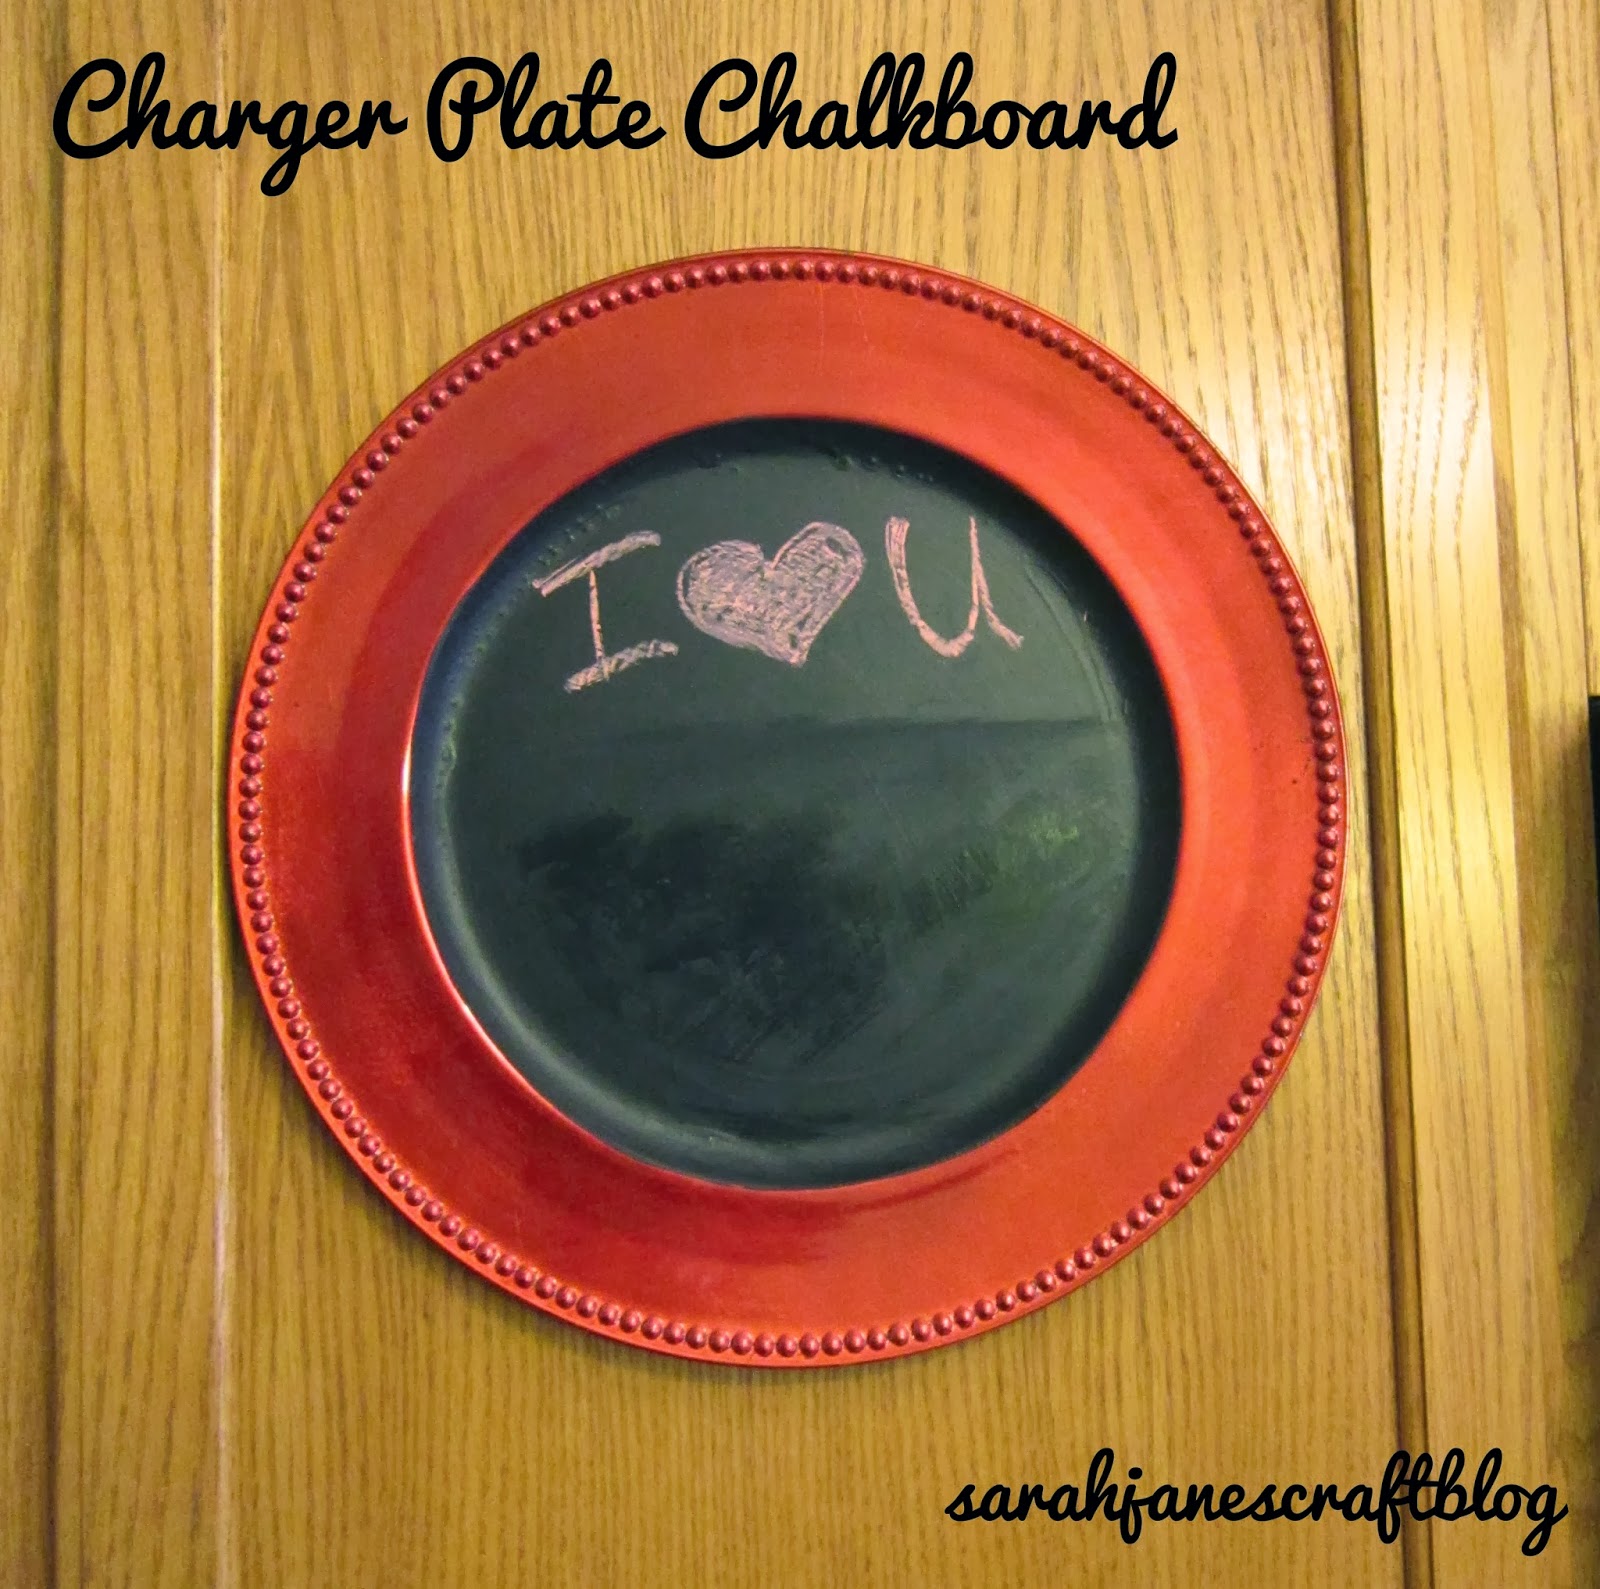
I stumbled upon some red charger plates leftover from Christmas marked at 75% off.  So I thought that making a chalkboard out of one would be a great project.  Total cost for project: 50 cents. The people who owned our house before us painted the garage door with chalkboard paint and left the quart behind (along with a bunch of other old paint cans).  The paint is over 4 years old, so I figured it was time to use it up, or at least use it for something. I started out by roughing the surface of the plate up a bit with some fine grit sandpaper.  It has a shiny finish, and I wanted to make sure the paint would stick.  You could, of course, use a primer, but I was impatient and the only primer I had lying around was oil based. After I sanded a bit, I wiped the plate off with a wet paper towel. Next I painted a thin coat of the chalkboard paint.  Be sure to stir it well, especially if it's been sitting in your garage for 4+ years.  I was careful on my firs

Alcohol Ink Decorated Charms

Image
I've been having so much fun playing with alcohol ink lately. I keep on  looking for new things I can ink up. I figured these plastic charms from Tim Holtz that I picked up with a coupon a while back would do the trick nicely. I picked out a few that I figured could be made into necklaces or key chains or tags and a couple smaller ones that I could stack. Then I inked up my homemade applicator with small dots of ink and started stamping them onto one of the larger charms.  And this is what it looked like after a few passes with the applicator.  It was so quick and easy that I whipped up the rest in no time.  I changed my felt out and tried some different color combinations and ended up with what you see below.  At first I didn't like the gold and blue one (the lightest one), so I stuck with the dark colors, but after it dried and I took a look at it, I think I kind of like it.  I'll have to try some different shades out for my next batch.

DIY Light Diffusing Box

Image
The last time I sat down to do some crafting, it was a dismal gray day: cold, dark, foggy, and drizzling. Needless to say, the photos I was going to take for the blog would certainly suffer (especially since I still use a point and shoot).  So, I decided it was time to make a light diffuser.  I grabbed a box that looked to be about the size of a sheet of copy paper. Since one of the ends of the box stays open to take photos into, I taped the flaps of the box up to make the box a little larger (copy paper sized).  Then I cut rectangular openings in three of the vox sides leaving the bottom and back sides of the box solid. Then I started taping (with white duct tape) sheets of white copy paper inside the box to cover up the openings I just cut. I'm sure you could also glue the paper down, but since I had the white tape, it seemed like a faster choice. Then I cut a square piece of white cardstock for the back and the bottom (seen uncovered in the photo above).  

Alcohol Ink Decorated Vase

Image
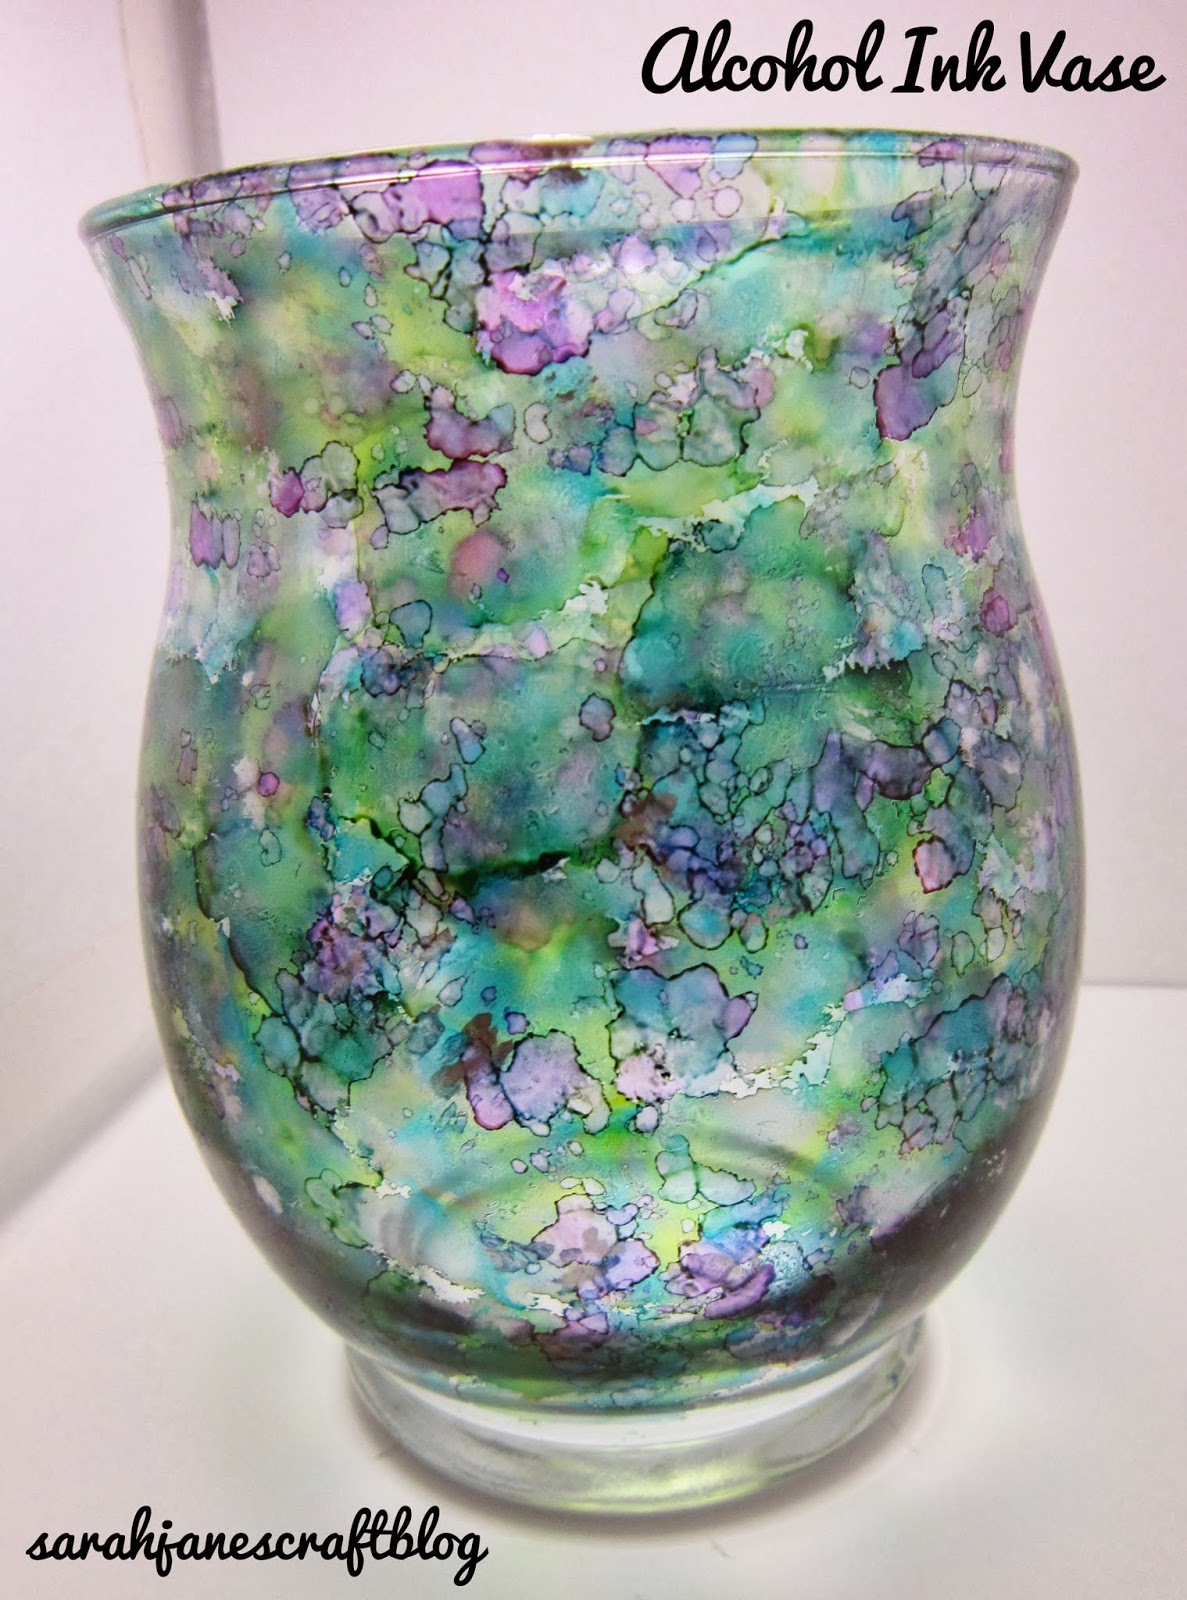
One of the first projects I saw online using Alcohol Inks was a candle holder.  It looked like stained glass, and I was so excited to try using the inks out on glass.  When I got my first alcohol ink, I tried a couple of projects just dripping the ink on and using a little rubbing alcohol as a mixative--one of those was some small votive holders . After making my felt stamper and using it to make washer necklaces and coasters , I knew I had to use the stamper on glass, and it became even more necessary after Hubby got me two packs of new alcohol inks for Christmas.  I had a small vase/large candle holder in my cabinet.  I had picked it up for 99 cents at Goodwill, but I'm sure you can pick up something similar at a dollar store or discount store. I decided I wanted to use mainly blues and greens on the vase.  So I squirted little dots of all of my blues and greens onto my little homemade applicator stamp felt. Then I started stamping.  I knew I needed to try to make i

Storing and Using Clear Stamps

Image
Santa brought me some crafting supplies this Christmas. I received a lovely craft mat from my hubby and my sister gave me a bunch of clear stamps. I've never worked with these stamps before, so I thought I'd document my first attempts. Luckily I had picked up a set of sticky unmounted stamps and a handled acrylic mount for them from a Fiskar's Kids Craft liquidation at TJ Maxx (not someplace you usually find discounted craft supplies).  So I had a basic block to put them on to try some of my new stamps out. The coolest things about the unmounted clear stamps is that you can place them wherever you'd like on your block, you can leave room for layers of other stamps or embellishments, and you can see through the stamps and the block for better placement.  The stamps themselves are also cheaper to purchase. After I tried my stamps out, I washed them off with some warm water and a little soap and put them back on their plastic sheet.  I figured now would