Beginner Gel Press: Stencils
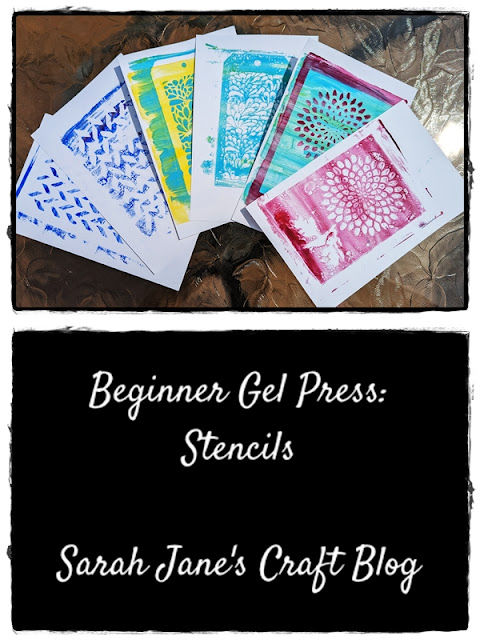
This is my third installment in learning how to use a gel press printing plate. So far I've explored the basics with craft paint and copy paper , then graduated to using card stock and paint stamps , and today I'll try using stencils. I got out a silicone craft mat , my gel press printing plate , a stack of plastic stencils , some 8 1/2 X 11 card stock cut in half (because I have a 5 x 7 gel press), craft paint , and paint brushes and a paper plate. I started by painting my gel press plate with some yellow paint (lighter colors work best to start with when layering) and printing it on a piece of card stock, then I painted the plate with a light blue and applied the stencil. Then I applied the painted card stock to the gel press It sort of worked, but since the stencil was smaller than the press/paper, it left an outline--no biggie, it can be cut down if you don't like the look, but the part that I didn't like was that there was lots of paint bleed through on the sten...