Posts

Showing posts from June, 2014

Alcohol Ink Switch Plates

Image
I recently painted our guestroom a lovely shade of lavender. No really, the paint color is lovely lavender. The room used to be chocolate brown. The previous homeowners, in their infinite wisdom, thought it would be a great idea to paint the tiny extra bedroom all dark chocolate brown. In some lights it looked almost eggplant in color. It was really dark. It wasn't offensive so much as it was oppressive. However, since it's in our guestroom, it isn't something we look at everyday, so it took me 4 years to get up the gumption to paint the darn thing. It took 4 coats (2 of primer, 2 of top coat) of paint to cover that brown, but it's finally a lovely shade of lavender. While we were putting the switch plates and outlet plates back on, I noticed one was cracked and the switch plate had a couple of stains on it. Now was as good of time as any to replace them. We picked up a stack of replacements at the local Home Depot for about 20 cents a piece. Since they were so...
Alcohol Ink Pillar Candles

Image
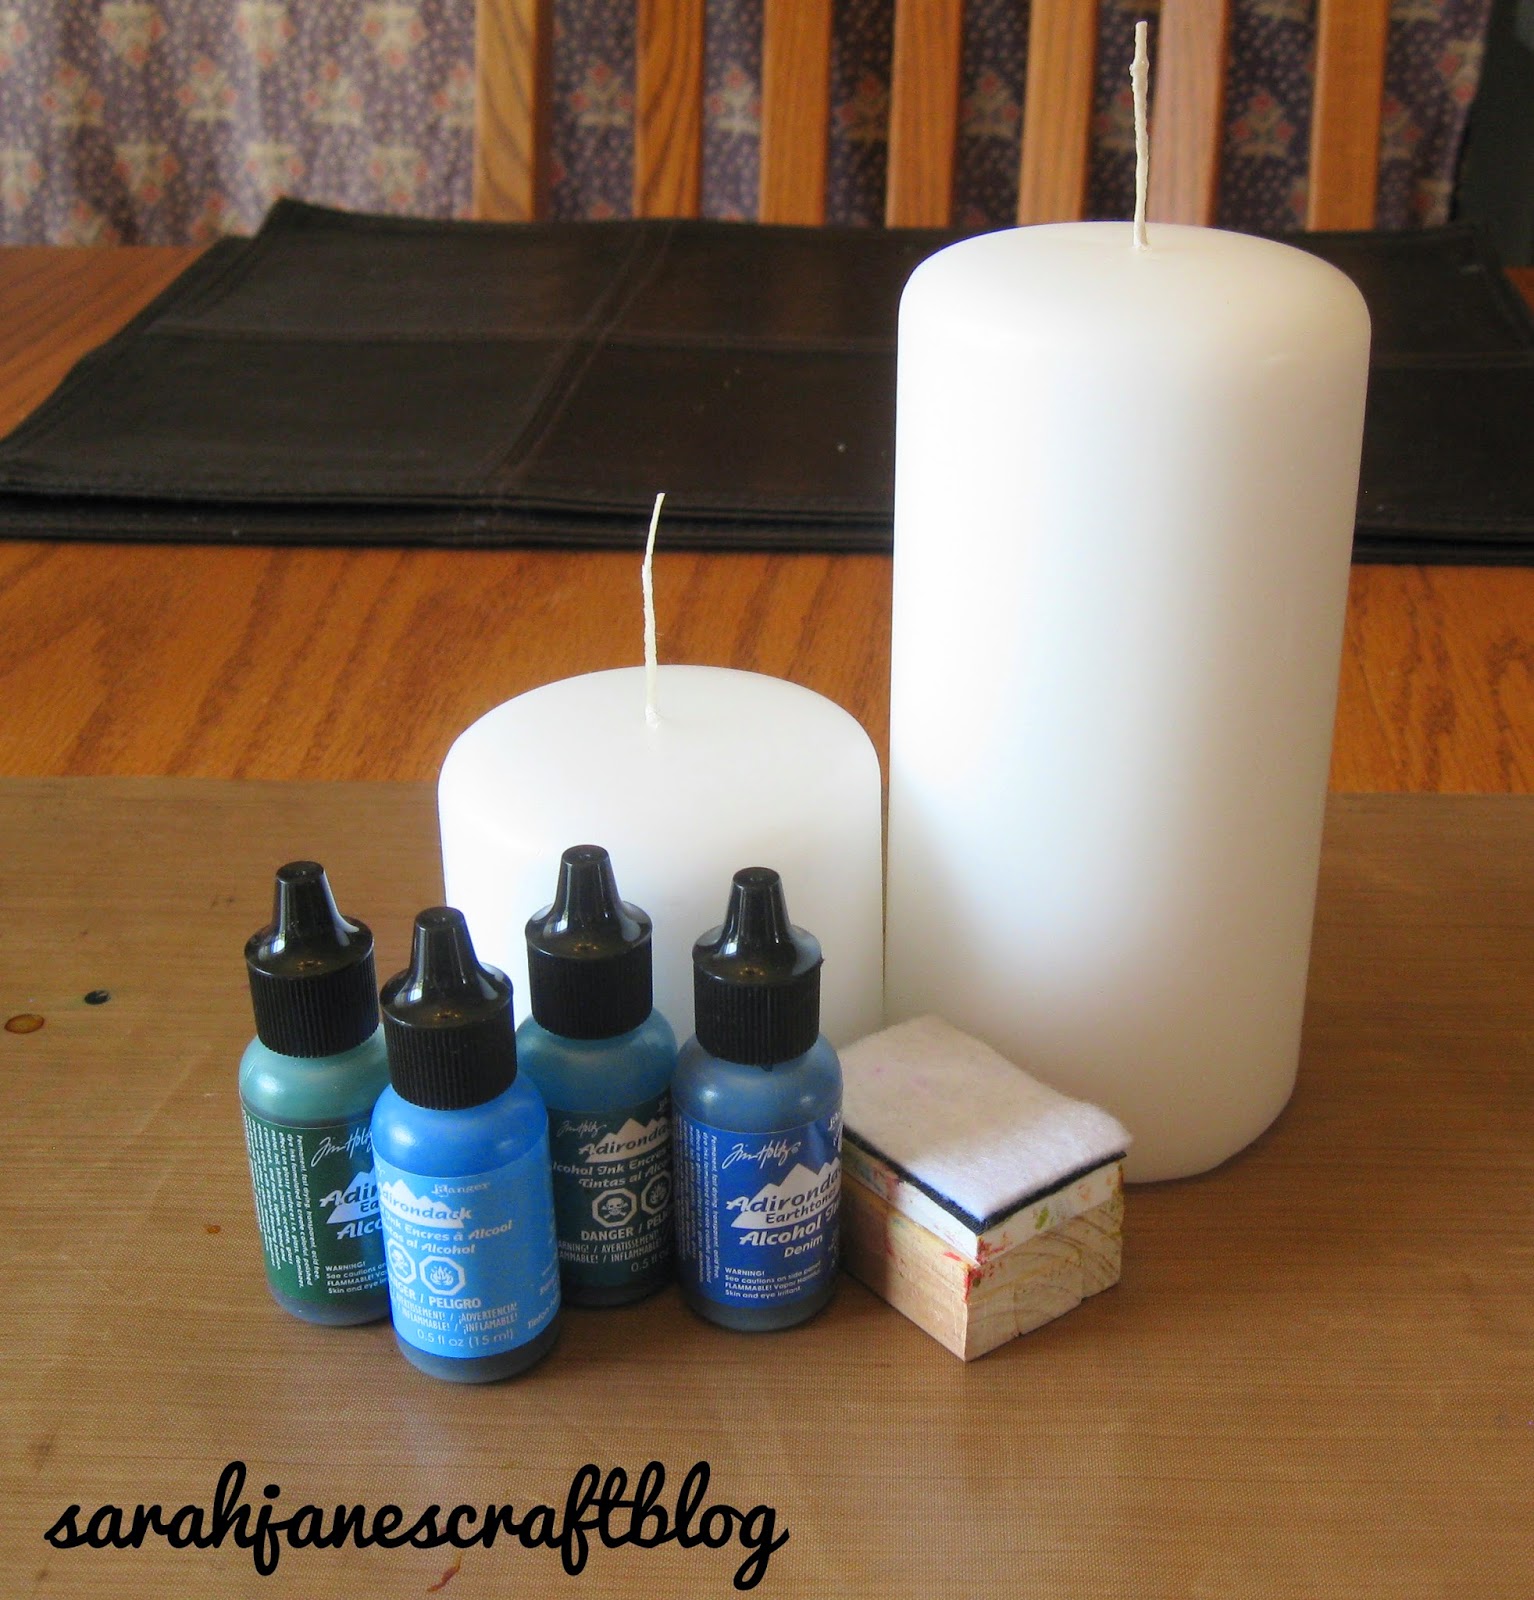
This is one of the few alcohol ink projects floating around the internet with some regularity that I hadn't yet tried.  Most of the examples of alcohol ink decorated candles involved just dripping the ink on, but I wanted to try applying it with the applicator instead.  So I bought a couple of white candles at Wal-Mart and brought out my craft mat, alcohol ink, and applicator. I wanted to go with blues (as seen above), but after a first swipe looked really boring, I wiped it off with a napkin soaked in rubbing alcohol and tried again with the colors you see below.  I used 5 Adirondack Ink colors (Purple Twilight, Sailboat Blue, Citrus, Stream, and Wild Plum) to decorate my candles. I started out by applying the Citrus, Sailboat Blue, and Purple Twilight.  I dropped a few drops of each onto half of my applicator and stamped around the candle to get a nice base color.   I decided the green looked a bit yellow and replaced it with the Stream col...

Recycle Craft: Washi Tape Storage Bin from Pretzel Container

Image
I had this plastic container with a jar lid leftover from buying some peanut butter filled pretzels .  I knew the container would work great for storing something, but I didn't have a clue as to what.  Then I found some inexpensive washi tape on clearance and suddenly the container I had been using to store washi tape in was just too darn small.  So cue the perfect use for this container. I spent a good deal of time cleaning the goo off of this container from its labels.  I think I used 3 coats of Goo Gone on each label before it came squeaky clean. I poked around the internet looking for free frames and stumbled upon this one.  Then I used a font that had a similar line and printed it out so that it would be just the right size for my container. I printed it on cardstock, but it was still white, so I knew it would get dirty and smudged without a sealer over top, so I coated the back of the cardstock with mod podge and then stuck it down.  ...

Tissue Paper Photo Transfer (Decoupage)

Image
I saw some decoupage this week and decided I absolutely needed to try to print something onto white tissue paper and see if I could do a photo transfer.  I grabbed a couple of pieces of pine tae kwon do boards that my husband had saved (we usually just burn them in the fire pit after they've been broken, but this seemed to be a better use) and set them aside. Next I did a bunch of searching for public domain art and graphics.  I found a few that I thought would work and downloaded them.  I ended up choosing a graphic of some skeleton keys and a photo of the Eiffel Tower being built. Next I cut some large pieces of tissue paper into quarters and carefully taped them to some card stock. I decided to run the covered cardstock through my old trusty Canon Pixma printer (it's 9 years old and the best printer I've ever had) as our newer Brother printer jams very easily, and I figured this tissue paper covered cardstock would be a nightmare to run through it. ...

Quick IKEA Clock Makeover

Image
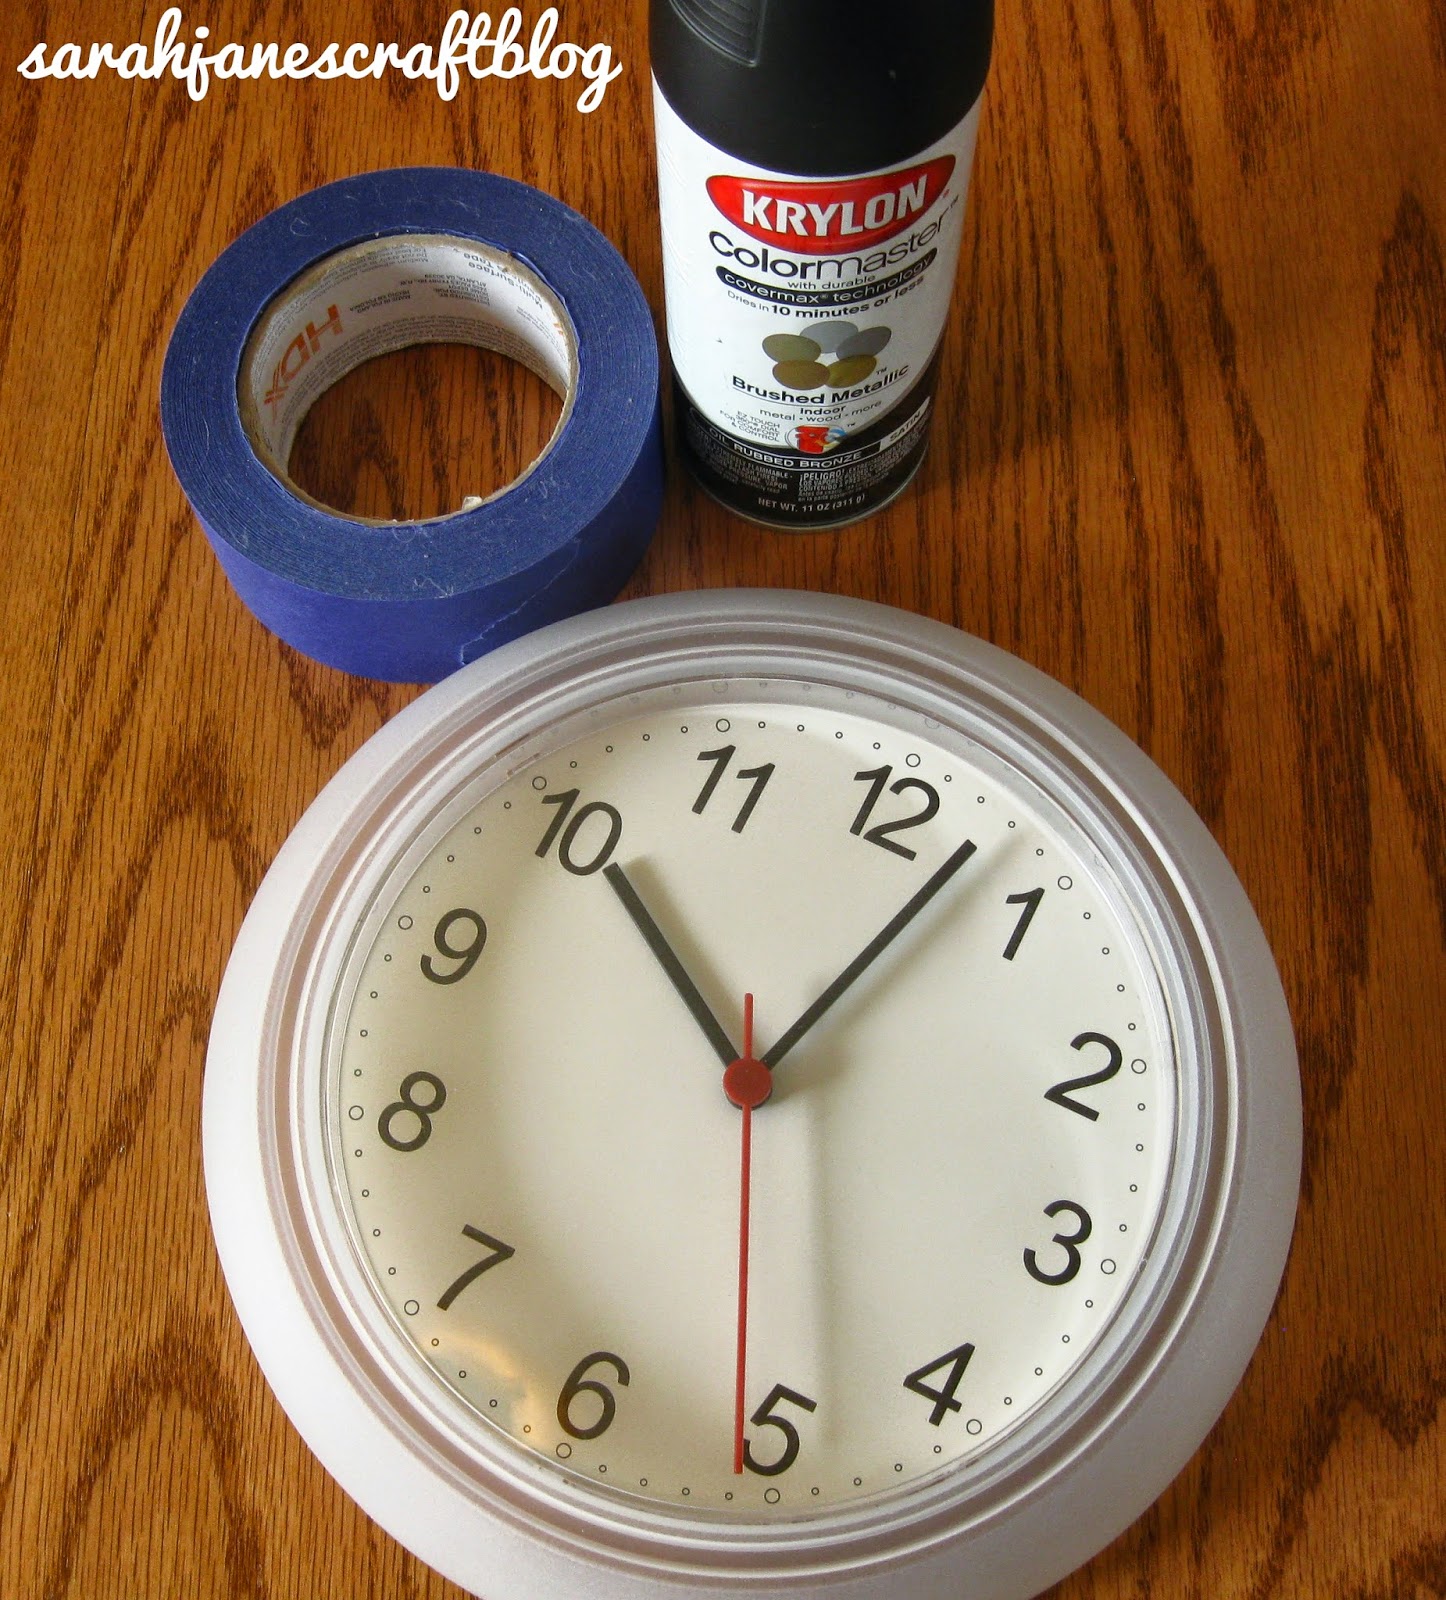
I just put up a new curtain in my kitchen and wanted to redo the clock that hangs above my kitchen window. So I grabbed this $1.99 clock from IKEA that was just sitting in my basement and got it ready for its makeover. I couldn't figure out an easy way to take the clock apart, so I applied painters tape to the front of the clock and used my fingernail to crease it along the edge of the clear plastic clock face. Then I grabbed a sharp utility knife and carefully cut the tape along the edge. There is a bit of a gap between the plastic body/frame of the clock and the clear plastic face, so I just placed my blade in that space and it cut pretty easily. Next I grabbed a box that already had spray paint on it and went out to the patio.  I sprayed a very light first coat of Krylon Oil Rubbed Bronze  spray paint. It's better to be safe when spraying on plastic, you don't want it flaking off or scratching easily later, so the first coat won't cover the ...

As Seen on Pinterest: Bathroom Cleaning System

Image
I went to Dollar Tree and picked up a caddy and a basket .  I put a disinfectant spray, glass spray, and toilet bowl cleaner and a bunch of rags in my caddy.  Then you can quickly hit each of your bathrooms without having to stop and start and look for cleaners.  When you're done with your rags, just toss them in the basket to put in the laundry.  With a fresh supply of rags you can keep cleaning even if one gets gunky or full of hair--just grab a fresh one.  The whole process made cleaning my bathroom a breeze!  I purposely shopped for smaller bottles that would fit nicely in my caddy.  The canned glass cleaner works great, but you could easy put the cheap stuff in a smaller spray bottle too. I did notice, though, that I wanted some disinfecting wipes, so I added that to my caddy.  My caddy would be better if it were just a smidge bigger, and I'd love to have a caddy that fit neatly into my basket so I could store the whole thing...