Posts

Showing posts with the label Easter

Alcohol Ink on Permanent Vinyl Easter Signs

Image
I've been enjoying making signs using these metal blanks from Dollar Tree by adding vinyl cut on my Silhouette Cameo . They're usually pretty easy (as long as the weeding goes ok) and turn out cute. So with the upcoming Easter holiday, I was putting up a few decorations and realized I didn't have any signs. Well, that cannot stand--it was now a moral imperative that I made a couple of Easter signs. I perused the freebies in my Silhouette library from over the years and found a couple that I could use. Since I had an idea that was definitely an experiment in mind, I measured my signs and arranged duplicate versions and backup designs and some extra eggs to fill the 12 x 12 grid. After I cut the vinyl , I started weeding the "backup" design. After the nerve-wracking bit of pulling off the exterior vinyl, I thought I was home free--but it turns out I missed a section of the second "E" and it got stuck to the exterior vinyl and thrown out in the trash. This...
Alcohol Ink on Plastic Easter Eggs

Image
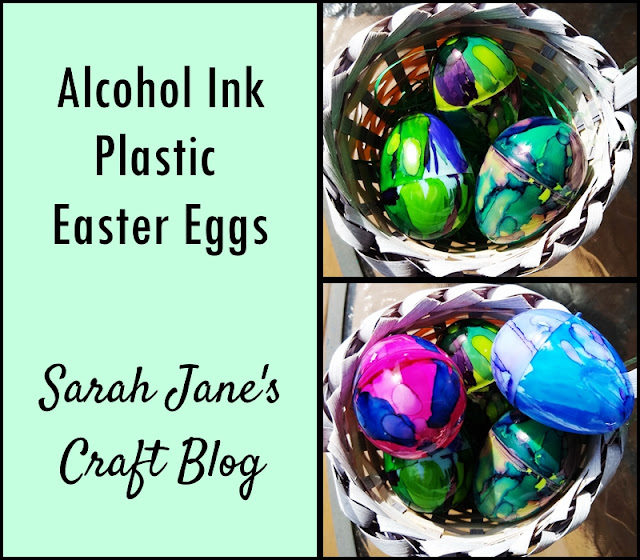
Some people dye real eggs every Easter, I dye plastic ones. I have tried most methods of putting alcohol ink on plastic Easter eggs . So this year, I opted to just play around with a paint brush and see what happened. I laid down my craft mat and a few plastic Easter eggs. I opted to use Piñata inks for this project because they are highly saturated in color and run less than other inks. I used some cheap synthetic paint brushes and a plastic palette for the inks. I opened the eggs so they could rest on their flat open surface. Then I just painted on color. I found it worked best to cover the egg in a wash of color (which goes a bit faster if you drop a couple of drips of rubbing alcohol into the ink) and then ad other colors over top to create patterns. To give you an idea of how the original egg color affects inking, I spread the same color (blue violet) onto a blue and light green egg. You can see that the color looks very different. I used the larger flat brush to rotate simil...

3D Printed Easter Ornaments

Image
After last week's printed Bunny Egg Holders , I was on the search for more Easter themed print projects for the 3D Printer . I came across these Window Picture ornaments with Easter scenes and knew they'd be a quick and fun project. I printed the first Easter ornament using standard settings (.2 resolution 20% infil) using white PLA filament . The first ornament printed perfectly. It took a couple of hours to print, so I started up a second different design right after it finished. Since it finished when it was dark, I didn't get any pictures of the second one printing, but it turned out perfectly just like the first one. I've got these hanging in a window right now (just as the original designer intended), but I'm sure they'd look great hanging up just about anywhere in the house this time of year. Check out more Easter projects here: Easter Craft Collection Check out more 3D Printing projects here: 3D Printing Collection  

3D Printed Egg Holder Easter Bunny

Image
As I was looking for some new printing projects to make with our 3D printer , I found this cute bunny-shaped egg holder . The design comes in two sizes--one for Cadbury Eggs and one for Kinder Eggs. You can adjust for other sizes as needed when slicing the design to prepare it for your printer. I used some white PLA filament and set the bunny to print using standard settings (.2 resolution) but with 10% infil. The bunny took about an hour and a half to print and came out pretty clean. The eye looked better on the top of the design than it did on the bottom/bed side, but otherwise, it was perfect. As soon as it printed, I dug out a Cadbury Egg and tested to make sure it worked. It was just the right size, and I set it up to print another!

Alcohol Ink on Spray Painted Plastic Easter Eggs

Image
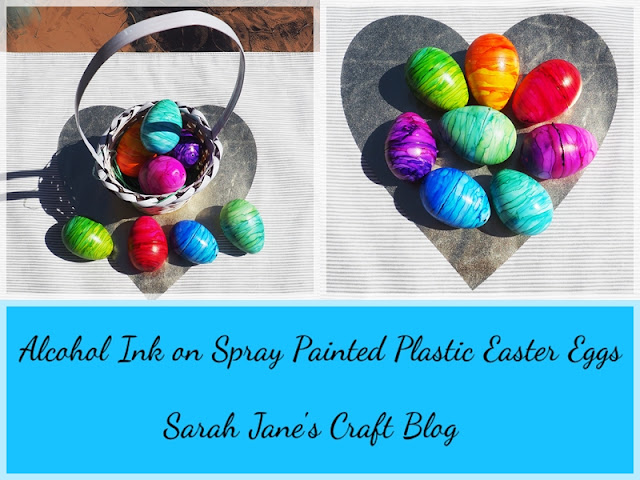
For the last several years, I've tried out various different methods of decorating plastic Easter eggs . I buy them on clearance after the holiday, so I usually have a stash in my Easter box. I have mod podged and spray painted and inked them . This year, I decided to try using alcohol ink on eggs that have been spray painted white. It can be tricky to find the inexpensive plastic Easter eggs in white--they usually come in a variety of pastel shades. Alcohol ink is so much brighter and vibrant when it's on a nice light background. So I grabbed a can of  glossy white spray paint and put some plastic eggs in a cardboard box and attempted to spray paint them. It took several coats with them opened up, then I put them back together and put them into an egg carton and tried to spray paint the sides. They are tricky to paint just because of their shape. I ended up with some paint issues (spots where they touched and some pealing, etc...), so I tried another batch, so I had more o...

Alcohol Ink Easter Sun Catchers

Image
Last spring, I had an idea to try using alcohol ink on the inside of a laminating pouch and then laminating it. It worked, and ever since, I've been making sun catchers for every holiday using the technique. Later I discovered I could cut the film on my Silhouette, which opened up even more possibilities. So now it was Easter's turn to get some fun sun catchers. I laid out a few pouches of laminating film and got out a craft mat , some canned air , some rubbing alcohol, and of course, my inks . I opened the laminating pouch and dripped one color at a time (a few drops scattered over the film) and then blew the ink with canned air to spread it out and dry it. I repeated the process with a ton of colors until I had a rainbow-y filled sheet of laminating plastic. To break up the pattern a bit, I used a pipette with a tiny bit of rubbing alcohol that I squeezed over the inked circles to create tiny bubbles/circles all over the sheet. Then I set the sheet aside to dry (open). I...