Posts

Showing posts from October, 2021

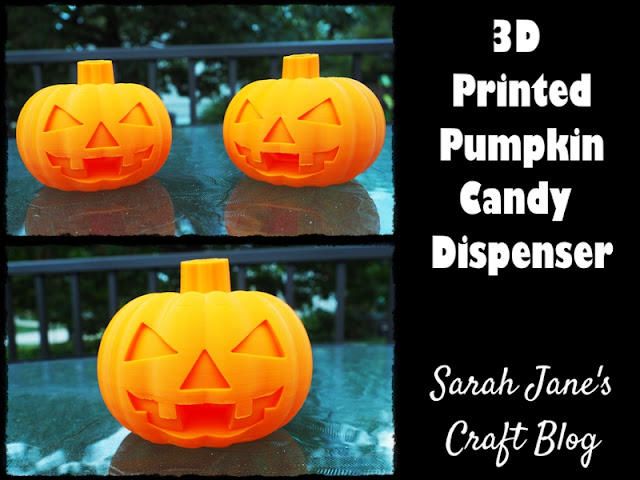
Craft Project Update: 3D Printed Halloween Lantern Style Candle Holder

Image
It's been a busy week here, so I just wanted to share an update with you. Last week I printed the pumpkin candle holder (on the right), but the sides weren't staying in straight all the way to the top. So I tried a couple of options for the stacked pumpkin lantern . Both worked. A lovely maker created some clips . They are a bit fussy, but they printed super fast and did the trick. I also printed a second base. This worked great, but I didn't have easy access to the led candle, so I opted for the clips. The solutions worked so well, that we made a second candle holder with the bat design . I hope you all had a very Happy Halloween!

3D Printed Halloween Lantern Style Candle Holder

Image
We managed to get in another Halloween 3D print project with our o range filament . After our Pumpkin Candy Dispensers had some issues with stringing, my husband printed a temperature test on that filament. It suggested that a slightly hotter temp might work a bit better, so for this week's print, we set our filament temperature up to 210 degrees instead of 200. We decided to try out the Stacked Pumpkin Lantern . It looked like it would be a fairly simple print--a good way to test the orange out at another temperature. The first layers looked perfect. They got a bit rough a few layers in, but nothing was catching, so we let it keep printing. By the time it was finishing up, the print was smooth and looking great!  The designer suggested printing it with a raft (a thin layer underneath the print), but we were worried that would be a pain to remove, so we tried it without. It was a bit hard to remove from the print bed, but as long as we let it cool for a while before trying to remo

Home Improvement: Entry Railing

Image
I didn't get a craft done this weekend because I was working on a little home improvement project, so I thought I'd share it with you.  Our front steps have this sturdy, but fairly ugly railing (picture on the left is the before photo). This spring, hubby took the power washer to it and cleaned it up, but even though it looked better, it was rougher feeling than ever (and not very protected from the elements).  So on a lovely fall day, I decided to sand the darn thing to death and then spread on some deck sealer that had been in our garage for a decade. I went through about 10 sanding pads on our cheap old sander. The grain was really raised and the wood was really rough. But since it's a very sturdy railing, I just needed to get it smoother and sealed up. After an unreasonable amount of sanding, I cleaned the railing off (brushed and then wiped down with a damp rag), I opened up a can of tinted waterproof sealant that was left in our garage by the previous homeowners (we&#

3D Printed Pumpkin Candy Dispenser

Image
In September I went shopping for orange PLA (plastic filament) for our 3D printer with great excitement. I just knew we were going to print some awesome Halloween stuff. We got our Orange filament and I started saving designs on Thingiverse. When I saw the Jack-o-lantern Candy Dispenser, I knew it had to go on our short list. The print started well with good bed adhesion. Throughout the print, it was a bit stringy (even more obvious on the next photo).  It printed well enough. It certainly looked like a pumpkin, but it was just so darned stringy on the inside. When it finished, we were both really excited about our creation. It looked like a perfect pumpkin. The mouth opening printed with some supports, so I had to break those off. A needle nose pliers and a craft knife took care of the extra plastic. But, after we printed our first pumpkin, try as we might, we couldn't get the inner chamber to spin (which is how it dispenses candy). It was stuck. We figured it was because it wa

3D Printed Battery Dispenser

Image
About a month ago, we bought a 3D printer . I've been trying to share our adventures as 3D printing newbies. To check out our previous projects: 3D Print Projects .  This week's print project was one that both hubby and I noticed when we first got the printer. "Oh cool, there's a dispenser for batteries." You know you're old when a battery dispenser gets you excited. So we downloaded and sliced this project from Thingiverse: AA & AAA Battery Dispenser . This print took about 15 hours to print (with PLA in Gray ) and turned out pretty well. We had a bit of sagging in the opening at the bottom because we didn't print any supports (as are suggested by the original file uploader). But it still worked pretty well. I'm happy with how it turned out, given that I missed that instruction when I set up the file for our printer. As soon as the print was off the print bed, we started loading batteries into it. It fits a ton of AAA batteries (36+), but fewer AA