Posts

Showing posts from June, 2022

3D Printed Articulated Dragon

Image
A couple weeks ago I printed the Flexi-Rex and he was so much fun, that I thought I'd give the Flexi-Dragon a print this week. This prints in three parts. We've had better luck with the prints sticking to our print bed when we print each part separately (that and our print bed is pretty small). The body printed in about 5 hours. I printed it using the recommending settings (.2 resolution, 5% infil) using digital blue PLA . Then I printed the wings the next day. Each wing took about 3 hours and was printed with the same settings (.2 resolution, 5% infil) and PLA filament. All the prints for this project came out very clean. I used a bit of hairspray on the print bed before each print started and had no issues with adhesion. Each wing has a clip for inserting into the dragon body. On one side of the clip, it's smooth. On the other side, it has a ridge that flairs out to the width of the dragon body. I laid out all of the pieces after they were printed and then put the two

Camping Fire Starters...Again

Image
It's that time of the year again--time to make fire starters for camping and backyard bonfires. It's been a couple of years (darn the plague) and my stockpiles had dwindled, so I dug out the reject candles and got to work. After many attempts at fire starters , the old standby of dryer lint in a cardboard egg carton with melted wax works the best. The second best, is colored pencil shavings. I empty my electric pencil sharpener into a zip top bag and keep an egg carton in the laundry room until I have enough material saved up to make fire starters. Next, I melt some old candles. This year I was using a candle that my sister generously donated to the cause. It smelled like berries (bonus).  I melted the candle in a foil pan on our ceramic cooktop on medium low. One of these years I'll buy a proper candle making pot with a spout, but until then, this works just fine for fire starters. The egg cartons were on parchment paper (as some wax does soak through). I used the co

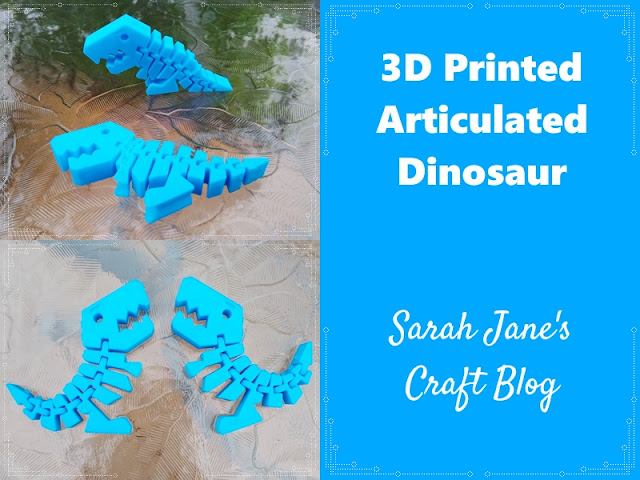
3D Printed Articulated Dinosaur

Image
One of the first projects I saved to my "Things to Make" folder on Thingiverse when we got our 3D Printer was this cute little dinosaur . I finally got around to making " Flexi Rex " this week, so I thought I'd share him with you and show you what kinds of little problems can sometimes come up when 3D printing . I printed Flexi Rex using the recommended settings (.2 resolution, 15% infil) using some blue PLA . This print was really hard to see while it was printing because the dinosaur is only slightly bigger than the print head. I saw some extra plastic along the top, but since, at the time I checked on it, it was printing well, I let it go. It looked pretty good once it had finished printing, aside from the excess plastic on its spine. When I peeled the dinosaur off the print bed, I could see what happened. One of the sections of the dinosaur (the arm) dislodged/came unstuck from the print bed after it had printed the base layer, but it fortunately didn't

3D Printed Card Trays for Welcome to...Your Perfect Home

Image
Last week I shared a 3D printing project to upgrade our Quacks of Quedlinburg board game.. This week I'm sharing another board game upgrade. One of our favorite games is a flip and write (flip cards and write on a game board) called Welcome to...Your Perfect Home . We have purchased several expansions for the game, so I was having a hard time figuring out how to neatly store everything. So, when I saw this card tray set for Welcome to..Your Perfect Home , it looked like exactly what we needed. I set up the files with standard settings (.2 resolution, 20% infil) and sliced the small tray and the large tray files. With our 3D printer , I printed the smaller tray first using some Blue PLA . The smaller tray took about 7 hours to print. Between the design and the PLA plus that we used to print the tray, it's very sturdy and it printed perfectly. It did take a little bit of coaxing to remove it from the print bed, though. The larger tray was printed the next day. We used the same