Posts

Showing posts from October, 2020

Alcohol Ink on Laminating Pouches Cut with a Silhouette Cameo into Suncatchers

Image
Last week I made some pumpkin suncatchers made out of laminating film. I had an sheet of orange leftover, so I decided to make a couple more colors and try cutting them with my Silhouette. I wasn't completely sure that it would work, but I saw a couple of successful posts from other bloggers about cutting out laminating film with the Silhouette, so I thought, hey, why not give it a shot. I started by making a couple more colored sheets. I wanted to make one that was inspired by the color of fall leaves, so I got out all of my shades of green that weren't aqua or blueish and a couple shades of yellow and orange. I laid a laminating pouch out onto a craft mat and started dripping ink. I filled my laminating film up with green and yellow ink and then filled in the last empty spots with some orange. I spread the ink around a bit with some canned air . Next, I decided to make a sheet that was purple, black, and silver. I decided to try squishing the ink between the two sides of t...

Alcohol Ink and Laminating Film Pumpkin Suncatchers

Image
Last spring I had the novel idea of inking laminator pouches. They turned out great and I made star suncatchers and shamrock suncatchers . So now that the holiday crafting season has begun, I decided to revisit inking laminator pouches. I found a pumpkin template online and printed it out on some cardstock and got my alcohol inks , crafting mat , a can of air , and some laminating pouches out. I also set up my laminator and turned it on to warm up. The 3M laminating pouches are two pieces of film attached at a seam on one of the short sides of the film. It can be opened like a book. The inside has a bit of a texture to keep the items you're laminating from sliding around. This textured surface keeps the ink from spreading a ton, but otherwise, it's like putting ink on any other plastic surface. I got out all of my shades of orange and a couple of shades of yellow ink and started dripping it on the film. I added more and more ink and occasionally spread it around with the can...

Halloween Craft Collection

Image
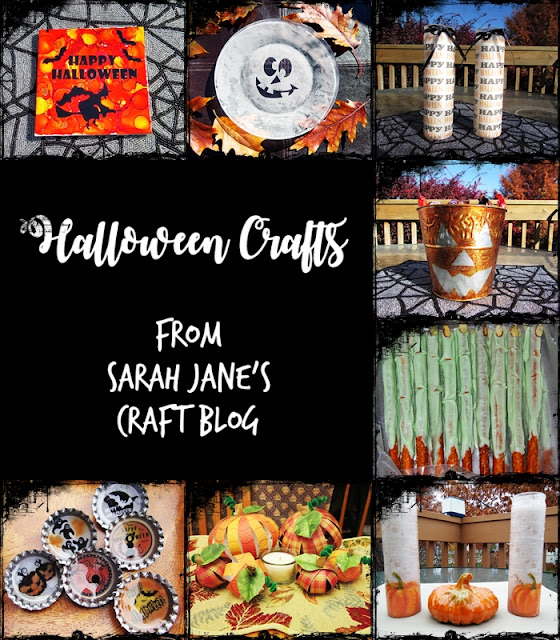
 It's that time of the year again. Check out the collection of Halloween and Fall Crafts from Sarah Jane's Craft Blog.

Mod Podge and Washi Tape Stick Pens

Image
The inspiration for this week's craft came from an unusual place. I was cleaning out some digital files and came upon an untitled document file. When I opened it, all it said was: decoupage tissue paper or fabric on stick pens. I don't remember jotting that down, but I thought, hey, that's not a bad idea. Especially after last week's post with jazzed up binder clips , I guess I'm starting a series on office supplies ...well, probably not, but here goes nothing. So, I gathered my supplies: Mod Podge , Stick Pens , a foam brush , a scissors, some patterned tissue paper, and a large paper plate to keep the glue off the table. I cut my tissue paper the length of my stick pen and a couple inches wide. I crumpled this paper to see if it made a different with the finished texture (it did not, so you don't need to do that). I used the foam brush to spread the mod podge onto the pen, then I lined the pen up on the paper so it would be straight. Then I rolled the paper on...