Posts

Showing posts with the label geek

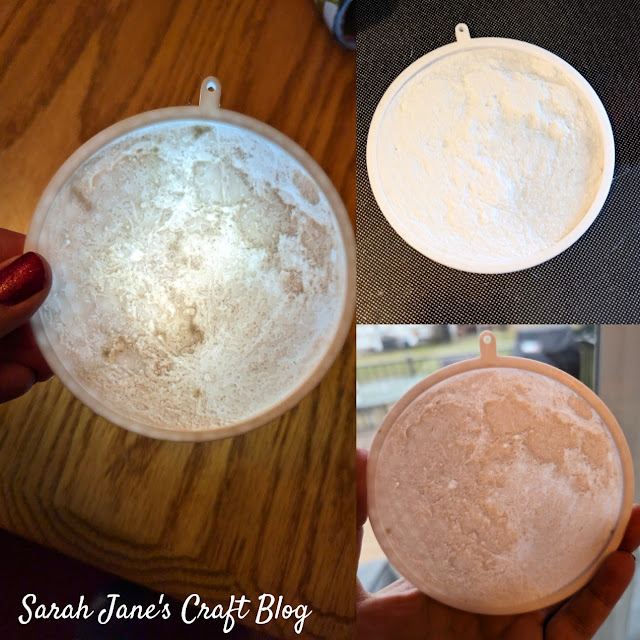
3D Printed and Decoupaged Puzzle Box Lid Stand

Image
Our 3D printer has been a bit unreliable lately, so I haven't been making too many projects. One of the last things I printed was this great puzzle box lid holder . When the print didn't turn out perfectly, I took the opportunity to try decoupaging on printed PLA.  I used standard print settings (.2 resolution and 20% infil) using some purple PLA . The print took about 12 hours on our little printer . When it was done, it looked stringy, but otherwise not too bad. When I pulled it off the bed, the base layer was discolored and full of the hairspray I used to help with bed adhesion. I was able to clean up the stringy bits without any issues, but the base level remained marked up no matter how much I cleaned (and lightly sanded) it. Since I used some Tacky Glue to attach some felt to a 3D print project in the past and it has held up really well, I was pretty sure Mod Podge (which has the same base--PVA glue) should work well too. I found a piece of scrapbook paper in my craft...

3D Printed Thumb Book Holder

Image
When I saw these nifty thumb book page holders available to print, they looked like a simple and useful project.  I used some black PLA on our printer with standard settings (.2 resolution, 20% infil). The first one came out a bit stringy, but otherwise perfect. It printed in about 30 minutes, so I printed a second one. Now I have two of these lovely book page holders!  

Moon Lithophane Ornament Suncatcher

Image
I had an idea to turn a photo my brother took of the moon into a lithophane, so I thought I'd share with you how I made it happen.  NASA has images of the moon that will totally work for this project, too. I used the website lithophane maker  to crop my moon photo down to a circle and adjusted the size of the frame and hang tag. It took a bit of fiddling to get it set up the way that I wanted. Once I was happy with it, I imported the file into my slicer and just used standard settings (.2 resolution and 20% infil). If I were to do the project again, and I think I will (Pluto is calling my name), I'd set it to 100% infil so you don't get any shadows of the shapes the printer makes coming through in the final print job. I printed it on our 3D printer with white PLA . The print took about 3 hours, and we had to run it a few times because our printer was struggling with burning filament (leaving dark marks on the print). We turned down the temp to 190 degrees, and it seemed to...

3D Printed Sorting Hat Ornament

Image
If you're a regular blog follower, you may know that I have a small Harry Potter tree that I've been creating ornaments for over the years. This year, I stumbled upon a design for a Sorting Hat ornament and immediately knew I needed to print it.   I used the recommended settings for an earlier version of the Sorting Hat (.2 resolution and 25% infil) and used some brown PLA on our 3D Printer . The print took a bit over 2 hours and came out great! After I took a few photos, I immediately hung it up our our tree!

Deadpool Folgers Canister

Image
A couple years ago, I made a discovery. I learned that applying a Deadpool decal to a Folger's can , was extremely satisfying. It was the perfect shade of red and the black lid complemented the black vinyl . So, I decided, any time I have a leftover Folger's can, I was going to slap a Deadpool decal on it. This was a totally doable goal since I don't drink coffee, and I just keep it around for the occasional visitor.  So, when I cut the decal for last week's star sign , I also cut a Deadpool decal that I found using a Google search. I cut it using standard cutting settings for vinyl (though, as I learned from the star sign, I probably should have set it to two passes). I cut the label off of the Folger's can and ran it through the dishwasher on the top rack. Then I cut around the Deadpool decal and grabbed my vinyl pick . The decal weeded pretty well, but it didn't cut around the "I" in Maximum very well. I had to pull it apart. It tore the vinyl a bit...

Turning Perler Beads Characters into Christmas Ornaments

Image
Earlier this year, I made some Perler bead characters from a kit off of Amazon . Since I've been slowly but surely making ornaments for a small tree themed after Harry Potter , I thought it would be fun to turn the Perler bead characters into ornaments. This is a pretty quick project. On most of the characters, there was a center bead in the top rows of beads. I used a vinyl pick (but an awl or large metal needle should do the trick too) to poke a clean hole through the middle beads. For some characters, there isn't a middle bead, so to keep the ornament hanging mostly straight, I made a new hole between two beads in the middle. This required using a lighter to heat up the metal of the vinyl pick and then to poke a hole. Once the holes were poked, then I added a jump ring (small metal rings that are sold with the jewelry supplies) to the hole and pinched it closed with a pliers. Once the jump rings are added, you can use a cord or thread or, like I did, just an ornament hange...

3D Printed Dinosaur Clip

Image
This week's 3D printe r project was a quick print. This Minisaurs miniature dinosaur clip print was a perfect print to squeeze in between other projects and chores. I set the print up using the recommended settings: .2 resolution and 35% infil for printing it in the mini base design size. The instructions said you don't need as much infil as you size it up. The dinosaur is pretty small. I had a hard time taking pictures of it while it was printing since the print head pretty much covered the whole design. I printed it with purple PLA and the whole project only took about an hour and 45 minutes to print. The print came out perfectly and I was able to open it's jaws by pushing on the back legs pretty much immediately after peeling it off the print bed. This was turned out so well that I kind of want to print some of the other designs in other colors!

3D Printed Deck Box and Card Tray for UNO Sized Decks

Image
While browsing around on Thingiverse for print projects, I found a deck box that can double as a card tray. The Card Game Keeper is designed for UNO sized cards (slightly narrower than poker style playing cards) with decks of 100-120 cards.  I started out printing the bottom of the box with our Ender 3 version 2 . The instructions suggest using gyroid supports for this print. I set the infil to gyroid too, just for consistency's sake, but everything else was standard settings (.2 resolution, 20% infil).  I used white PLA filament  and the print took about 5 hours. It came out fantastic! The supports popped out easily from each of the corners (there was another support for the lip on the bottom of the box, but it came off when I peeled the print off the bed). Then I set up the top of the box to print. The instructions suggested using zig zag supports for this part of the box.  Just like last time, I set the infil to zig zag as well and used otherwise standard settin...