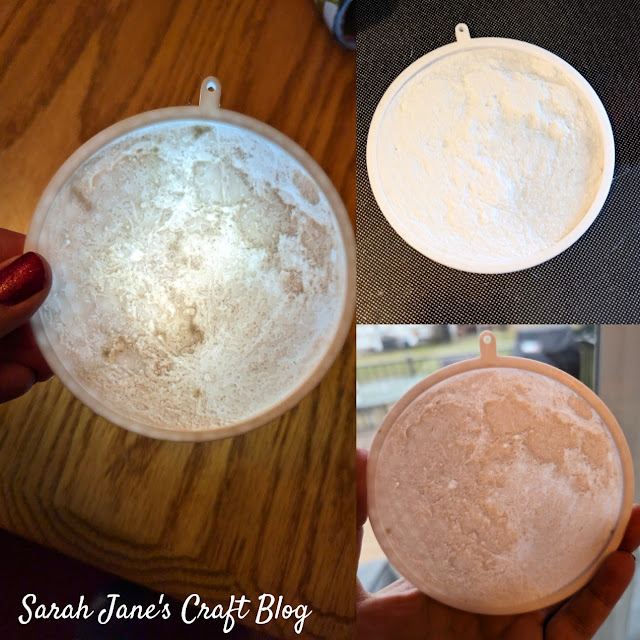
Moon Lithophane Ornament Suncatcher
I had an idea to turn a photo my brother took of the moon into a lithophane, so I thought I'd share with you how I made it happen. NASA has images of the moon that will totally work for this project, too.
I used the website lithophane maker to crop my moon photo down to a circle and adjusted the size of the frame and hang tag. It took a bit of fiddling to get it set up the way that I wanted. Once I was happy with it, I imported the file into my slicer and just used standard settings (.2 resolution and 20% infil). If I were to do the project again, and I think I will (Pluto is calling my name), I'd set it to 100% infil so you don't get any shadows of the shapes the printer makes coming through in the final print job.
I printed it on our 3D printer with white PLA. The print took about 3 hours, and we had to run it a few times because our printer was struggling with burning filament (leaving dark marks on the print). We turned down the temp to 190 degrees, and it seemed to work better.
The process was surprisingly easy, just like the last time we made a lithophane. Seeing a 2d photo turned into a 3d object is super satisfying. I can't wait to make more!


Comments
Post a Comment