Posts

Showing posts from March, 2015

Mod Podge and Tissue Paper Easter Candles

Image
I've been slowly making these decorated altar candles from Dollar Tree for every major holiday.  I started with Halloween , then Christmas/Winter , and Valentine's Day .  I had two left in my stash and I came across some cute tissue paper with Easter eggs on it at Walmart, and I knew what I was doing next. I figured I'd jazz it up a bit by applying a larger egg down at the bottom of the candle. I had already applied colored cut outs to white paper (with the Valentine's candles), but I hadn't tried it over patterned paper. First I soaked the bottoms of my candles in the kitchen sink to loosen the sticky labels. I used a plastic dish scraper to get the labels off once they were wet, and they came right off--I didn't even need to use goo gone. Then I printed an egg template out on some cardstock that was a similar shape to the ones on the tissue paper and cut out some solid colored eggs to apply over top of the patterned paper. The trickiest part was c

Foil Backed Alcohol Ink Glass Gems

Image
A couple of weeks ago I revisited my alcohol ink decorated glass gem project.  I made a couple of necklaces and was still left with quite a few decorated gems.   The first time I made the glass gems , I thought it might be a good idea to back them with paper or foil to make them appear a little more solid/opaque, reflect light, make the colors pop, and hide any magnets or bails that were glued onto the back. So I tore off a sheet of aluminum foil from the kitchen stash and grabbed my one-inch circle punch and made myself some foil circles. (Punching aluminum foil is also supposed to sharpen your paper punches--I'm not sure I believe that, but I guess it couldn't hurt.) I decided to crumple a few and leave a few smooth to see the difference. I chose the lightest (in color) of my gems to put the crumpled foil on. I spread on some mod podge with a foam brush --making sure to put plenty of glue on the gems that were getting the crumpled foil so that it would

Craft Revisit: Mod Podge Storage Container

Image
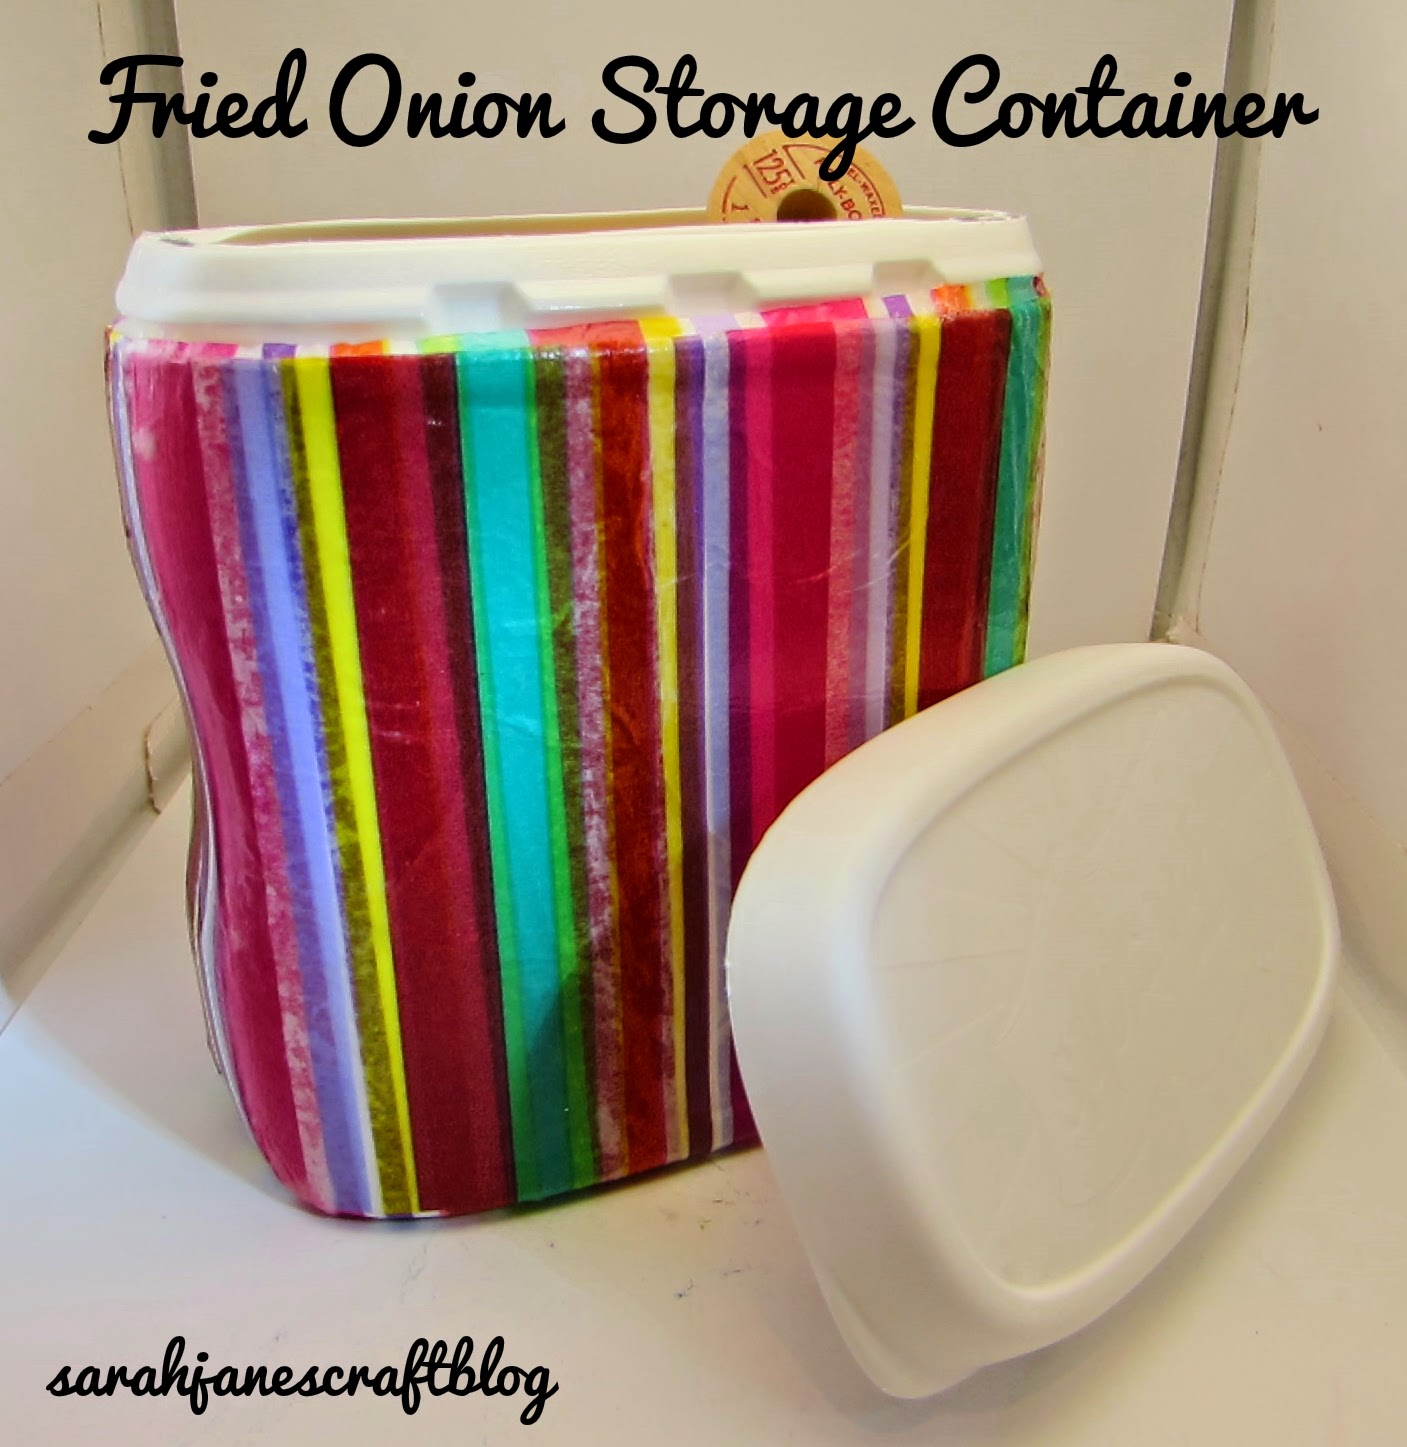
Ok, so this one is on it's third time round, but I like the project so much that I just can't throw away my empty containers after the holiday green bean casserole season--I just have to turn them into cute storage containers. In case you missed them:   The first time I covered one of the French's Fried Onion containers I used some cute polka dot tissue paper that layered really well. Which worked great because the paper was thin and I teared it in a couple spots on the first layer. The second time I made this handy storage container, I  I used a thicker tissue paper that probably could have worked just fine with one layer, but had a nice shadow effect with two layers. My third attempt was with this cute multicolored striped tissue paper. Just like with the first two, I cut two rectangles of tissue paper that were just barely taller than the container and long enough to wrap around with a bit of overlap. I spread some mod podge onto the

Crafting Revisit: Alcohol Ink Glass Gems

Image
A couple of weeks ago I dug out my old decorated glass gems and whipped up some magnets .  The project reminded me just how rewarding decorating glass gems with alcohol ink is. And since I have more colors of alcohol inks and some new glue-on bails since the last attempt, I thought it was worth a revisit (original post) . So I grabbed some 1 inch glass gems  (which I picked up at Dollar Tree), my inks, and my applicator and got to work on a craft mat. I remembered from last time that the brightest and darkest colors work the best, so I used a variety on the backs of the gems. I just dropped a few different colors onto the felt and stamped and switched colors until I liked what I saw. And just like last time they turned out so pretty so quickly! After they had dried (and I had taken some photos), I flipped them over and mod podged the backs to keep them from smearing or scratching.  A clear sealer would work well for this step too, but it was cold out when

Tissue Paper "Stained Glass" Candle Holders

Image
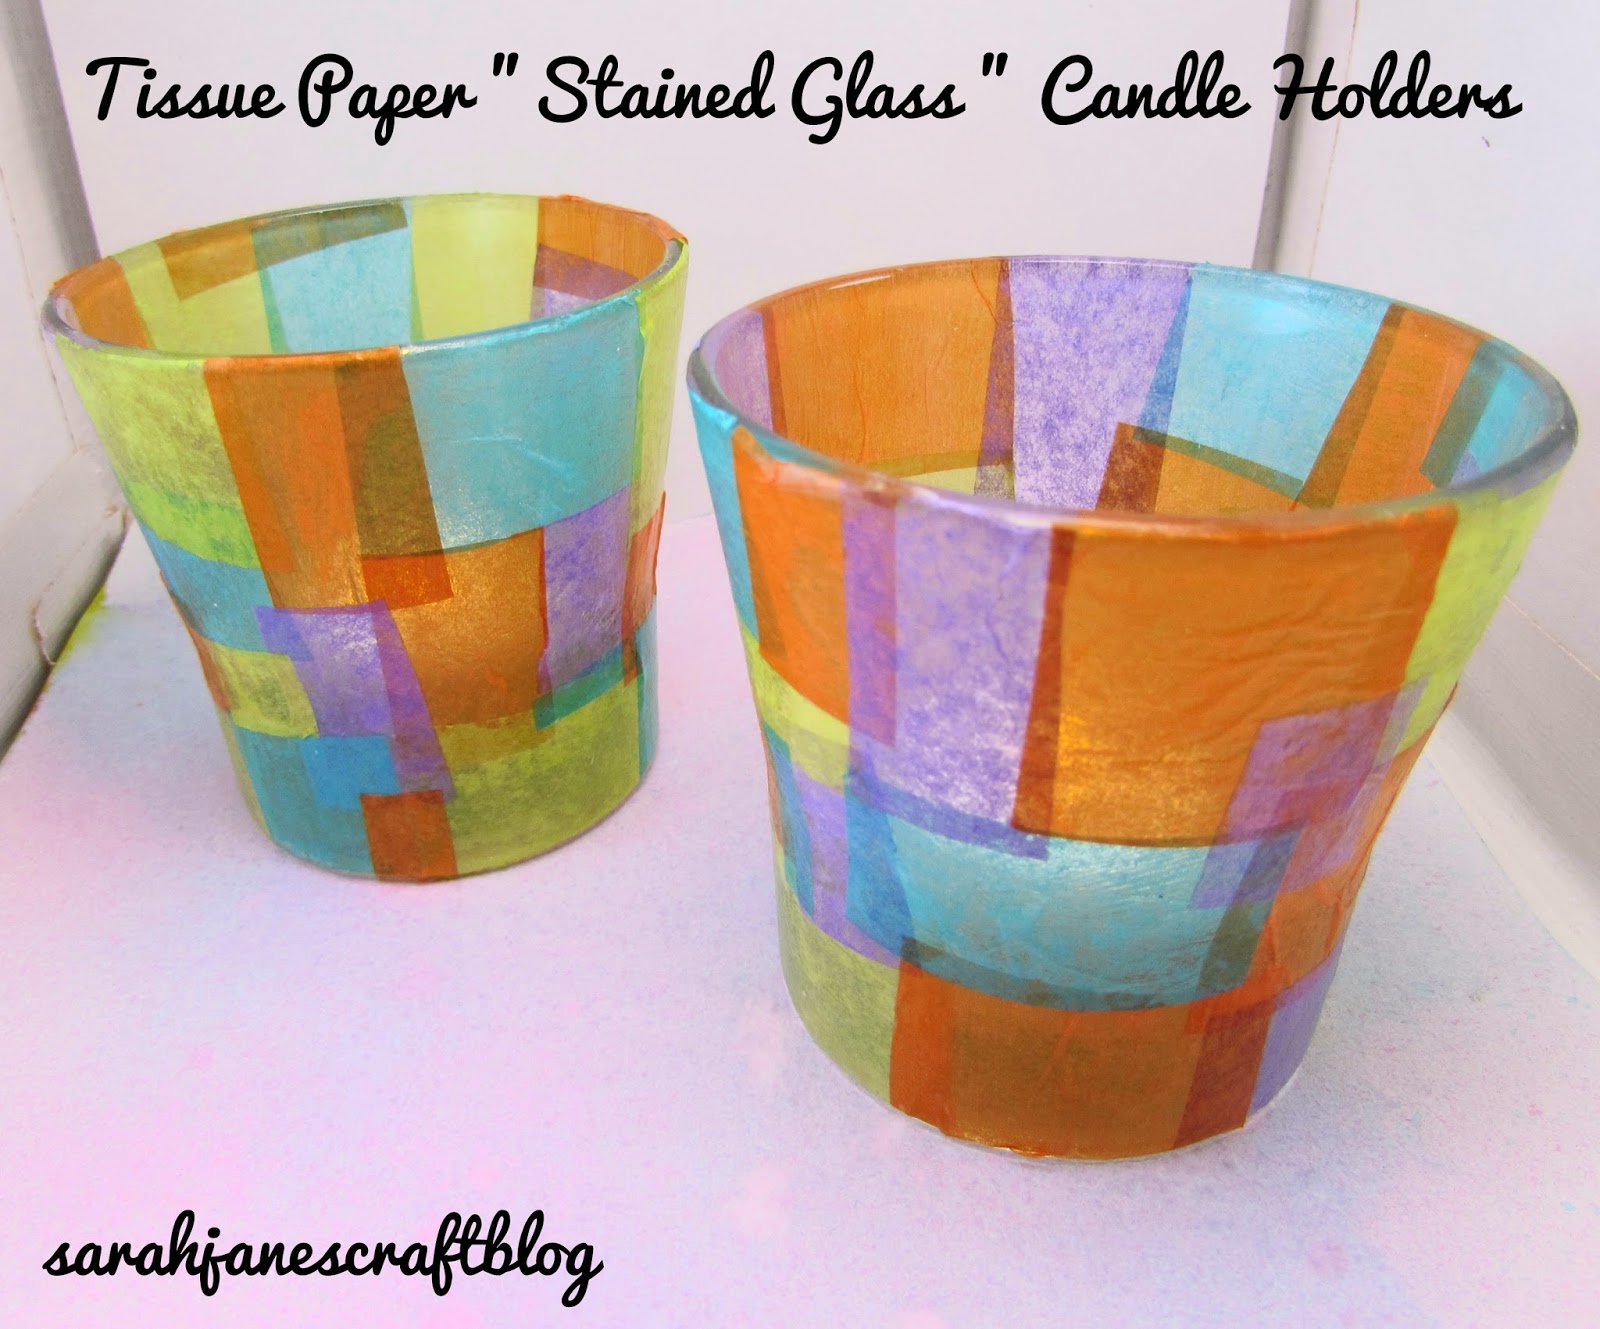
I had two more leftover Glade candle holders to makeover and I decided to give them the "stained glass" treatment with tissue paper. I collected the brightest colored tissue paper I could find in my stash to try to shake me from my winter doldrums (seriously, when is winter going to be over...).   I chopped my colored paper into various sizes of squares and rectangles.  I just tried to cut up a bunch so I wouldn't have to pause while gluing to cut up more.  I ended up cutting more after the first candleholder was covered (my first pile is pictured below), but I had a bunch leftover when I was all done, so it was probably just the sizes that I liked the best that I happened to be out of. After I had a nice pile of randomly cut squares, I used a foam brush to paint about 2 inches of mod podge onto the candle holder.  This was about the largest area I seemed to be able to work in before the glue would start to dry before I could get my squares positioned.