Posts

Showing posts with the label cleaning

Cleaning Pennies

Image
I recently received a couple of penny books for collecting pennies. Pennies aren't good for a whole lot else these days, so I dug out my jar of change (there weren't a ton of pennies as we have pretty much stopped paying cash for things these days and spent our change stash on a penny war fundraiser at husband's work a few years back). They were mostly pretty dirty, and I didn't want to put them in the book that way, so I set out to clean and sort my penny stash. I thought some of you might be interested in how I did it. First I poured the whole jar of pennies into a cereal bowl and covered it with vinegar . Then I added some salt to the top. The pennies changed color instantly. It's awfully satisfying. Since I had them all stacked on top of each other, I knew they wouldn't all be clean, so I swished them around and rinsed them off in clean water. It's important to rinse the pennies because the salt and vinegar will lead to oxidation if left an...

Tested Life Hack: DIY Shower Head Cleaner

Image
It's been awhile since I've tested one of those life hack tricks floating around on Pinterest and the Internet. But, I was cleaning my shower and noticed how gross the shower head was getting and I remembered seeing a trick for cleaning shower heads: a plastic bag full of vinegar tied to the shower head. It was an easy enough thing to test out, so what did I have to lose? I'm sorry about my gross looking shower head. But you needed to see what we were up against. It was not only a bit of hard water, but also some mold and mildew--so it was definitely time to clean it. I grabbed a gallon Ziploc bag because it's what I had--but any sturdy plastic bag should do the trick. I put about 3/4 of a cup of vinegar in the bag and attached it to the shower head as best as I could. I used a couple of twist ties and some scotch tape to keep it on the shower head and to keep the vinegar covering as much of the shower head as possible. I checked on my shower...

Spring/Summer Candles Refresh

Image
After this week's project where I punched butterflies out of tissue paper for a candle holder, I had leftover butterflies. They're fragile, so they are hard to store and keep for later, so I thought I'd use a few of them to jazz up this old project  (pictured above). The colors matched the pattern on the tissue paper perfectly. I painted a thin layer of mod podge onto the candles and placed my butterflies on carefully. Then I waited a minute or two and painted a thin layer of glue over the top. It took maybe 10 minutes to add the butterflies, so it was a great way to use up a few before tossing the leftovers. The butterfly additions are pretty subtle. The lime green ones disappear almost entirely, but it's nice to add another layer of dimension to an old project to freshen it up.

Mod Podge and Punched Tissue Paper Candle Holders

Image
This past spring I discovered that you could, in fact, use a paper punch to cut tissue paper. Way back when, I saw a project online using the punched paper, and I was pretty miffed when I couldn't get it to work. But I made a heart shaped bowl with heart shaped paper decoupaged onto it with pretty good success. So, when I found some new paper punches on sale at Tuesday Morning, I knew I had to try it again. Tuesday Morning had a good selection of Martha Stewart punches. Even this big butterfly punch (which makes a 1 1/2 inch butterfly) was only $4.99. What I learned from the last project was that the only way you can get the tissue paper to work with a paper punch is to fold it so you are punching multiple layers at once. How many layers it will punch depends on the punch. So there will be some trial and error. Sometimes it feels like you've folded too much, only to find out that the paper will only punch once you've folded it some more. So, if at first you do...

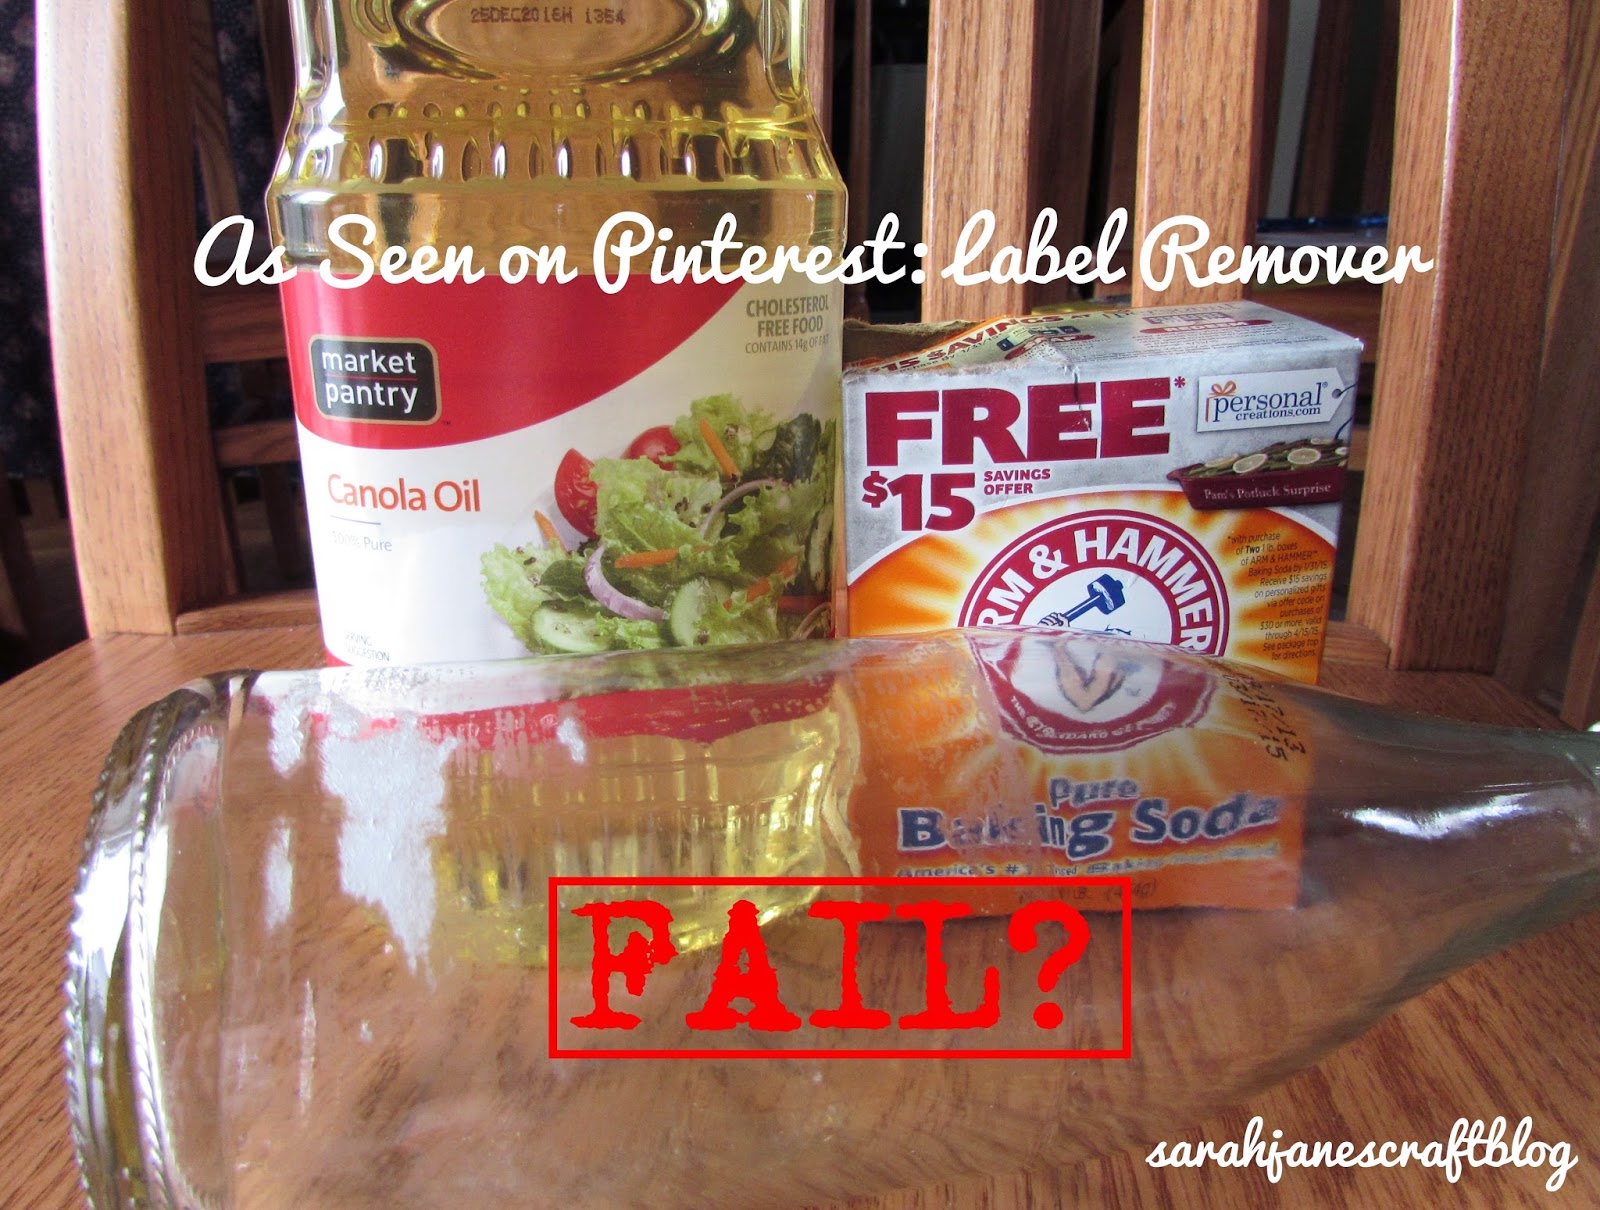
As Seen on Pinterest: DIY Label Remover

Image
A while back I tried a DIY Pin for removing that stubborn glue residue leftover from labels. It called for equal parts cooking oil and baking soda made into a paste, spread over area and let it sit for 10 minutes, scrub off, and you'll be clean as a whistle. So I made my paste with some canola oil and baking soda. I spread it over my bottle, and let it sit for 10 minutes.  After 10 minutes I came back and started rubbing it off with a cloth, but I noticed from the small corner that I started wiping away, that it wasn't working, so I spread some of the excess paste back over that spot and let it sit for another 10 minutes, then I came back and scrubbed off the paste and rinsed off the bottle. It was less gunky, but it was not clean--not even close. So I took my bottle back to the sink and cranked my water to hot.  I grabbed a scrub brush and I used a bit of elbow grease along with my hot water to try and get it clean. After the hot water and elb...

As Seen on Pinterest Revisit: Oil and Vinegar Wood Treatment

Image
About 3 months ago, I tried out a DIY  wood treatment to reduce the appearance of scratches that I had seen online.  I adjusted it slightly by foregoing the use of food grade oil for lemon oil designed to be used on furniture. After 3 months, the scratches have started to reappear in the furniture, so it was time to polish them again.   This time, I adjusted my ratio (since I later realized that I had flip-flopped the ratio from the inspiration articles) from 3 parts vinegar and 1 part oil (the inspirations listed 3 parts oil and 1 part vinegar) to 1:1.  The reason I tried this was that even though the inspirations used way more oil, when I used way less, it still worked, so I decided to try it out with 1 part oil and 1 part vinegar and see how it went. Spoiler alert--it worked perfectly--just slightly better than using 3 times as much vinegar, so if you're trying to stretch your lemon oil, feel free to use more vinegar. The next thing I changed in ...

As Seen on Pinterest: Baking Soda Oven Cleaner

Image
All over pinterest there are DIY recipes for cleaners made from inexpensive household products.  Baking Soda is one of the most popular ingredients (that and vinegar). I have seen a couple of recipes for oven cleaner made with baking soda, but recently I saw one that called for just baking soda and water  That's it. Nothing else. I figured it couldn't possibly work, but since it was so easy, I had to give it a whirl. This cleaner is billed as being able to clean your oven door and window to a clear shine.  All you need to do is cover the door in baking soda and water paste, let it sit for 30 minutes, and wipe it off. So I sprinkled baking soda all over the door and then I tried to use a wet dish brush to make the paste (so as to get a little scrubbing in even though the instructions didn't call for it), but there wasn't enough water on the brush to work.  So I got a paper towel wet and squeezed it out onto the baking soda a couple of times and then...

As Seen on Pinterest: Oil and Vinegar Wood Treatment

Image
A while back I saw a post on pinterest claiming that you could use canola oil or olive oil with vinegar to remove (or at least reduce the appearance of) scratches on wood.  I figured I had to try this out.  Sounds super easy and uses ingredients I have on hand.  I had some misgivings about the idea of using food-grade oil on wood.  I was worried that it might develop a smell.  So instead of trying this with food oil, I pulled out a container of furniture oil (seemed like a logical choice).  I had some Old English Lemon Oil on hand.  I grabbed a disposable plastic container and put in about 1/4 cup of the lemon oil (I eyeballed it) then I added 3/4 cup of vinegar (which I measured). I swirled it around in the container to mix it and grabbed some paper towels.  I then proceeded to find the most scratched up piece of wood in our house: the window sill of our picture window in the living room.  It's at doggy height and our pup is constant...

As Seen on Pinterest: Cloudy Solar Light Fix

Image
A few years ago, we picked up these great color changing solar light orbs.  After years outside (including our harsh winters), the solar cells had clouded over and the lights had mostly stopped working.  I tried wiping them down with a wet rag, but the cloudiness was not just dirt.  So I thought I'd try one of the fixes I'd seen online.  On Pinterest I have seen folks use clear nail polish and acrylic sealer.  I figured the acrylic sealer would be a better long term fix, so I propped my lights up, wiped off any dirt, then sprayed them with clear sealer. The results were downright miraculous.  The solar cell went from cloudy white to clear and black again in seconds.  I let the sealer dry, and they were still perfect black.  You could once again see the metal lines in the solar cell. Unfortunately, I can only give this As Seen on Pinterest review a "Sort of Works" verdict.  After they dried, I put them back outside, and eve...

As Seen on Pinterest: DIY Shower Cleaner

Image
DIY shower cleaner made with vinegar and Dawn has been floating around Pinterest since it's early days.  I first tried it out last year when Pins recommended using it in a spray bottle and some recommended warming the vinegar in the microwave and using it hot when you cleaned.  I'm convinced the hot vinegar was mostly to help keep the mixture liquid enough for a spray bottle. When I tried the spray bottle version, I had to thin it down with 2 parts vinegar to 1 part Dawn to get it to come out of my spray bottle at all, and then the spray bottle was clogged with Dawn by the next time I wanted to use it.  However, it did work to clean my shower--it just stunk strongly of vinegar.  So when I saw the version using a dish scrubbing wand--I knew they had a good idea. I filled my dishwand with 1 part (or halfway) of Dawn Ultra (the standard blue stuff--the old regular Dawn has actually gotten hard to find). Make sure you use a blue scrubber and not a green on...