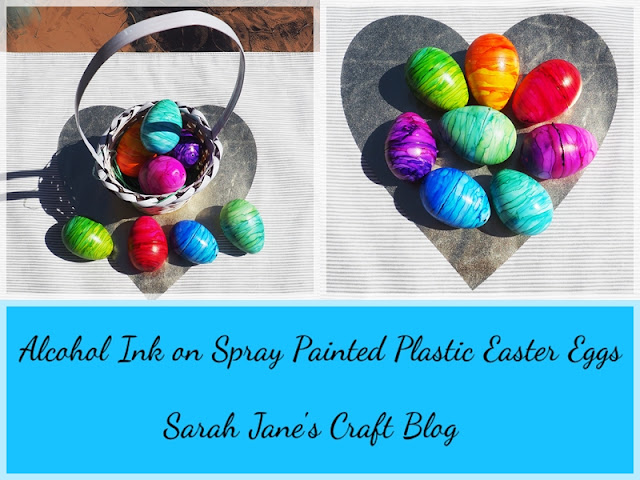
Alcohol Ink on Spray Painted Plastic Easter Eggs
For the last several years, I've tried out various different methods of decorating plastic Easter eggs. I buy them on clearance after the holiday, so I usually have a stash in my Easter box. I have mod podged and spray painted and inked them. This year, I decided to try using alcohol ink on eggs that have been spray painted white. It can be tricky to find the inexpensive plastic Easter eggs in white--they usually come in a variety of pastel shades. Alcohol ink is so much brighter and vibrant when it's on a nice light background.
So I grabbed a can of glossy white spray paint and put some plastic eggs in a cardboard box and attempted to spray paint them. It took several coats with them opened up, then I put them back together and put them into an egg carton and tried to spray paint the sides. They are tricky to paint just because of their shape. I ended up with some paint issues (spots where they touched and some pealing, etc...), so I tried another batch, so I had more options.
This time I selected yellow eggs and spray painted them with a satin spray paint in Heirloom White (cream/off white). I made lighter coats and got much better results.
I got out my inking supplies (craft mat, rubbing alcohol, a paint brush). Then I selected my white eggs that turned out ok and the batch of off white eggs and used bamboo skewers or toothpicks in the little holes in the tops and bottoms of the plastic eggs so they could be held while inking. A couple of them did not have holes. I set them aside for later.
I selected a shade of magenta ink (wild plum) and dripped some ink onto the egg and spun it around to get it to run around the egg.
I dipped a paint brush (a #6 round brush) in some rubbing alcohol and spread the wild plum ink out across the egg. The satin finish paint soaked up the ink a bit and gave it a lovely watercolor effect.
Then I added some pink (raspberry) alcohol ink to the top of the egg and spread it around with my paintbrush.
Then I added some slightly more purple ink (boysenberry) to the bottom of the egg and spread it around. Once the egg was covered, I used my paintbrush to draw lines and make patterns. I used both plain rubbing alcohol and I dipped my brush in some alcohol ink to make the patterns. I used a plastic lid as a palette.
Next I tried inking one of the eggs painted in glossy white. The ink behaved differently. It immediately wanted to run and create cells instead of creating an even watercolor look. So I applied my ink and let it dry a bit before I moved on to painting the next section.
The first one was a bit tricky, but I found that if I spread the ink on thinly and then set it aside to dry and worked on another egg, it worked much better. When the ink was nearly dry, it was much easier to create the patterns in the ink.
I had a couple of eggs with no holes in them, so I opened the eggs up and painted one color on one side of the egg and a complementary color on the other side of the egg. It was hard to paint them (hence the big splotch of green ink on the mat). They want to slide when open and they want to roll when closed. So I let the halves dry and then held the top and bottom between my fingers and did my best to paint the patterns on the egg. I had to paint over my finger prints to hide them a few times.
Even though I struggled with the glossy paint (spray paint and plastic sometimes don't get along) and they were a bit messy to paint, I think they turned out great! I would recommend using a satin or matte spray paint. The eggs come up out looking much more like real dyed Easter eggs and are a bit easier to paint. But both the glossy and the satin turned out lovely in the end.


Comments
Post a Comment