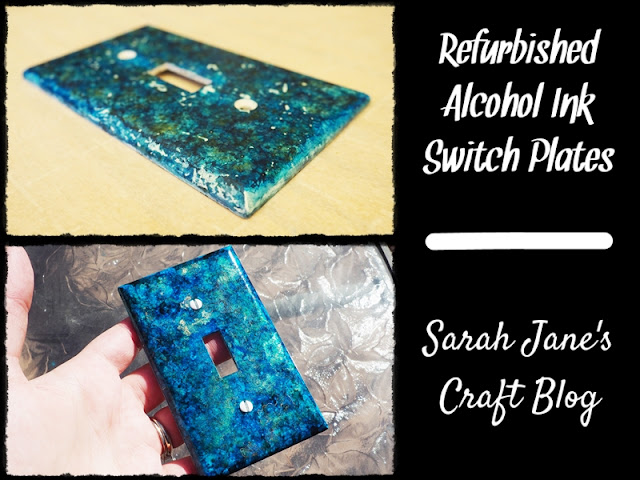
Refurbished Alcohol Ink Switch Plates
Last week on the blog, I wrote an update post about a set of stamped switch plates I made several years ago. One of the switch plates had gotten really scuffed up and needed some love. I hung up a switch plate I inked more recently in its place and got to work trying to refurbish the old switch plate.
Since it was a smaller project, I grabbed a sheet of parchment paper and selected a few of the more aqua blue inks and a small synthetic bristle paint brush. I dripped a single drop of ink on the parchment paper at a time and used the paint brush to suck up the ink and dot it onto the switch plate cover.
After I covered all the areas that were scuffed off with my first blue, I let it dry for a an hour or so before I came back with the same process and a different shade of blue.
I repeated the process with a few different shades until the white areas were mostly covered or disguised.
After the white areas were covered, I decided to add some additional gold/brass ink to break up the blue a bit and add a little bit of shimmer to the switch plate. I used Pinata Brass, a pipette to drip rubbing alcohol, and a can of air.
I had stamped some gold ink onto the plate when I first inked it (the yellower areas are the old gold ink), so I knew some metallic ink would look good with the aqua blue. I dripped a drop of the metallic ink onto the switch plate and then dripped a drop of rubbing alcohol onto the drop of metallic ink.
Then I used the canned air to blow the metallic ink around.
I layered the metallic ink all over the plate and then added a bit of blue ink on with a paint brush to break it up in places so that it would remain a subtle shimmer.
Once I was satisfied with the way my ink looked, I let it dry over night, and then I sprayed it with a light coat of Kamar Varnish. I let that dry for about an hour and came back with another coat just to make sure all of the ink was sealed before moving on. Multiple light coats are better than a few heavy coats, so if you're not sure you covered the whole surface, let it dry and put on another coat.
Then I followed it up with 3 light coats of Triple Thick Crystal Clear Glaze. I probably could have used a 4th to make sure I got the edges sealed well, but I'm impatient. :) The face of the switch plate was shiny and smooth and didn't scratch with the edge of my nail, so I called it a day.
I really liked how the brass turned out on the switch plate. I wish I had gotten better pictures of the process. It's got a lovely subtle shimmer; I can't wait to hang it back up!


Comments
Post a Comment