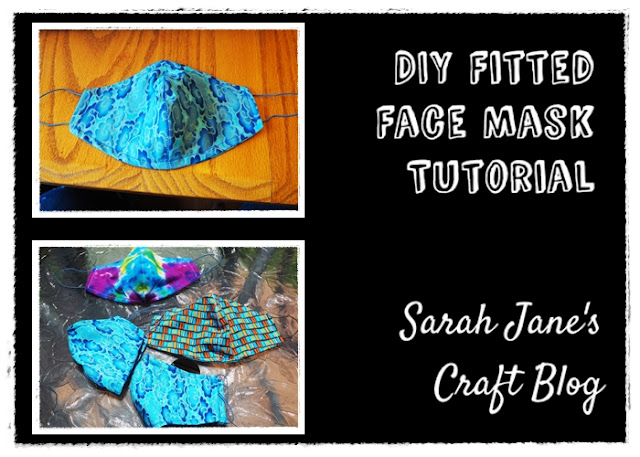
DIY Fitted Face Mask
Towards the beginning of the pandemic, I made some face masks
to wear when going to the grocery store. They turned out pretty well, but as
this crisis has continued, it became clear that we would need more masks. So, I
set out to find a pattern that I could sew more quickly and that fit a bit
better. I wanted one that was a little bit longer from nose to chin than the
Olson mask I made last time so I felt comfortable talking while wearing it and
wouldn’t worry about it slipping off my nose or chin. I also wanted a pattern
that had fewer steps to sew so I could crank out a few in a sitting.
As I was searching online, I came across a pattern from Made by Barb that seemed to do the trick. I made a test mask and found that it was
actually a bit big. after the first mask, I cut the bottom of the pattern off
at the seam allowance line on the paper pattern to make it a quarter of an inch
shorter. Everyone's face is a bit different, so when you find a pattern that seems close, it's pretty easy to adjust it a bit. Barb's pattern even allows for a few different cuts at the nose based on your preference.
I cut out both pattern pieces so that I had 4 identical pieces of fabric for each mask.
To make the new Made By Barb mask, I placed two piece of
fabric right side together to create the front and the liner of my mask. I
sewed along the curved seam that runs from nose to chin with both pairs of
fabric pieces.
Barb recommends opening up the nose to chin seam and doing a
zig zag stitch to help it lay fat and help the mask keep its shape. So, I gave
that a whirl. I haven’t noticed a substantial difference with the zig zag
stitch, but it does seem to hold its shape a bit better.
I repeated the zig zag stitch for the liner pieces.
Then I placed them right side together to connect the front of the mask to the liner.
I stitched around the outside edge of the mask, but I left one of the sides open, so I could turn the mask right side out.
Then, I turned the mask right side out.
I cut a piece of pipe cleaner for the nose. I hadn’t used
pipe cleaner before, so this was a test. I doubled it to make it a bit stronger
and so the pokey end bits would be wrapped up in the middle. I’m not sure that’s
necessary, but it seems to be working ok.
I used the open edge of the mask to place my pipe cleaner
inside the mask and pinned it in place at the nose.
Then I tucked in the open side of the mask (pin it shut if
it’s not staying put) and top stitched the edge of the whole mask. This helps the mask keep it's shape and keep from
turning into a total crumpled mess every time it gets washed, and it allows for a
channel for your nose wire, too. Just stitch carefully when you get to the pin. I
didn’t think the pipe cleaner would slide around since it’s covered in fluffy
stuff, but it did move when I washed the mask. So, either be prepared to slowly pull it back into place after washing, or put a couple of vertical stitches on either side of your
pipe cleaner to keep it from moving.
Since this pattern didn't have tabs built in to fold over your elastic or ties, I stitched them directly on to the mask. I used some elastic beading cord that I had in my craft stash. I tied knots in the ends and stitched right over the cord a few times to secure them. They seem secure for now. I did have to use a lighter on the frayed ends after it went through the wash.
And success! I made a mask that was a littler bigger and pretty fast to sew. After making a couple, this one took me about 20 minutes to make, and I'm not fast. I have neglected most pinning with these now, but even if you put some pins in, it's a quick mask to make.
I even made one of the mask (the tie-dyed one below) with three layers--two inside layers of cotton fabric and the outer layer of t-shirt fabric.
You can see in the completed photo that there's a longer skinnier blue mask (bottom right). I also tried the Olson mask out using these same basic steps. Stop back on Thursday if you want to see how I made that mask!


Comments
Post a Comment