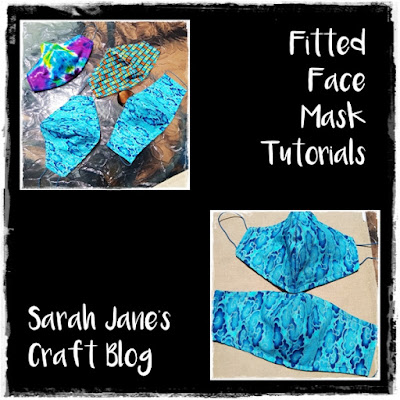
Modified Olson Mask Tutorial
When the pandemic started, I did a little research and found a pattern from a local hospital to make some masks. Those masks turned out well, but took quite a while to put together and sometimes felt a bit small. So, when I realized I would need to make more masks, I went looking for another pattern. There is no shortage of face mask patterns out there these days. So I found a new mask pattern, but when I did, I realized I could easily modify the old Olson mask pattern to sew up more quickly and keep it's shape better.
So, earlier this week I showed you how I made the new pattern. A the same time, I cut out the front face piece from the old Olson mask pattern so that I could try a more streamlined version.
I cut out 4 pieces from one of the front pattern pieces (on the right).
Then I placed two pieces of fabric right sides together and stitched the curved seam that runs from nose to chin.
Then I repeated the process with the other two pieces of fabric so both sets were stitched along the nose seam. If you want to, you can zigzag stitch the nose seam open to help keep it's shape.
Then I placed those newly made pieces right sides together. Feel free to put a couple of pins in, but if you're using woven cotton material, it stays put pretty well.
Then stitch around the outside edge of the mask and leave one of the side tabs open so you can turn the mask right side out.
(Photo of the inner and outer mask pieces stitched together.)
Then use the opening to turn the mask right side out.
(Photo of the mask turned right side out.)
Then I made a nose piece out of some pipe cleaner.
I used the open side seam to place the pipe cleaner inside the mask, and then I pinned it at the top of the mask where the nose seams meet. Place your pin right up against whatever you use to create your nose piece to hold it in place.
Tuck the edges of the open side of the mask under and pin it into place.
Then top stitch around the whole mask. This creates a channel for your nose piece and helps the mask to keep it's shape (and helps to keep the mask from twisting in the washing machine as much).
Then attach your elastic or hair ties by folding one of the side pieces over and stitching it shut.
We learned that this elastic beading cord stretches a lot more than hair ties do, so it needs to be even shorter to ensure a snug fit.
I was pleased with how these turned out--both the new pattern and old patterns come together using these methods very easily. I keep looking for slightly better fitting shapes, but the basic method is super simple. Happy mask making!


Comments
Post a Comment