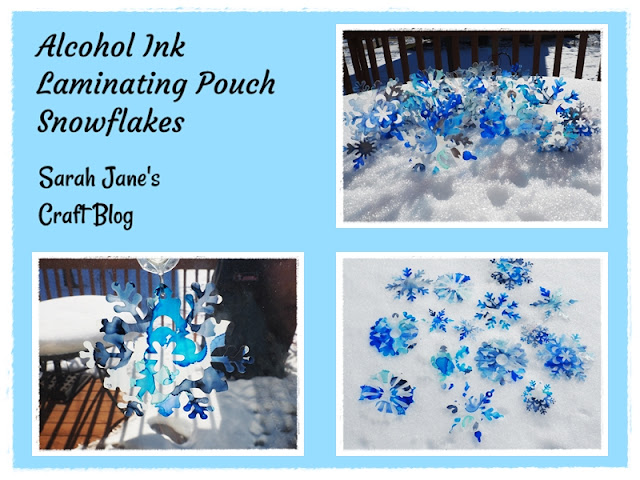
Snowflake Suncatchers from Alcohol Ink on Laminating Pouches
Earlier this year, I tried inking laminating pouches and running them through the laminator. It worked pretty well, so I cut some stars out of the inked plastic and made some sun catchers. Next I made some shamrocks out of some green inked laminating film. This fall, I made some pumpkins, but decided it would be fun to see if I could cut the film out with my Silhouette. It worked! So, now that Christmas is just around the corner, I knew I needed to try it again.
I turned on my laminator and laid out a laminating pouch onto a craft mat. I also grabbed a can of air and a bulb blower and my stash of alcohol inks.

I grabbed all of my blues, especially the lighter ones, and some white and silver. I even tried to use some pearl, but the white and pearl inks got a bit gloopy. I had to smear them around to thin them out. I used my finger and a foam brush. Needless to say, it took a lot of drips of ink and a little bit of rubbing alcohol and canned air blowing it around and smearing it with a brush to get it looking ok. I didn't want a fully transparent blue sheet or a sheet that was too dark because I wanted to make snowflakes.
So I grabbed another laminator pouch. This time I decided to make a white base before adding on my ink. I used a foam brush to spread out a thin coat of the Pinata white ink.
Then I added my blues and a few drops of silver over the top. This one turned out a bit better, but I wasn't sure what it would look like as snowflakes.
I let the sheets dry until they were completely dry to the touch. If they are still wet, the laminator will squish the ink around, and it won't get a good seal. If it's not sealed well when it laminates, the two sides can come apart when you're cutting it. So after they were completely dry, I ran them through the machine. I was surprised by how transparent the first one came out. It looked like there was a lot of ink on the sheet, but because the insides of the laminating pouches are a little frosty colored, they were clearer than expected.
After my sheets were laminated, I found some snowflake shapes online and traced them in Silhouette studio. I looked for snowflakes that were a bit beefier so they wouldn't be super thin. It also had to be an image that would leave one single piece once cut. I added some holes the top for hanging and sent it to my machine using the clear sticker paper settings (Blade 3, Thickness 33, Speed 4, Double Cut).
I started with the sheet that I thought was a bit of a failure, first just in case it didn't work. I stuck it onto my Silhouette mat and let it run.
After the design cut, I peeled away the excess laminating film and was left with snowflakes--I still needed to finish weeding, but it was a success! After these were peeled off the mat, I ran the other inked piece of plastic through using the same design.

I ended up with 12 bigger snowflakes (about 3 1/2 inches) and 4 little snowflakes. Most of them turned out great. A couple of the snowflakes cut out of the first sheet were so light that they didn't look like they had intentional ink on them, but the rest turned out great!
I immediately hung them up on my patio door and let the light shine through them.
These look great as suncatchers, but would also look cute hanging on a tree as ornaments--especially the more vibrantly colored ones.


Comments
Post a Comment