Harry Potter Perler Bead Kit


I got this Harry Potter set to play with. It is a really nice kit with good projects for beginners. It has everything you need except....the tweezers.

I strongly recommend tweezers of some kind. They'll make picking and placing the beads a lot easier.
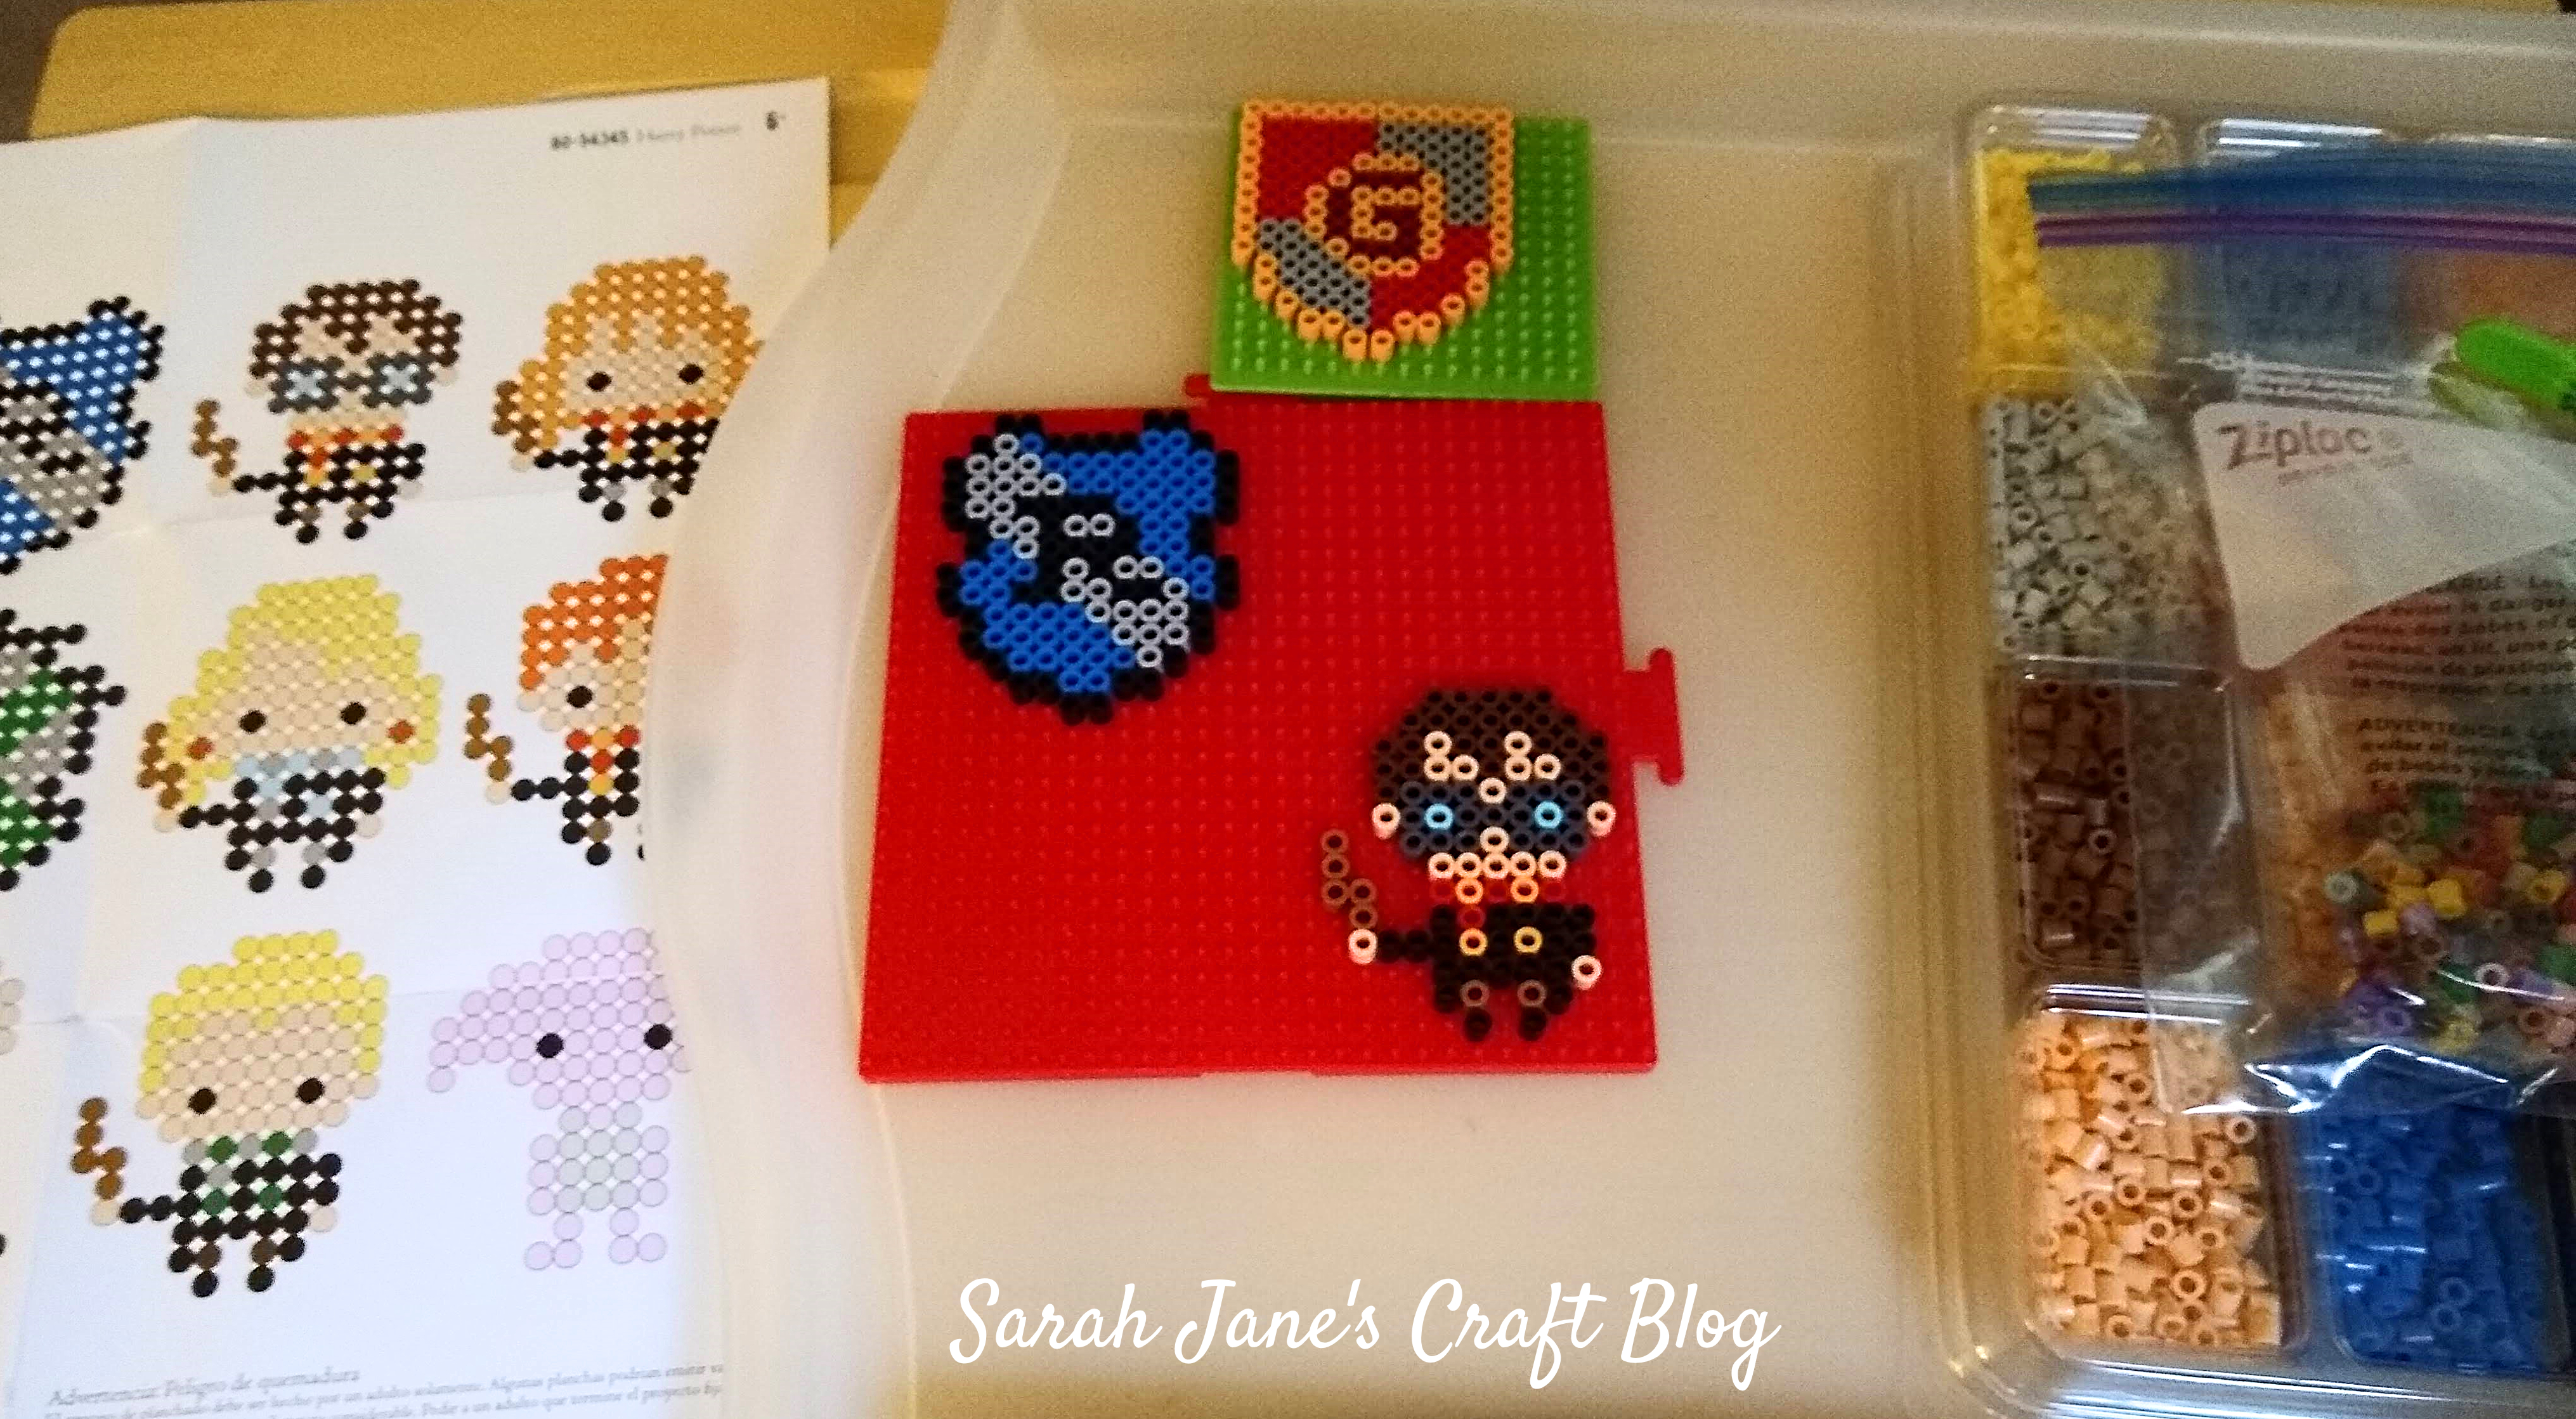
The kit comes with the large red plate and the patterns and all the beads you need to make them. I selected some of the smaller designs to get started and was able to fit two of them on the plate. I had the small green plate from my previous kit and was able to fit another design on it. But, since I struggled with my first Perler project, I ironed this set of designs without taking pictures. It went well, so I documented the next set.

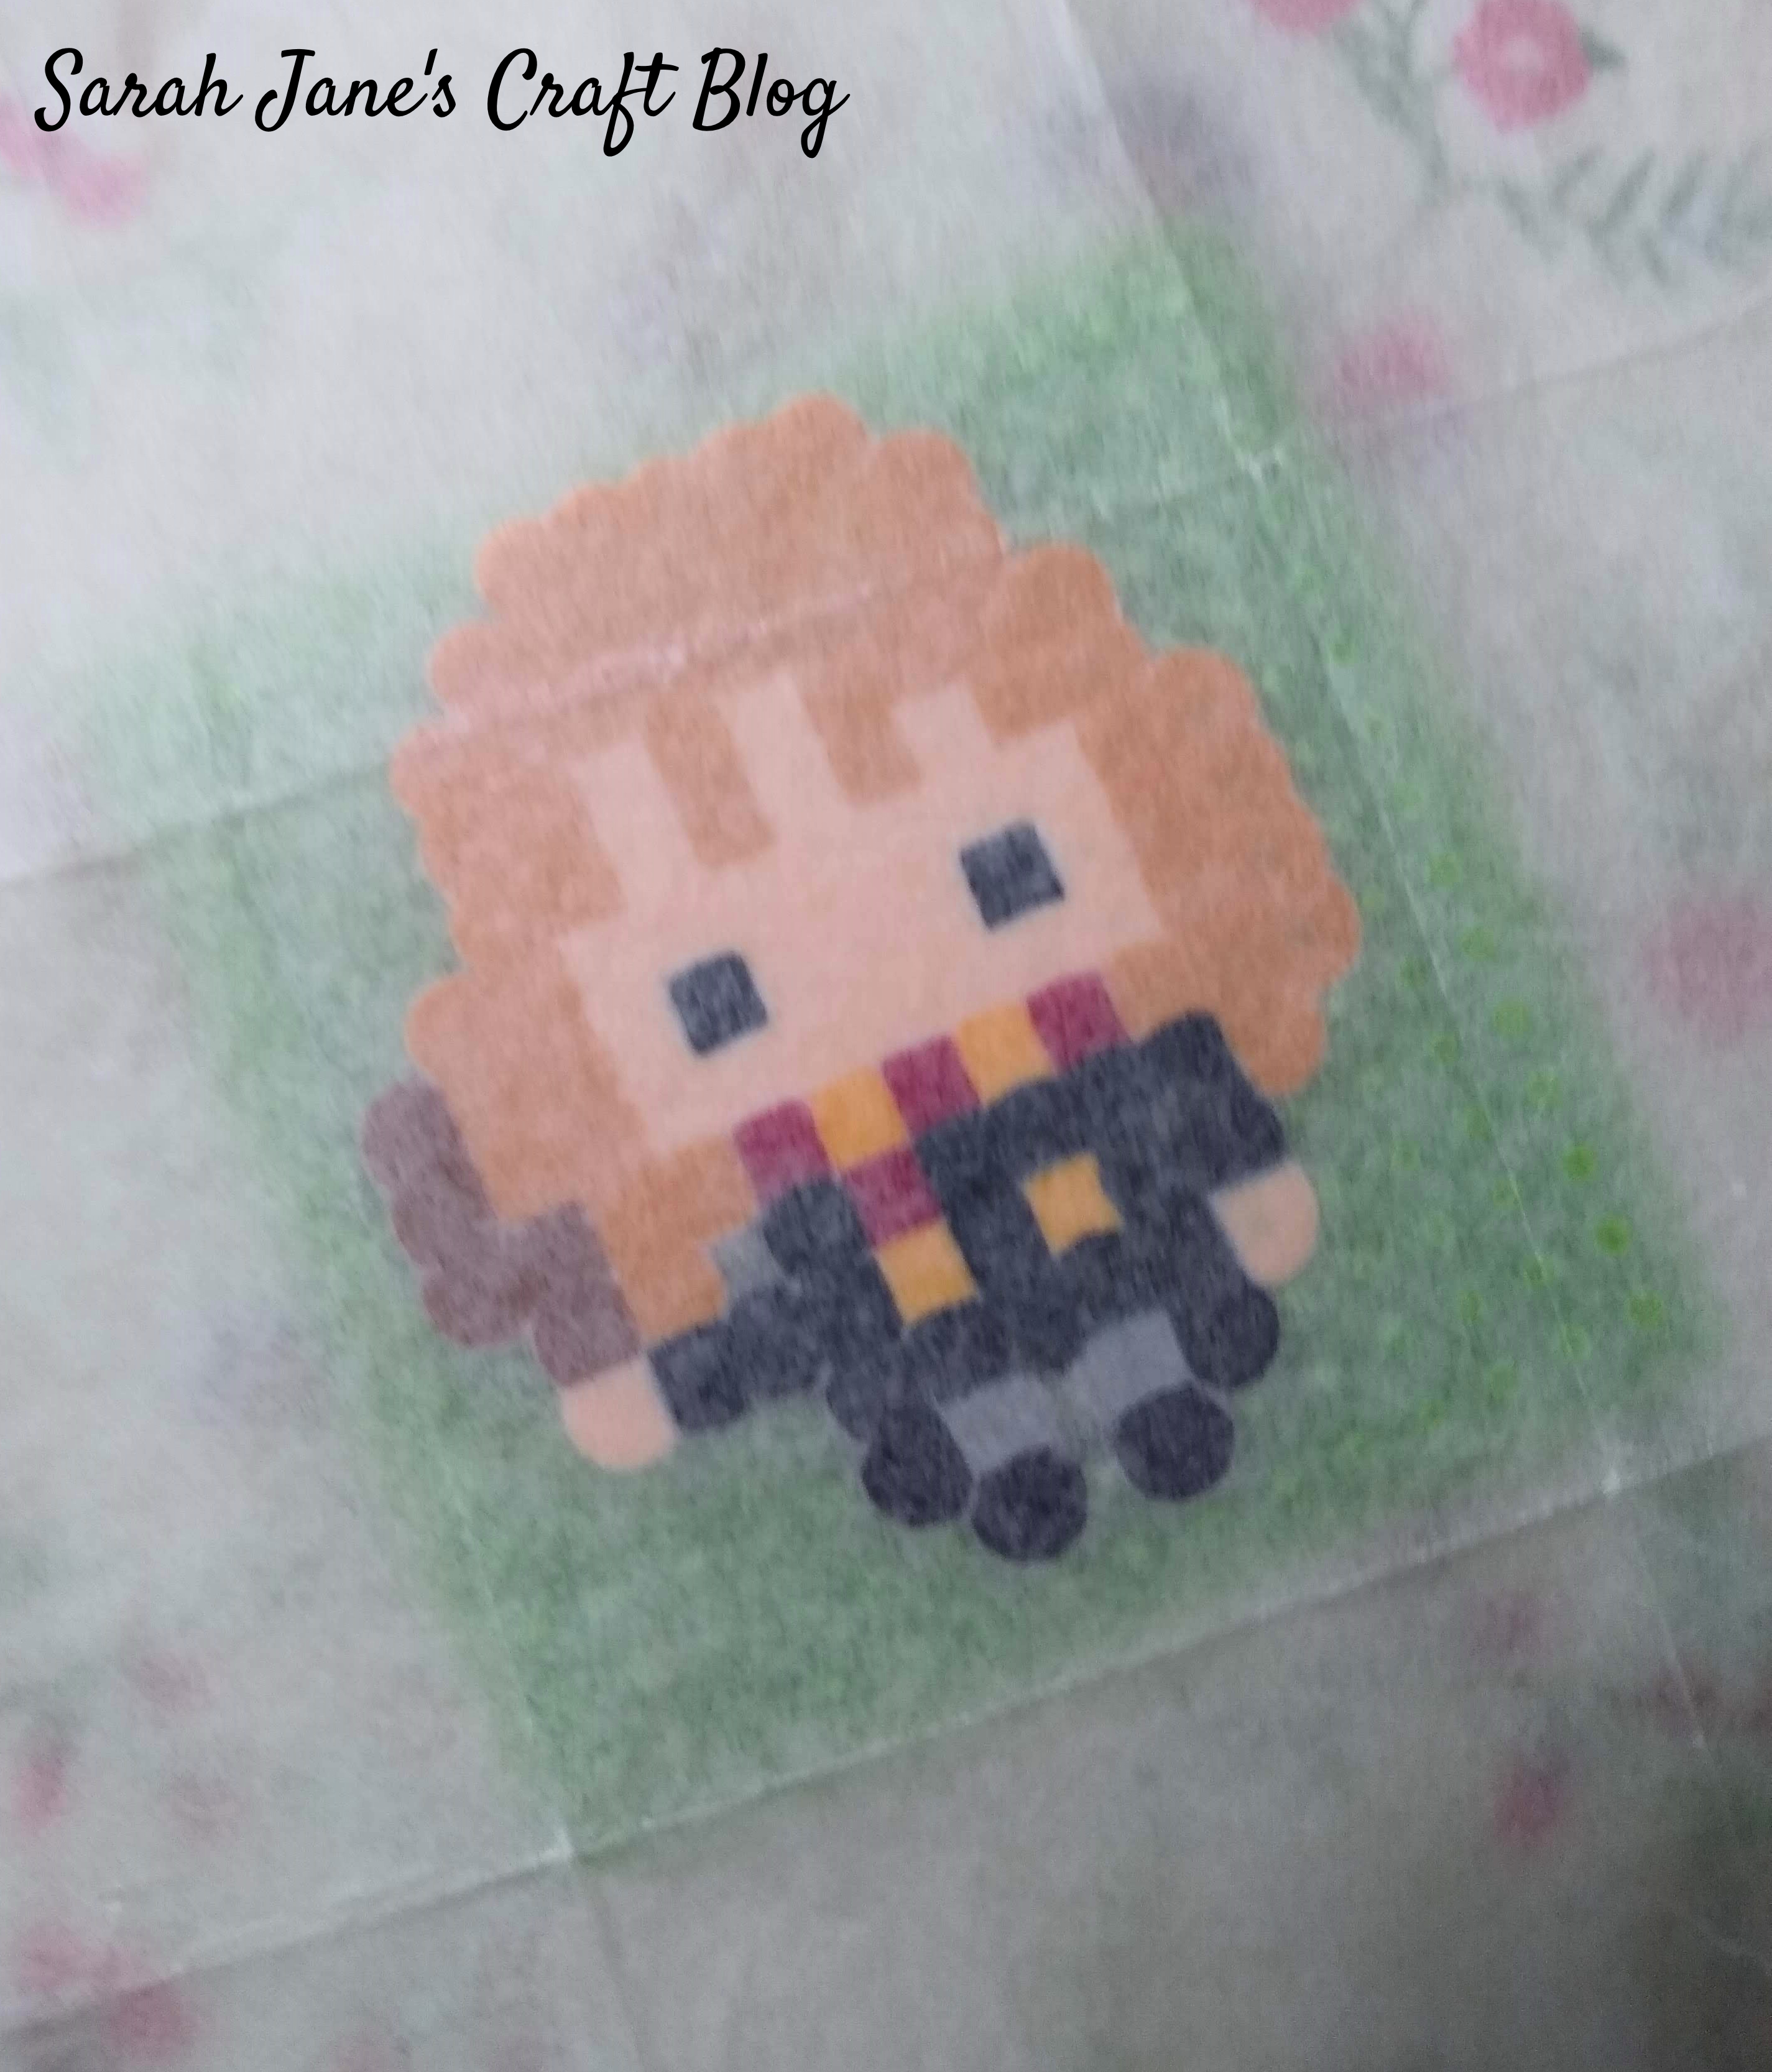
I did Hermione, Ron, and Luna in the next batch and brought the plates into our laundry room and set them on the ironing board. I brought the tweezers, too, which was good since I lost a bead when I was moving the plates around (Hermoine's hair was missing a bead--easy fix since the bead had just tipped off the board).

I placed the ironing paper (that comes with the kit) over Hermoine while still on the plate.

Then I put my iron over the design and moved it around gently. This is a new iron from when I had my first Perler bead experience. After a couple of failed iron-on crafts, I started to wonder if it was my refurbished big name brand iron. I think it was just a lemon that doesn't get very hot (and the mister never worked). So after reading some reviews online, I picked up a Pure Steam Iron. It gets a lot hotter than my old iron. That said, it still took longer to melt the design than the instructions, and I had the iron on a bit hotter than they suggested.
Melt the first side of the beads until they fully fuse together. When you can no longer see any of the circles in the middle of the beads, you know it's fully melted. Do not bother counting or timing it--each iron is going to be a bit different, just watch for the fused beads. If you're saying, but I like the look of the beads when you can still tell they are beads, well, don't worry, you can melt the other side a little more lightly. If this side isn't fully melted, you can lose beads on the next step.

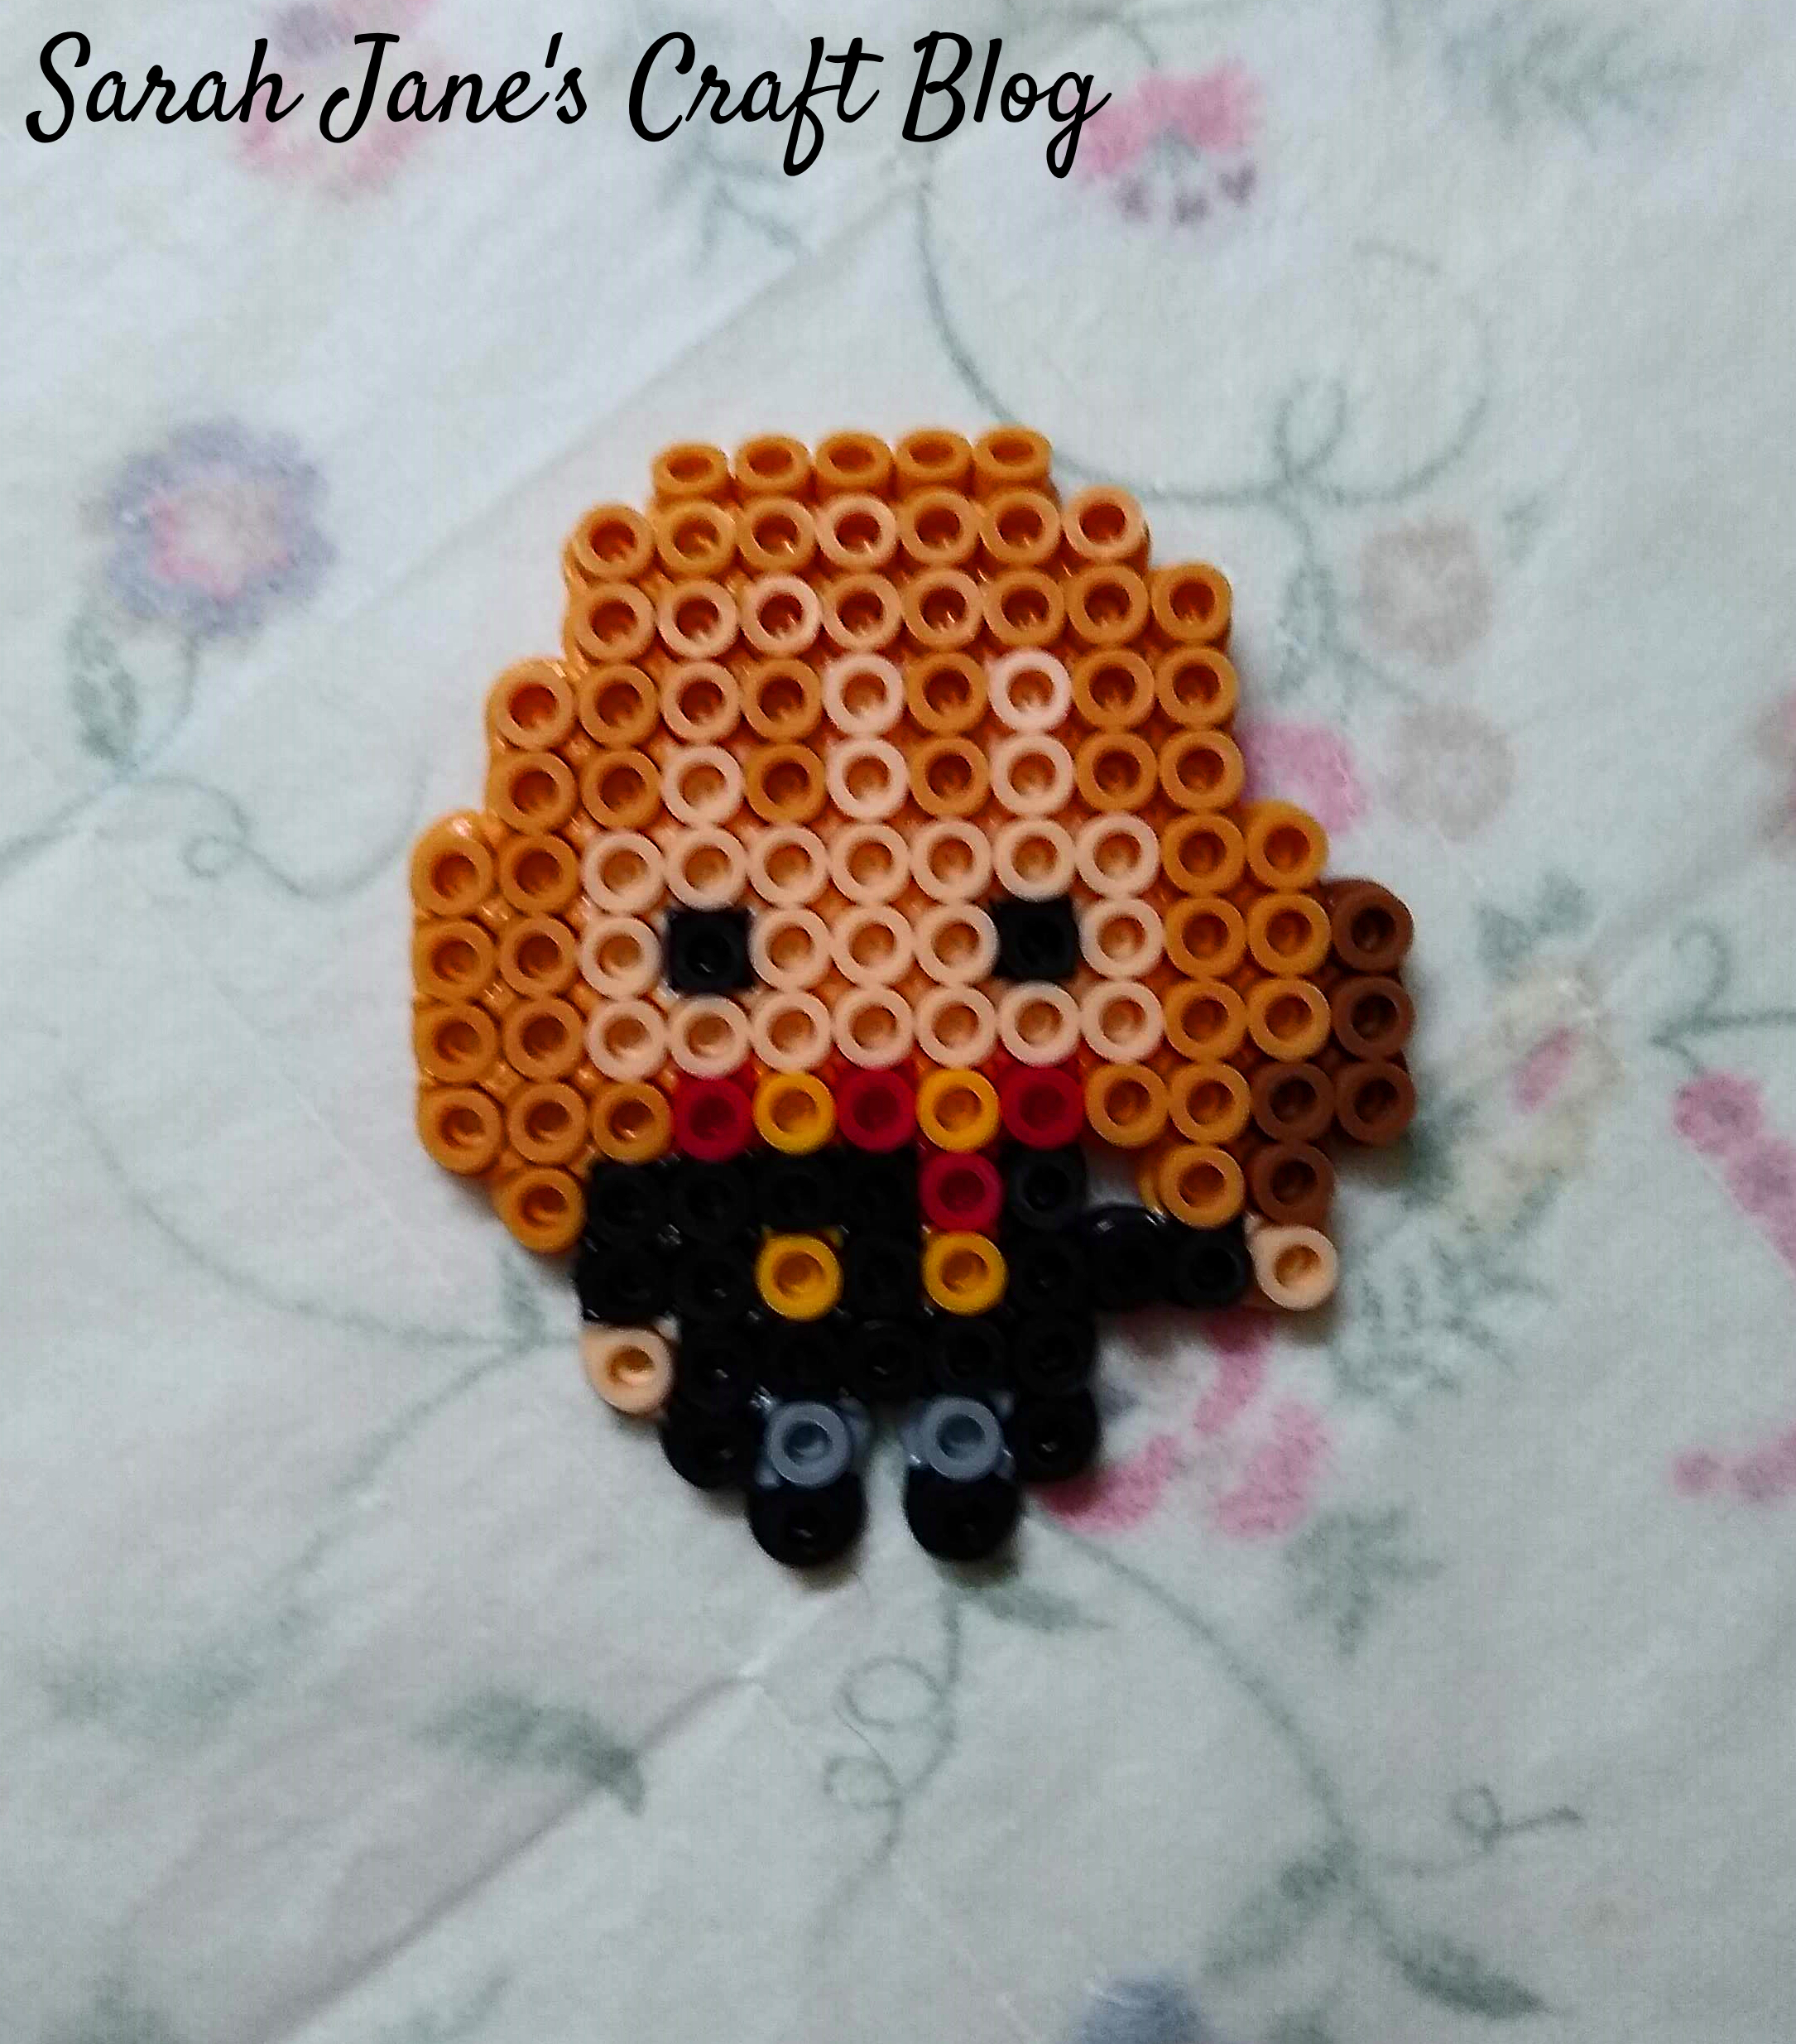
I took the ironing paper off to check and Hermione looked fully melted. Leave the beads on the plate for a minute or two to cool a bit before you try to pull them off. If they are too hot, they can come apart or bend (not to mention potentially burning your fingers).
Once you've pulled your design off of the board, flip it over (recently melted side down) onto a sheet of ironing paper and top with the second ironing sheet that comes with the kit and iron again.

For this side, you can iron it just enough to melt the beads together while keeping the look of the beads. Then you'll have one fully fused side and one less fused bead-like side.

If you did like I did and squeezed two designs onto the larger board that comes with the kit, make sure to iron one at a time so you don't accidentally over melt the edges of one of your designs.

Once both designs are fully fused, you can flip them off the board and finish ironing the back side (but don't forget the ironing paper).
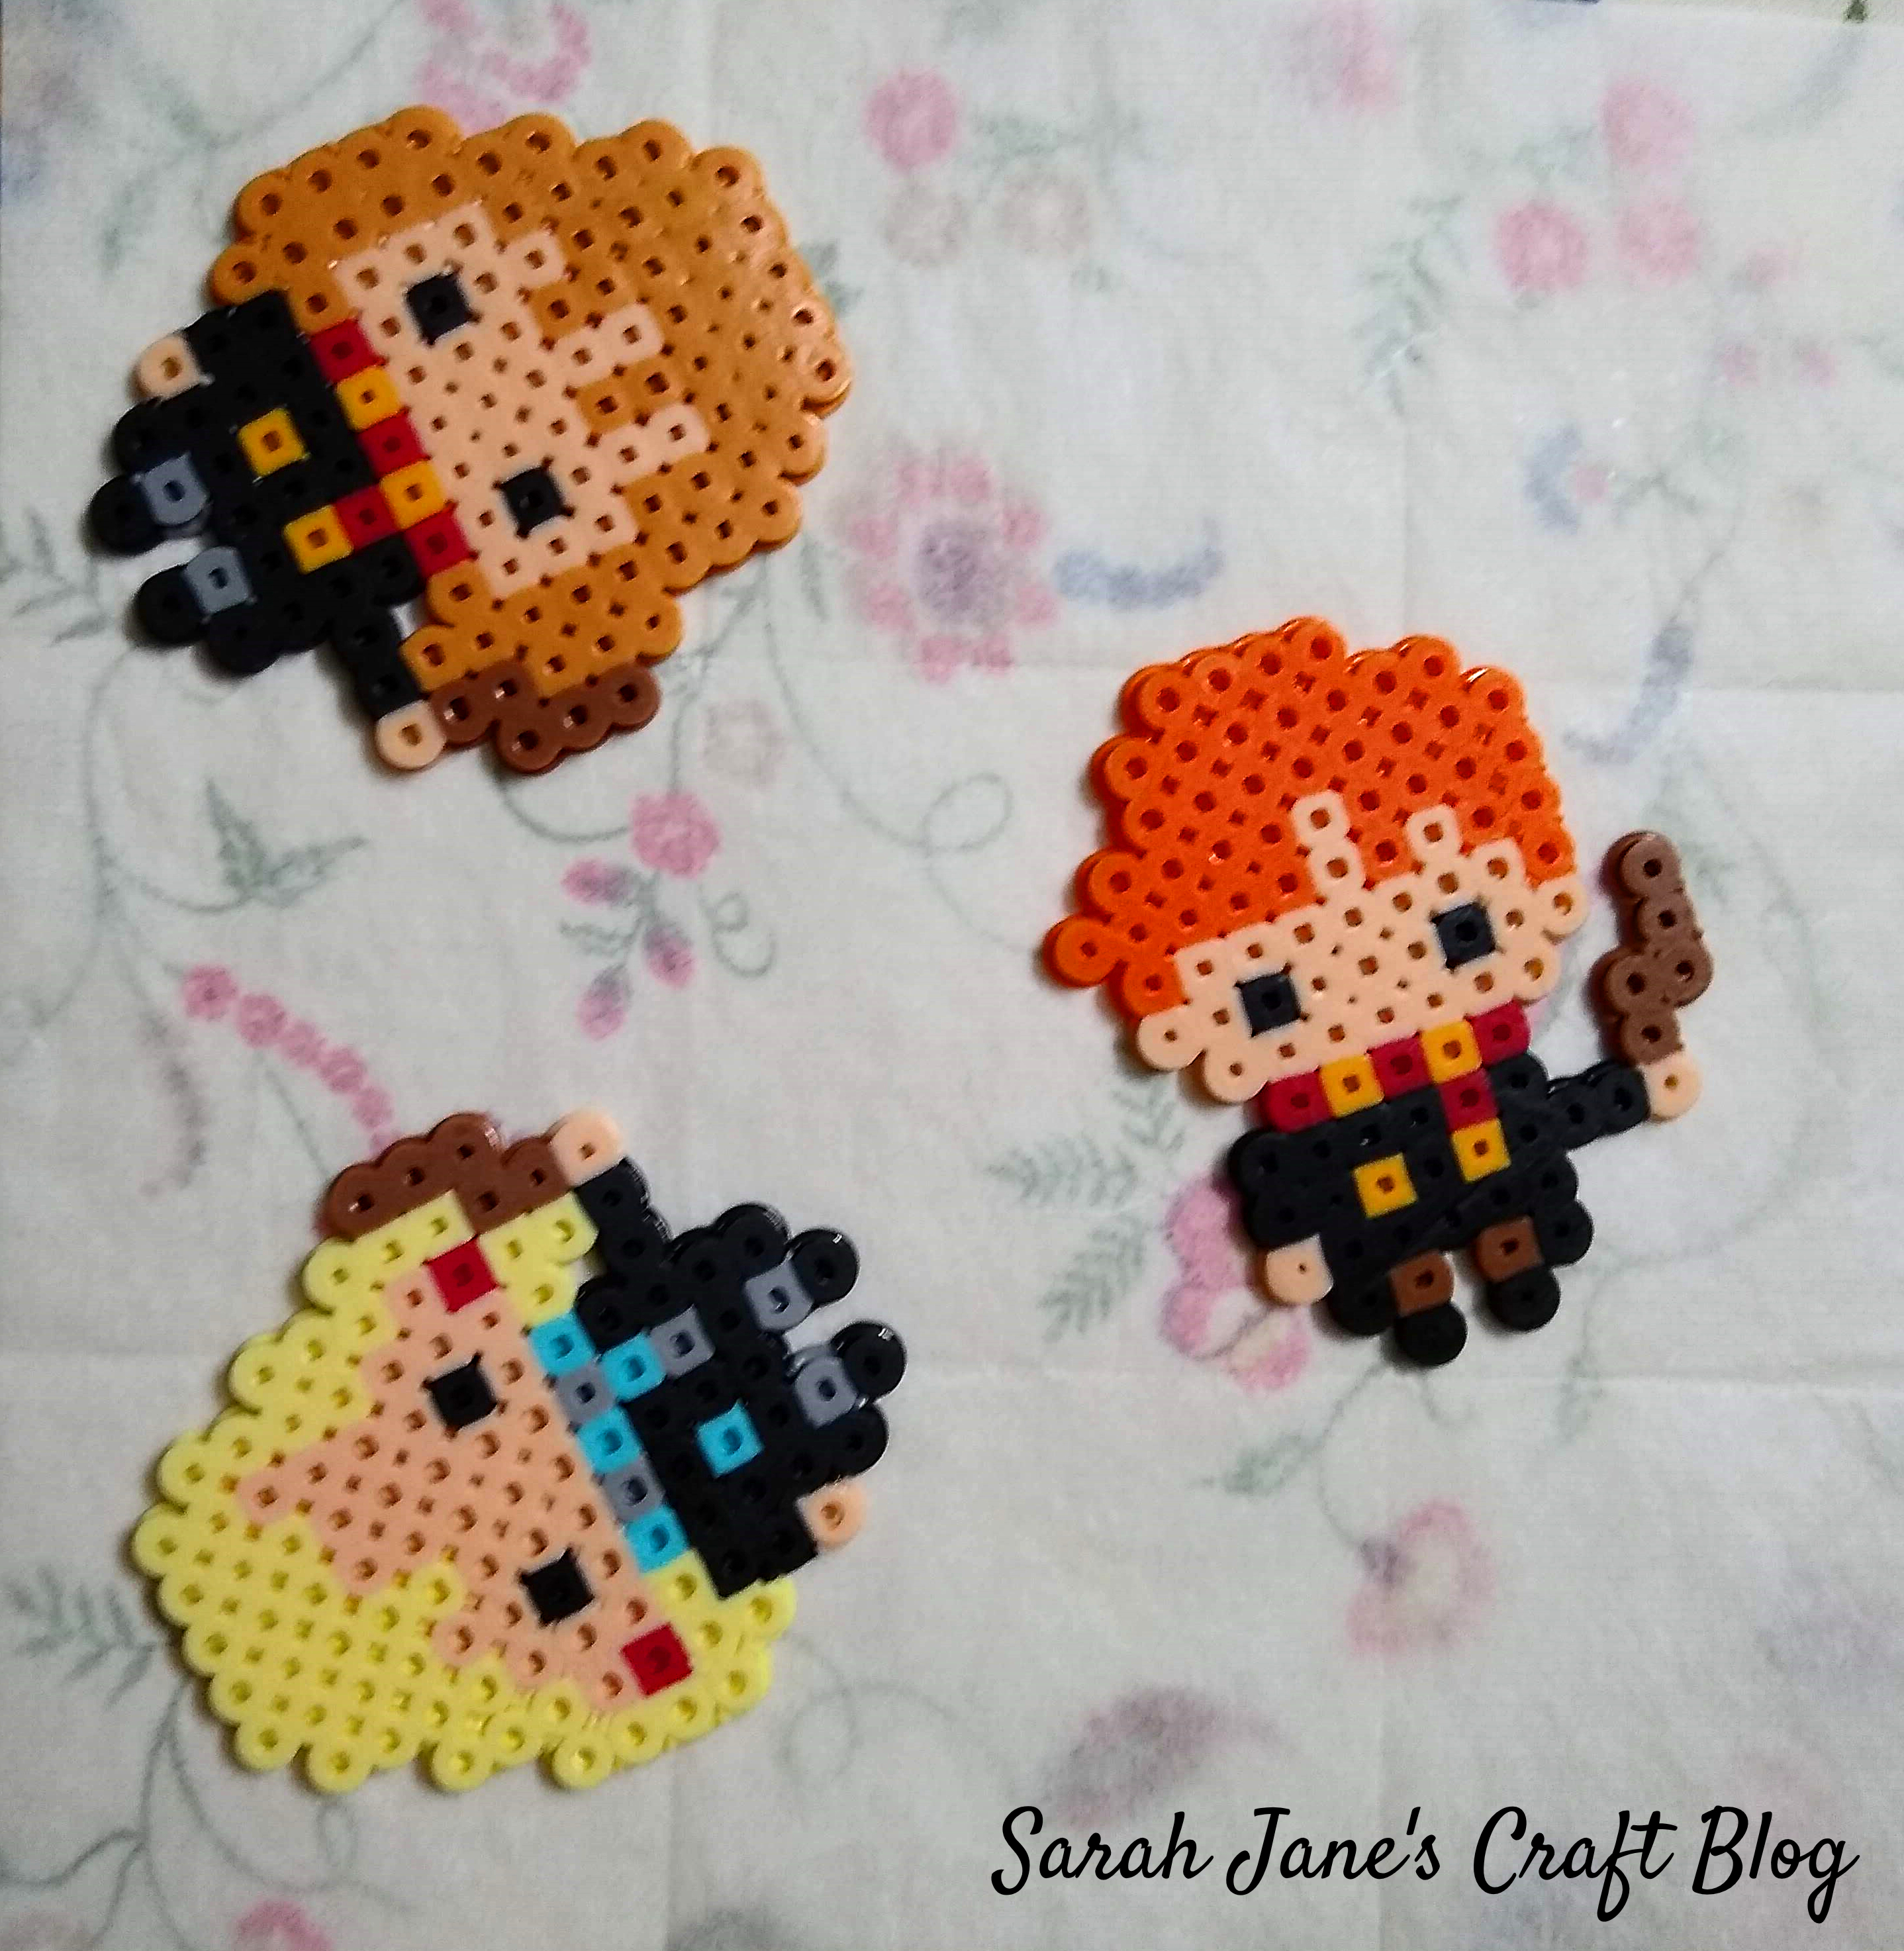
Hermione, Ron, and Luna turned out great! Fully fused on one side and partially fused on the other. It was a lot of fun to make these cute little characters. This was simple enough that a beginner or kid could totally manage this kit. The ironing takes a bit of practice, and kids will definitely need supervision/help with the ironing.

I hope to turn these into Christmas ornaments to join my Funko Pop Harry Potter ornaments on a small tree I put up in our family room. I think I have finally figured out Perler beads and look forward to making more projects!


Comments
Post a Comment