Alcohol Ink Rose Bowl

We went to Big Lots a while back to look at patio furniture and I picked up this small ceramic bowl (it's described as a fruit bowl on the label, but it's the perfect size for keys or coins or jewelry). I have inked some small white bowls from Big Lots in the past, but the finish on this bowl was much glossier, so I decided not to use the plastic wrap method (which works really well on the bowls I got from Big Lots in the past because the finish was a bit porous).

I decided to try to make an ink rose. I've seen them done on ceramic tiles and plasticized paper (like Yupo or Nara), but I hadn't seen it done in a bowl, so I was winging it which, to be honest, is my favorite kind of craft. I got out my craft mats, rubbing alcohol, a can of air, my hand bulb blower, and some purple alcohol inks.

I started by dripping a couple of drops of Boysenberry and a couple drops of rubbing alcohol in the bottom of the bowl and blowing it around in circles with the canned air. It was looking vaguely like it could, eventually, be a rose, so I knew I was on the right track.

I added more ink and rubbing alcohol and continued to refine my swirling. I held the bowl in one hand and used the canned air in in circles. I was blowing the ink a bit forcefully, as you can tell by the edges of the ink.

I kept adding ink The Purple Twilight on the edges and the Boysenberry on the bottom (I think I used some Vineyard and Pinata Passion Purple along the way, too). I realized I wanted to fill the whole bowl with purple ink, but as I went up the sides of the bowl, the ink wasn't blowing in a way that I could describe as petal-like, so I knew I needed to change my tactics a bit.

So I added more ink and more rubbing alcohol until it was quite thinned. Then I rolled the bowl in my hand, tipping it so the ink would run all the way to edges. It was so thin that it dripped all over my hands and the outside of the bowl, but then I had a base of ink to work with.

I gently blowed the ink in circles to achieve what looked vaguely rose like...and it worked! (It did take two tries. The first attempt didn't get the ink all the way up the sides and the rose wasn't quite as good--the second try turned out pretty close to what I had imagined for the rose, so I'll call it a success!)

I let the ink in the bowl dry just long enough for it to be dry to the touch while I was cleaning up the copious amounts on the outside of the bowl with a few paper towels and some rubbing alcohol. The edge of the bowl was a bit messy, so I decided to hide it by painting a ring of Pinata Brass along the top edge. I used a few drops on a foam brush. I had to paint around the rim a few times to get a solid coating of the brass.

I let the bowl dry for about an hour before coating it with Kamar Varnish. I did three coats, each at least a half hour apart. Then I followed it up with a couple coats of the Krylon Triple Thick Glaze to finish.
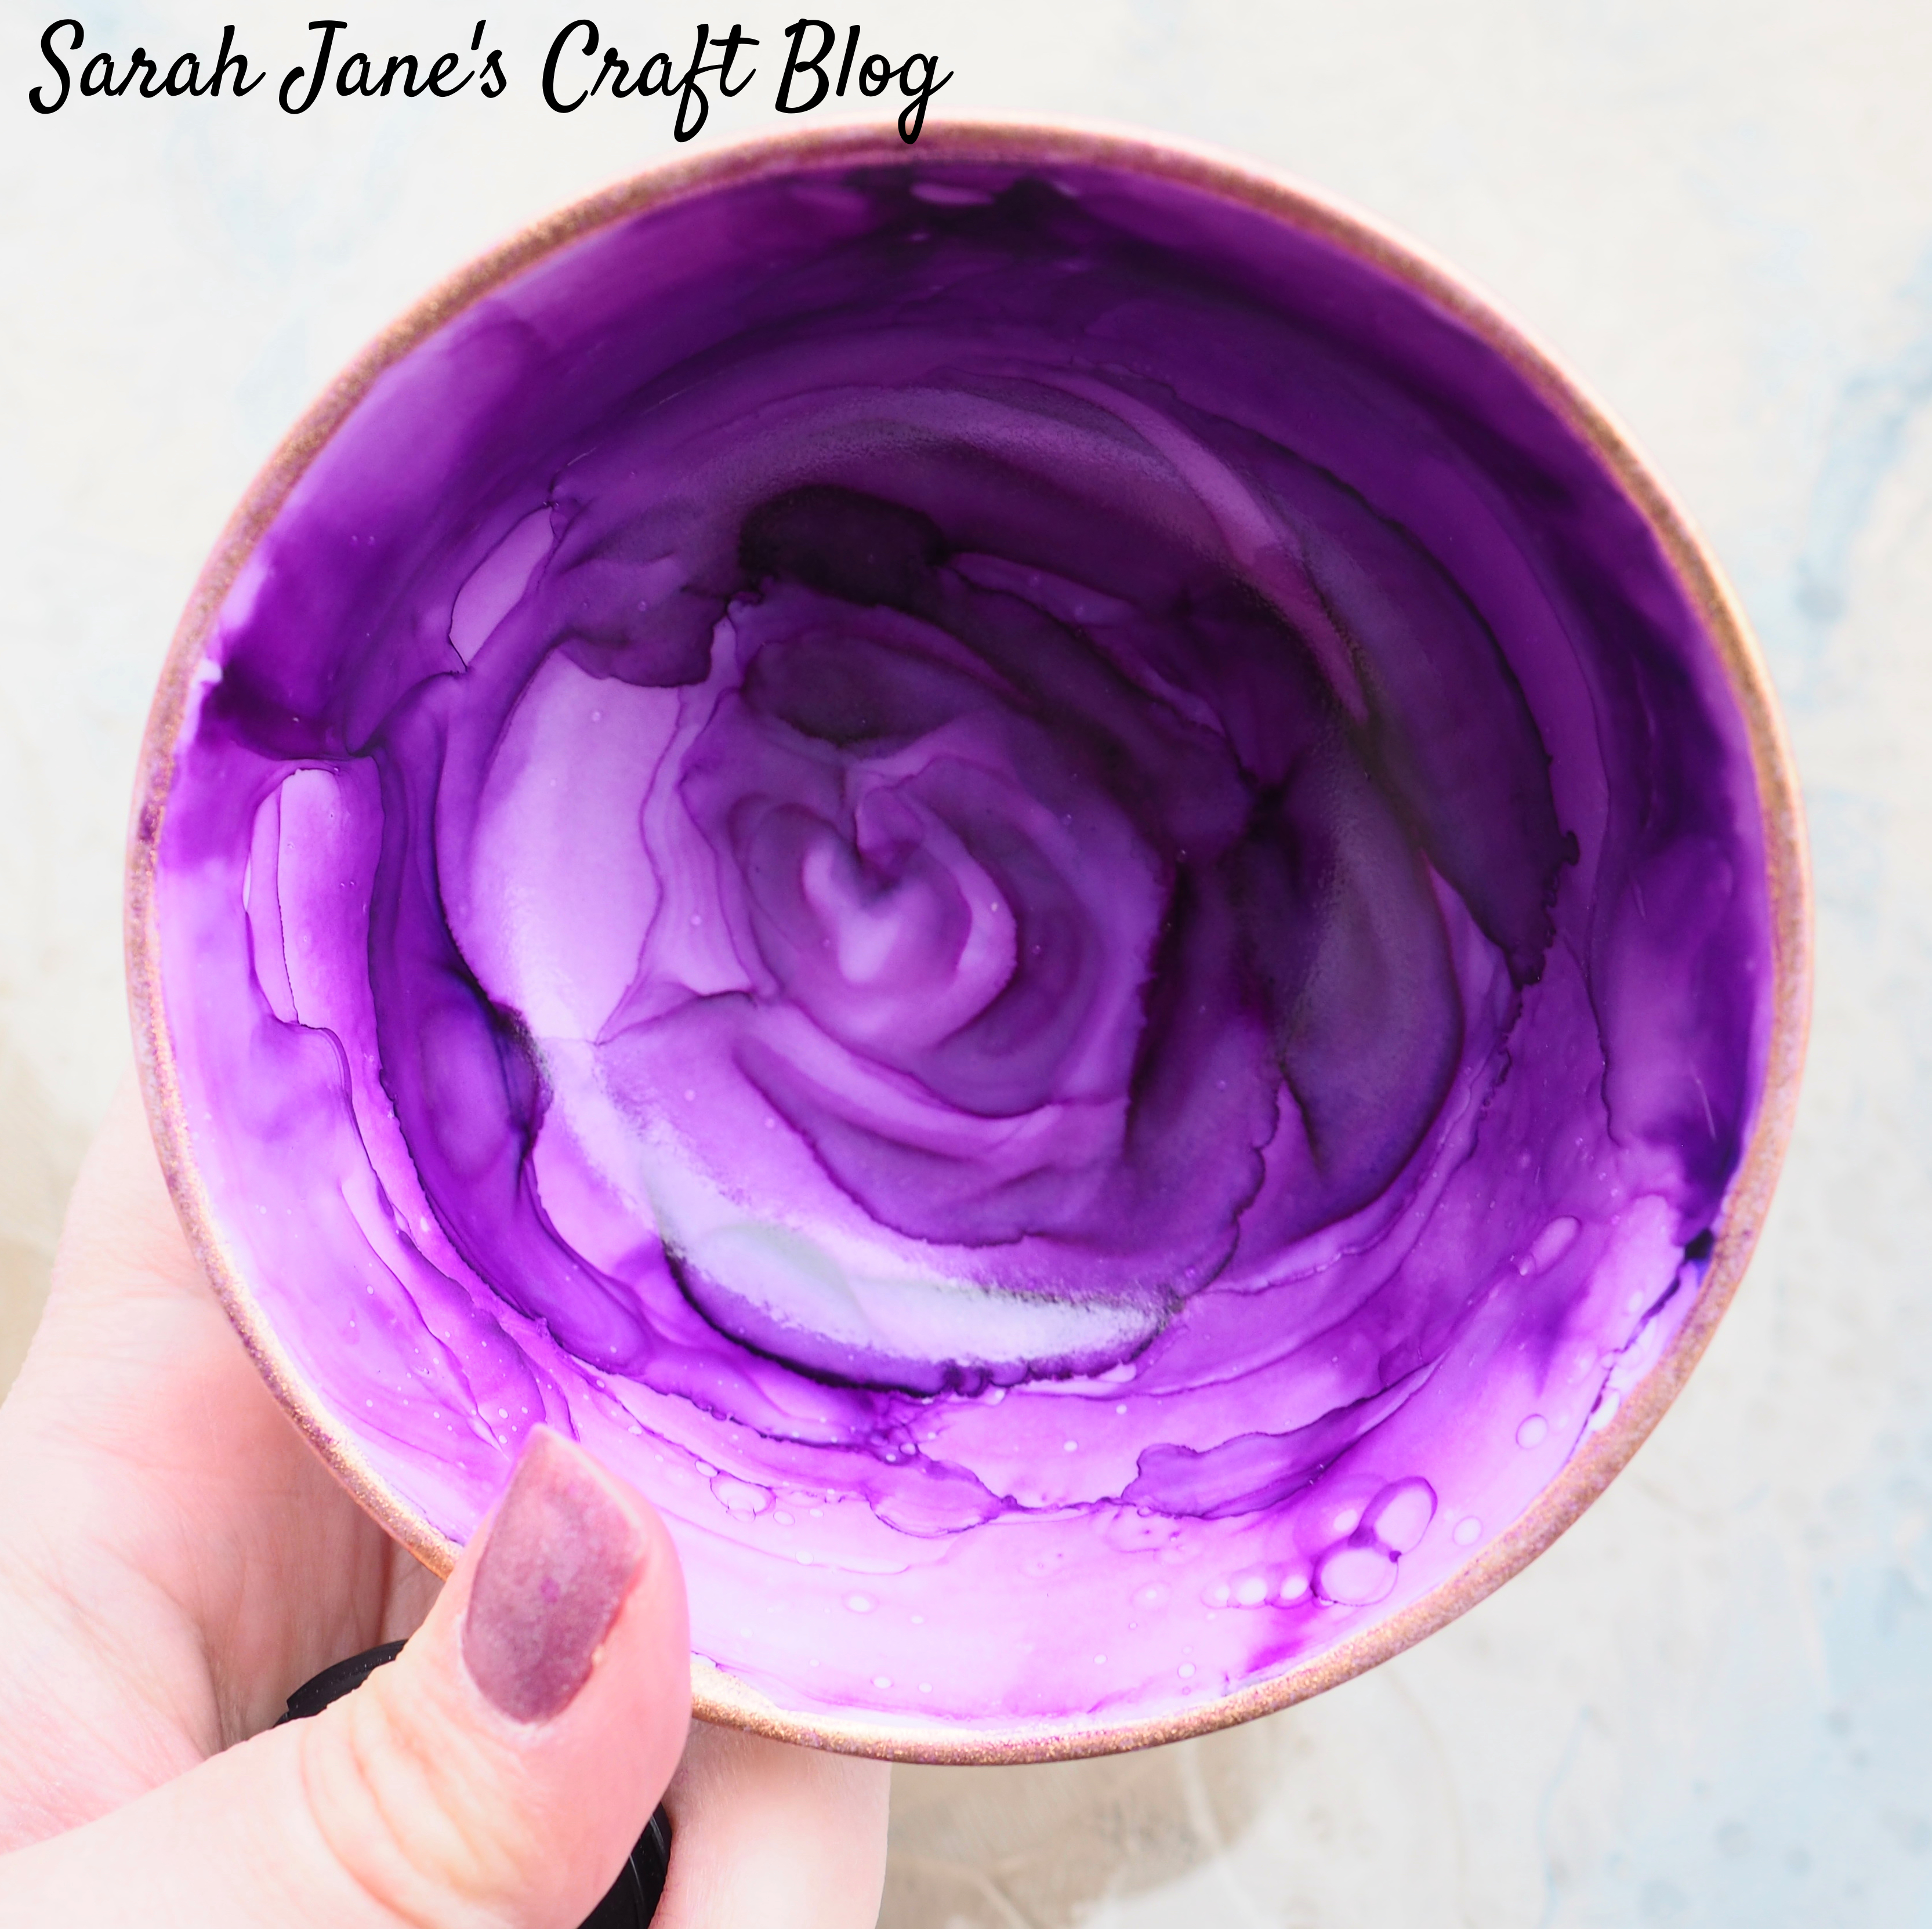
It's not perfect, but I learned a bit more about how to get that rose pattern to appear in the inks, so I'm happy with my purple rose bowl!


Comments
Post a Comment