Purple Alcohol Ink Glass Gems

After last week's post revisiting all of the different ways I have decorated glass gems, I was inspired to make some more. Most of my gems are decorated with multiple colors, so I thought a new spin could be a more monochromatic palette.

I found that when I was making washer necklaces, I was much more likely to wear them if I stuck with one or two colors. It was so much easier to coordinate them to the clothes I was wearing. So I decided to bring out a bunch of different purple inks (I was using Ranger, Pinata, and Pixiss inks).

I started by dripping some Ranger Vineyard onto a felt applicator and stamping it across the backs of the glass gems to get a base color. You can get good results just from a stamper, but with all one color, the purples would have run together a bit and not been very interesting to look at.

So I started dripping, blowing (with a hand bulb), and dabbing ink onto the glass gems. I found out rather quickly that working on a black silicone mat caused some visibility issues. So I put my gems onto a napkin and it made it much easier to see what the color was doing.
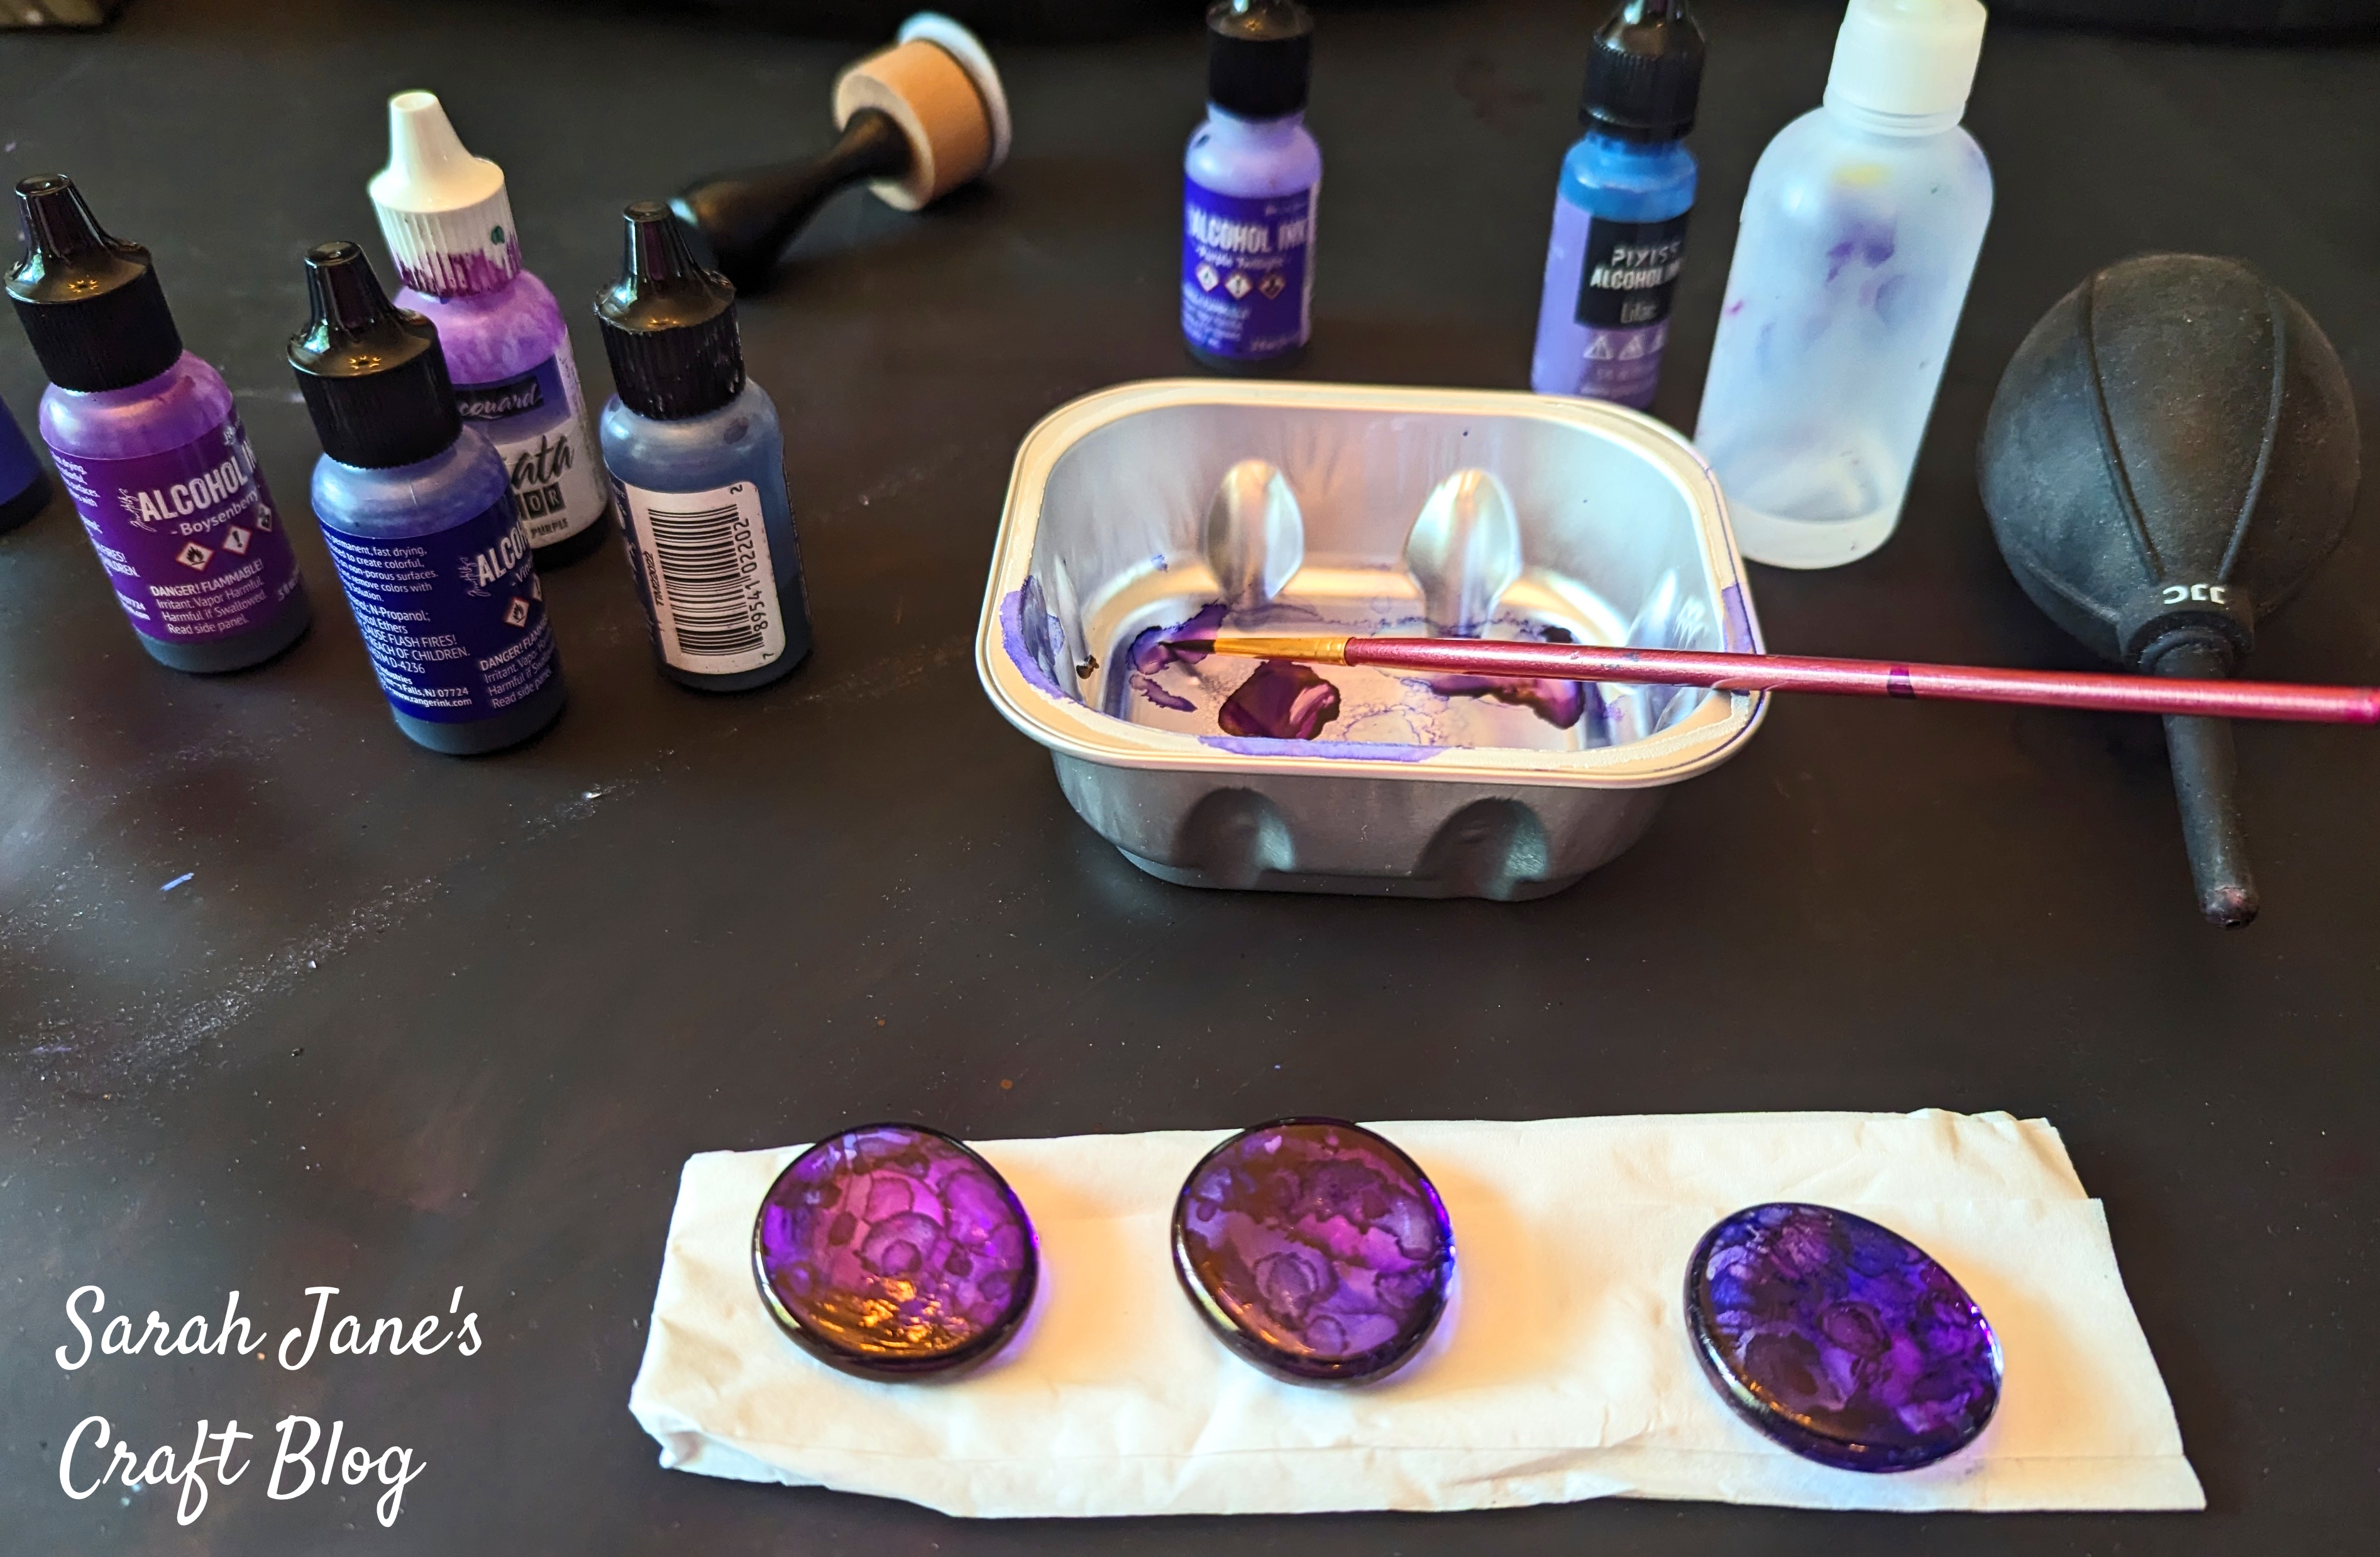
Here you can see all the tools I was using (and a fresh-ish napkin). The small white bottle has 91% rubbing alcohol in it. I dripped on ink and dabbed it on with the paint brush and used the alcohol to think out sections that were getting too dark. I just played around until I liked the way the ink looked. Then I set them aside to dry overnight.

After my gems had a chance to dry, I cleaned the tops of the gems off with some rubbing alcohol (from the alcohol ink that dripped and collected on the curved side as I was inking). I just dripped some rubbing alcohol onto a napkin or paper towel and rubbed the curved side across the rubbing alcohol until it no longer left ink on the napkin.

After the top/curved side of the gem was cleaned, I traced the shapes of the gems out on a piece of aluminum tape (the kind they use on ducts--but not duct tape--that you can buy at the hardware store) with a ball point pen. Then I cut the shapes out with a scissors.

Once the shapes were cut, I peeled the paper tape off the back and stuck them onto the flat/inked side of the gems. If you don't use the aluminum tape on your gem backs, you'll want to seal them with some sealer. I recommend Kamar Varnish followed by your favorite clear sealer.

Then I used some e6000 to glue some glue-on bails onto the back of the gems.

Then I strung them up with some faux-suede cording to turn them into necklaces.

I was really pleased with how well these turned out. I'm excited to make more single color gems in the future.


Comments
Post a Comment