Decoupaged Tea Tins

As the summer months draw on, there is one constant--iced tea. My favorite brand comes in these lovely tea tins, and because I have a hard time throwing out potentially useful things, I have several of these things floating around. So, I decided to jazz a couple up to make some storage tins.

I started by washing the tins and removing the date sticker on the bottom and then spray painting them with several thin coats of white spray paint.

This ended up taking several coats before I was happy with the finish. Light coats are best when spray painting, and it took quite a few to cover the printed design on the tin.
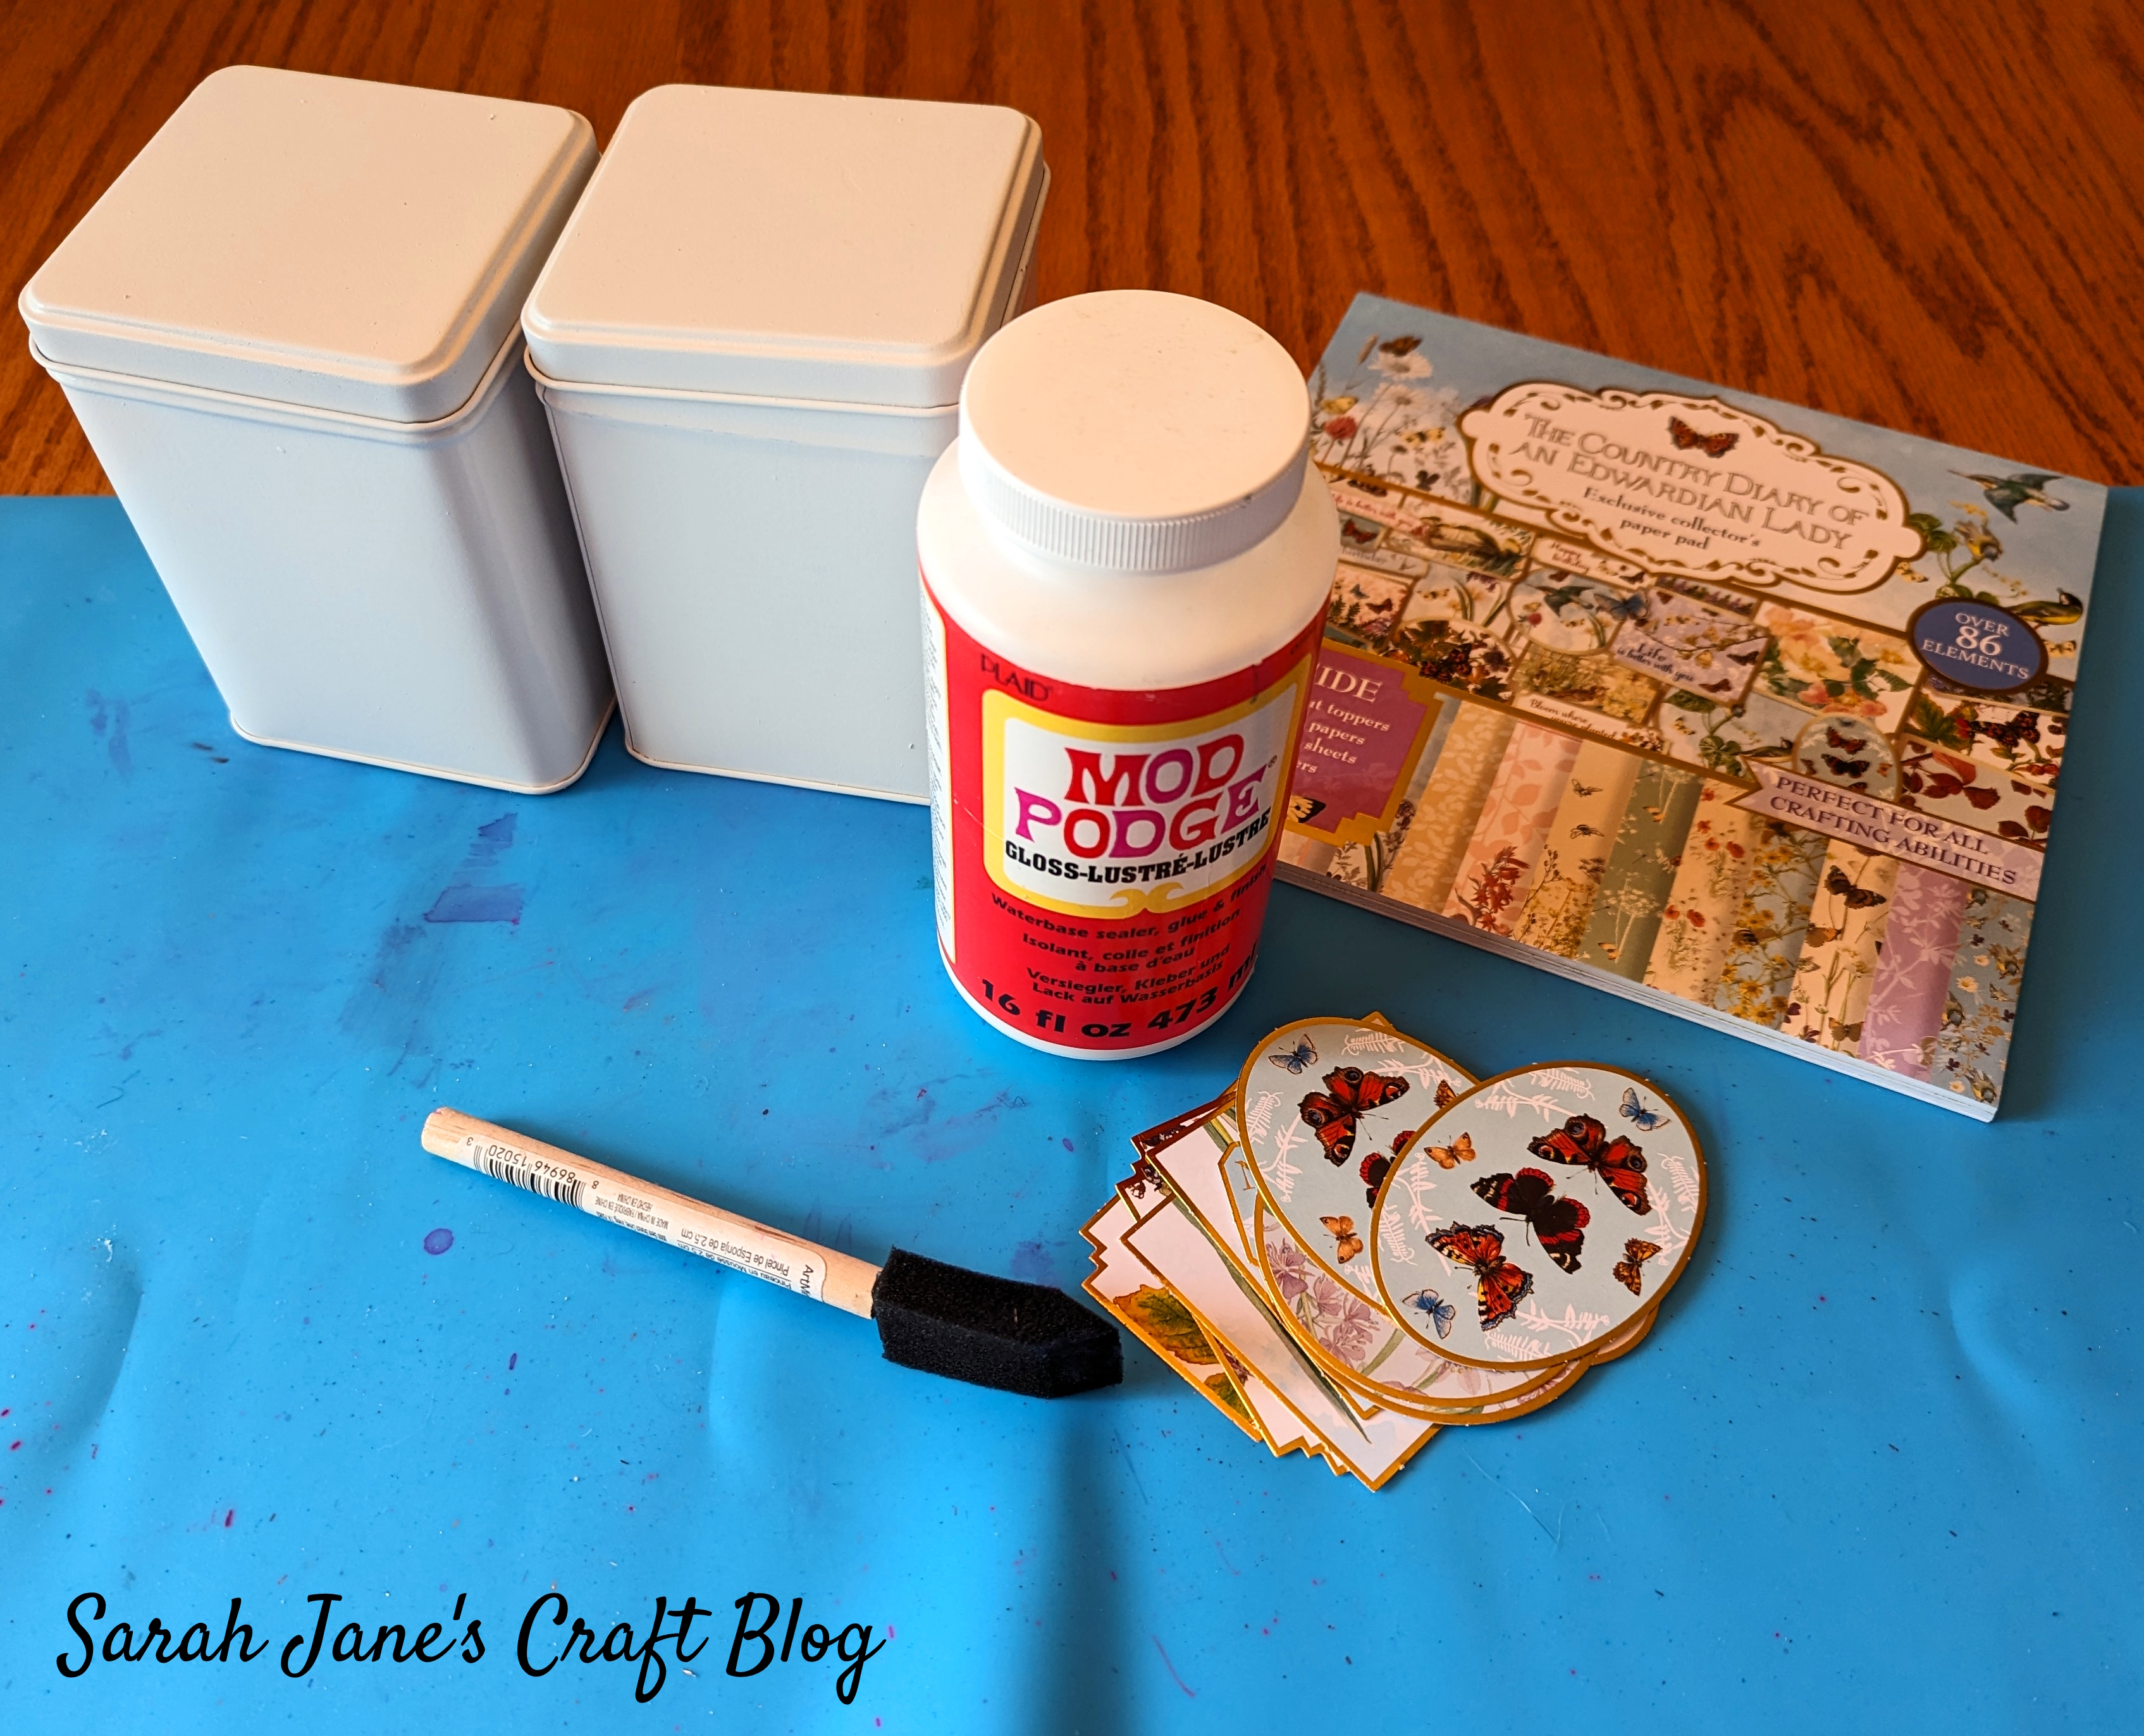
Once my tins were spray painted and had a couple days to finish drying, I got out my supplies. I brought out a silicone craft mat, mod podge, a foam brush, and some die cut card decorations from my craft stash.
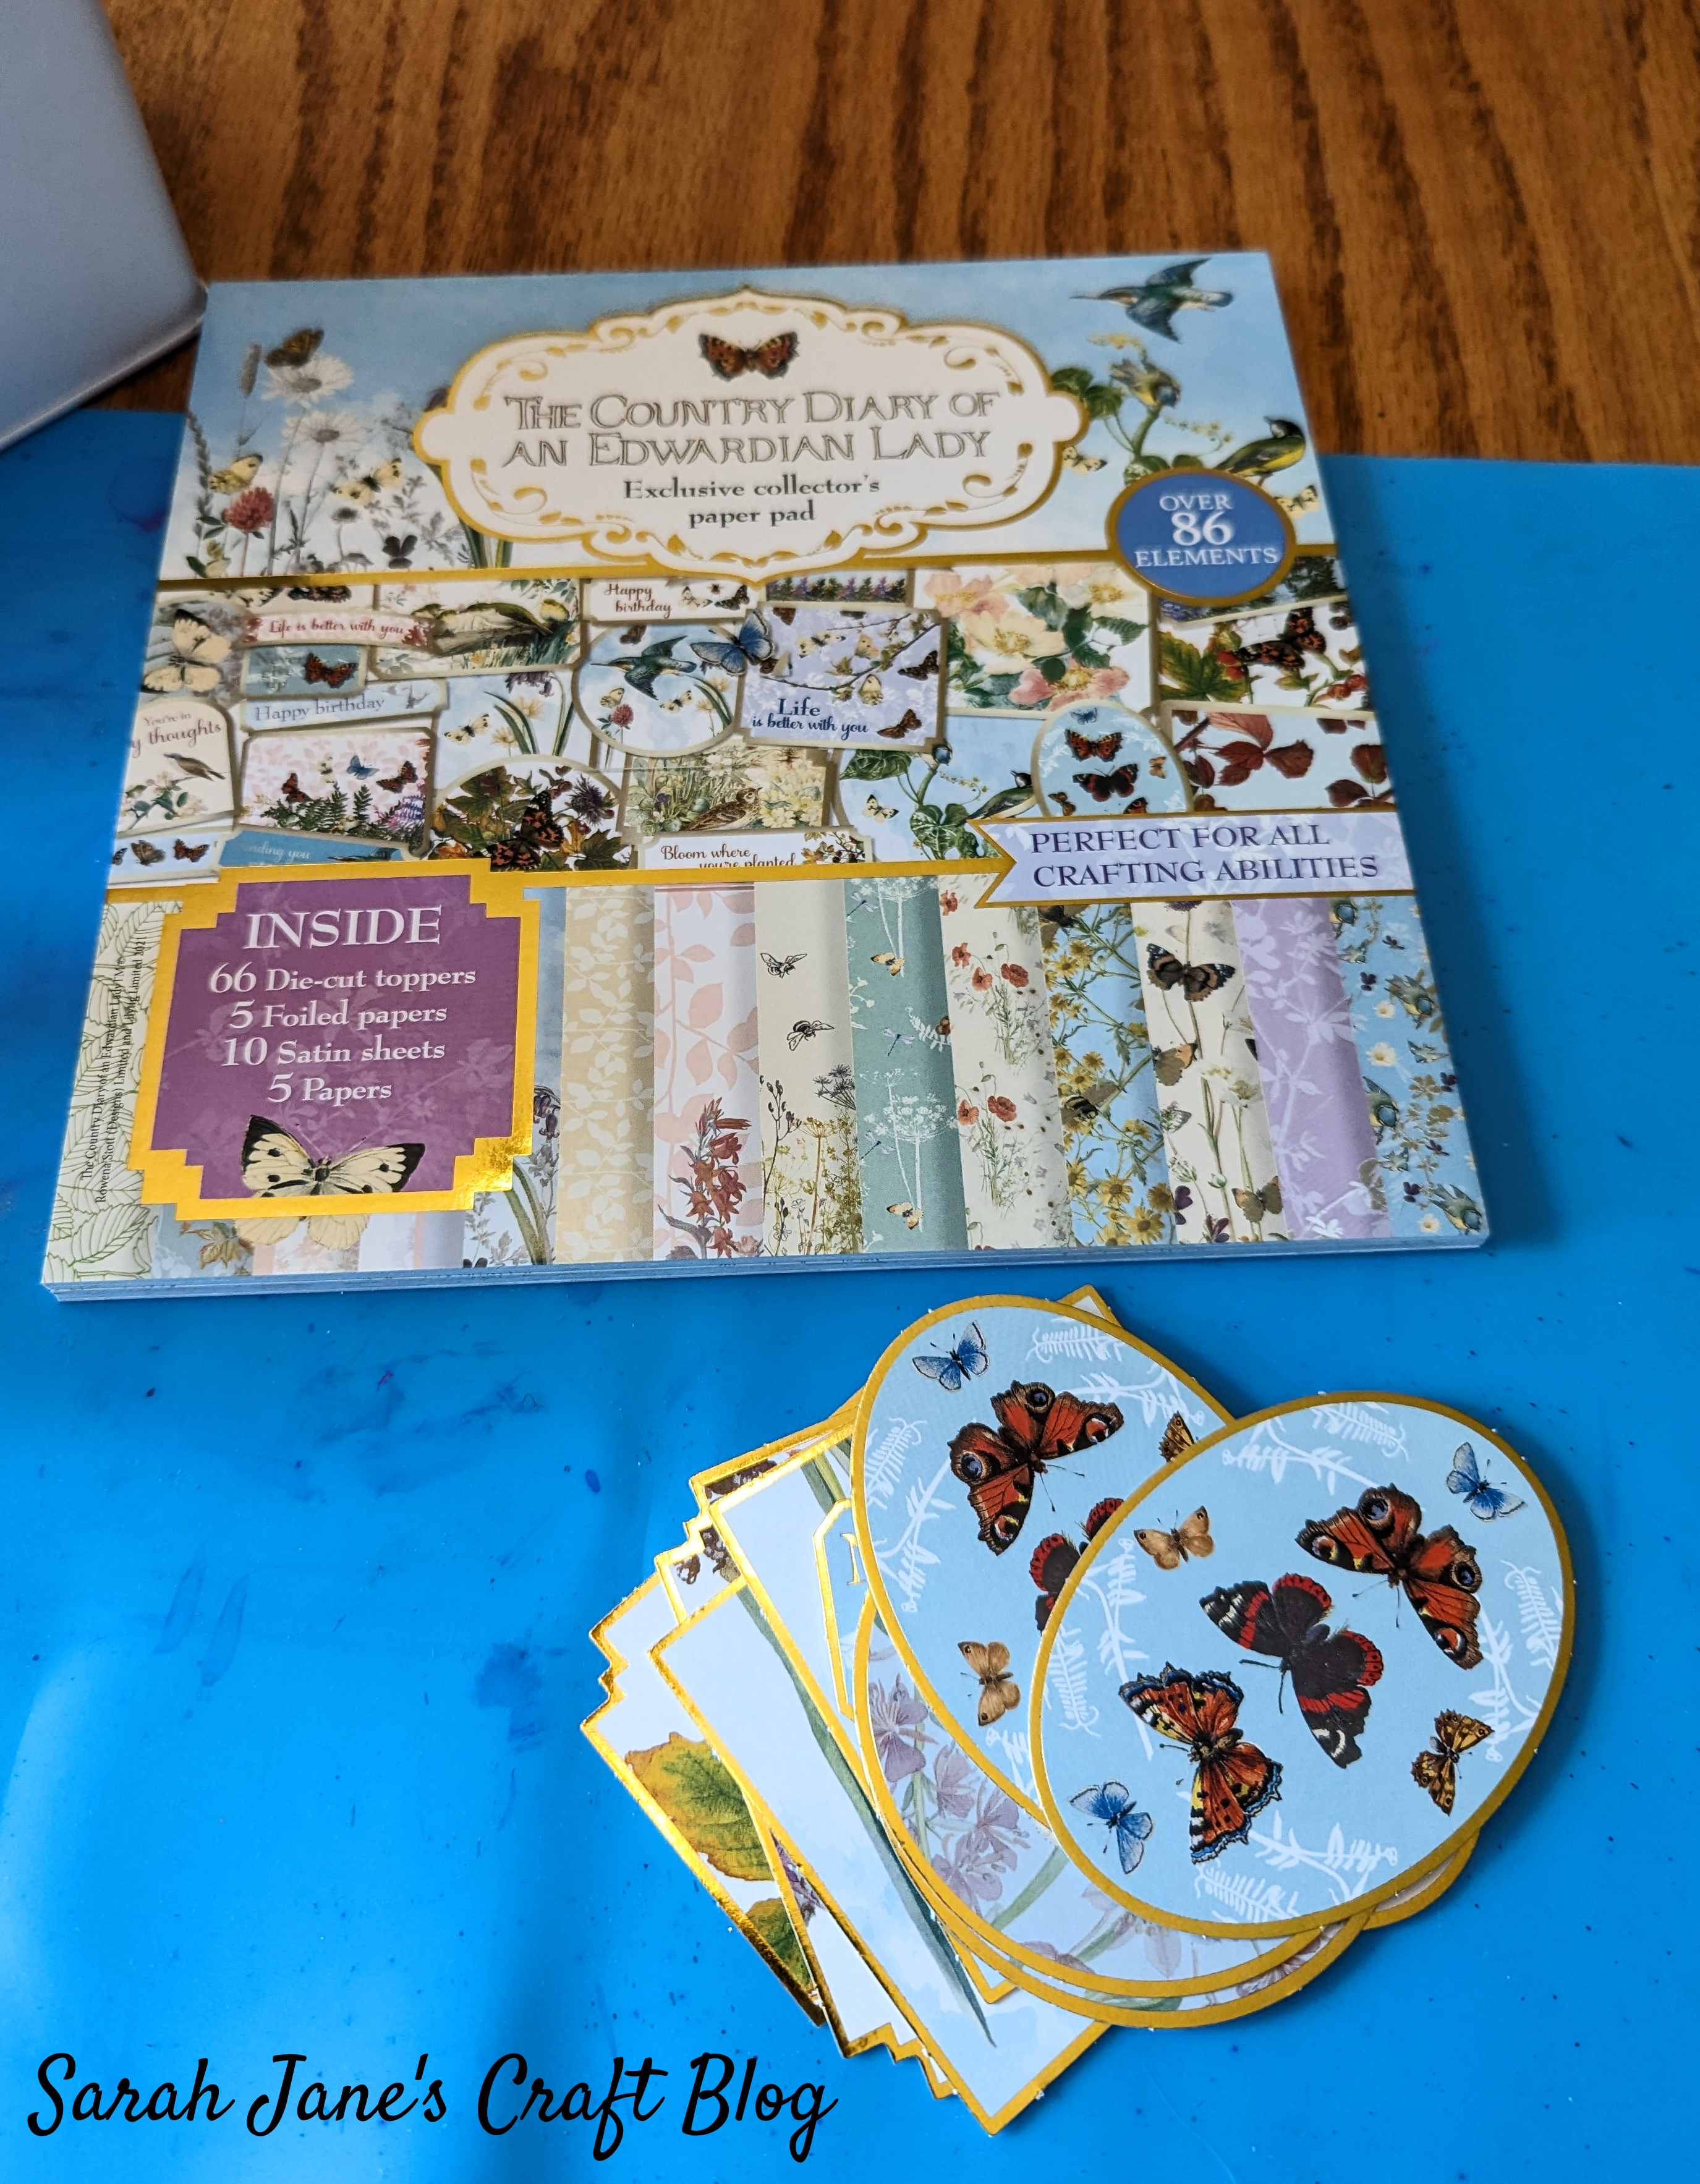
The die cuts were from a tablet of scrapbook paper that I was gifted, I just punched out shapes that I thought would fit on the tins (and that there were two of so my tins would match). You could easily use old greeting cards for a similar look.

I planned out which die cuts were going to go on each side of the tin and got ready to glue them on.

I painted the tin with a layer of mod podge and then I painted the cardstock die cuts with mod podge, too.

The cardstock die cuts were thick and glossy, so they didn't absorb the glue very well. I had several curl and pop up like this. There are a few strategies for fixing this (like using a brayer or even a small craft iron or spraying your cardstock with water), but I just added more glue and smoothed them down a couple times until the glue was tacky and then turned the tins down onto the table to keep the cardstock in place a bit as they dried.

Once all of the cardstock was applied and mostly staying put, I let them dry for about a half an hour before applying my top coats.

I started with the lids and applied a layer of mod podge over the top of the whole lid, then I stuck my left hand inside the tin and painted each side with mod podge. When I was all done, I came back and added glue anywhere it was thin and smoothed out any drips or globs. Then I let it dry until it was clear and dry to the touch.

When I was done, I had some cute tins that could be used to store bits and bobs.


Comments
Post a Comment