Mod Podged Fall Sign

This summer, I picked up some wooden plaques from Michael's with a coupon because I didn't have any. I had no projects in mind, but I knew I'd use them eventually.
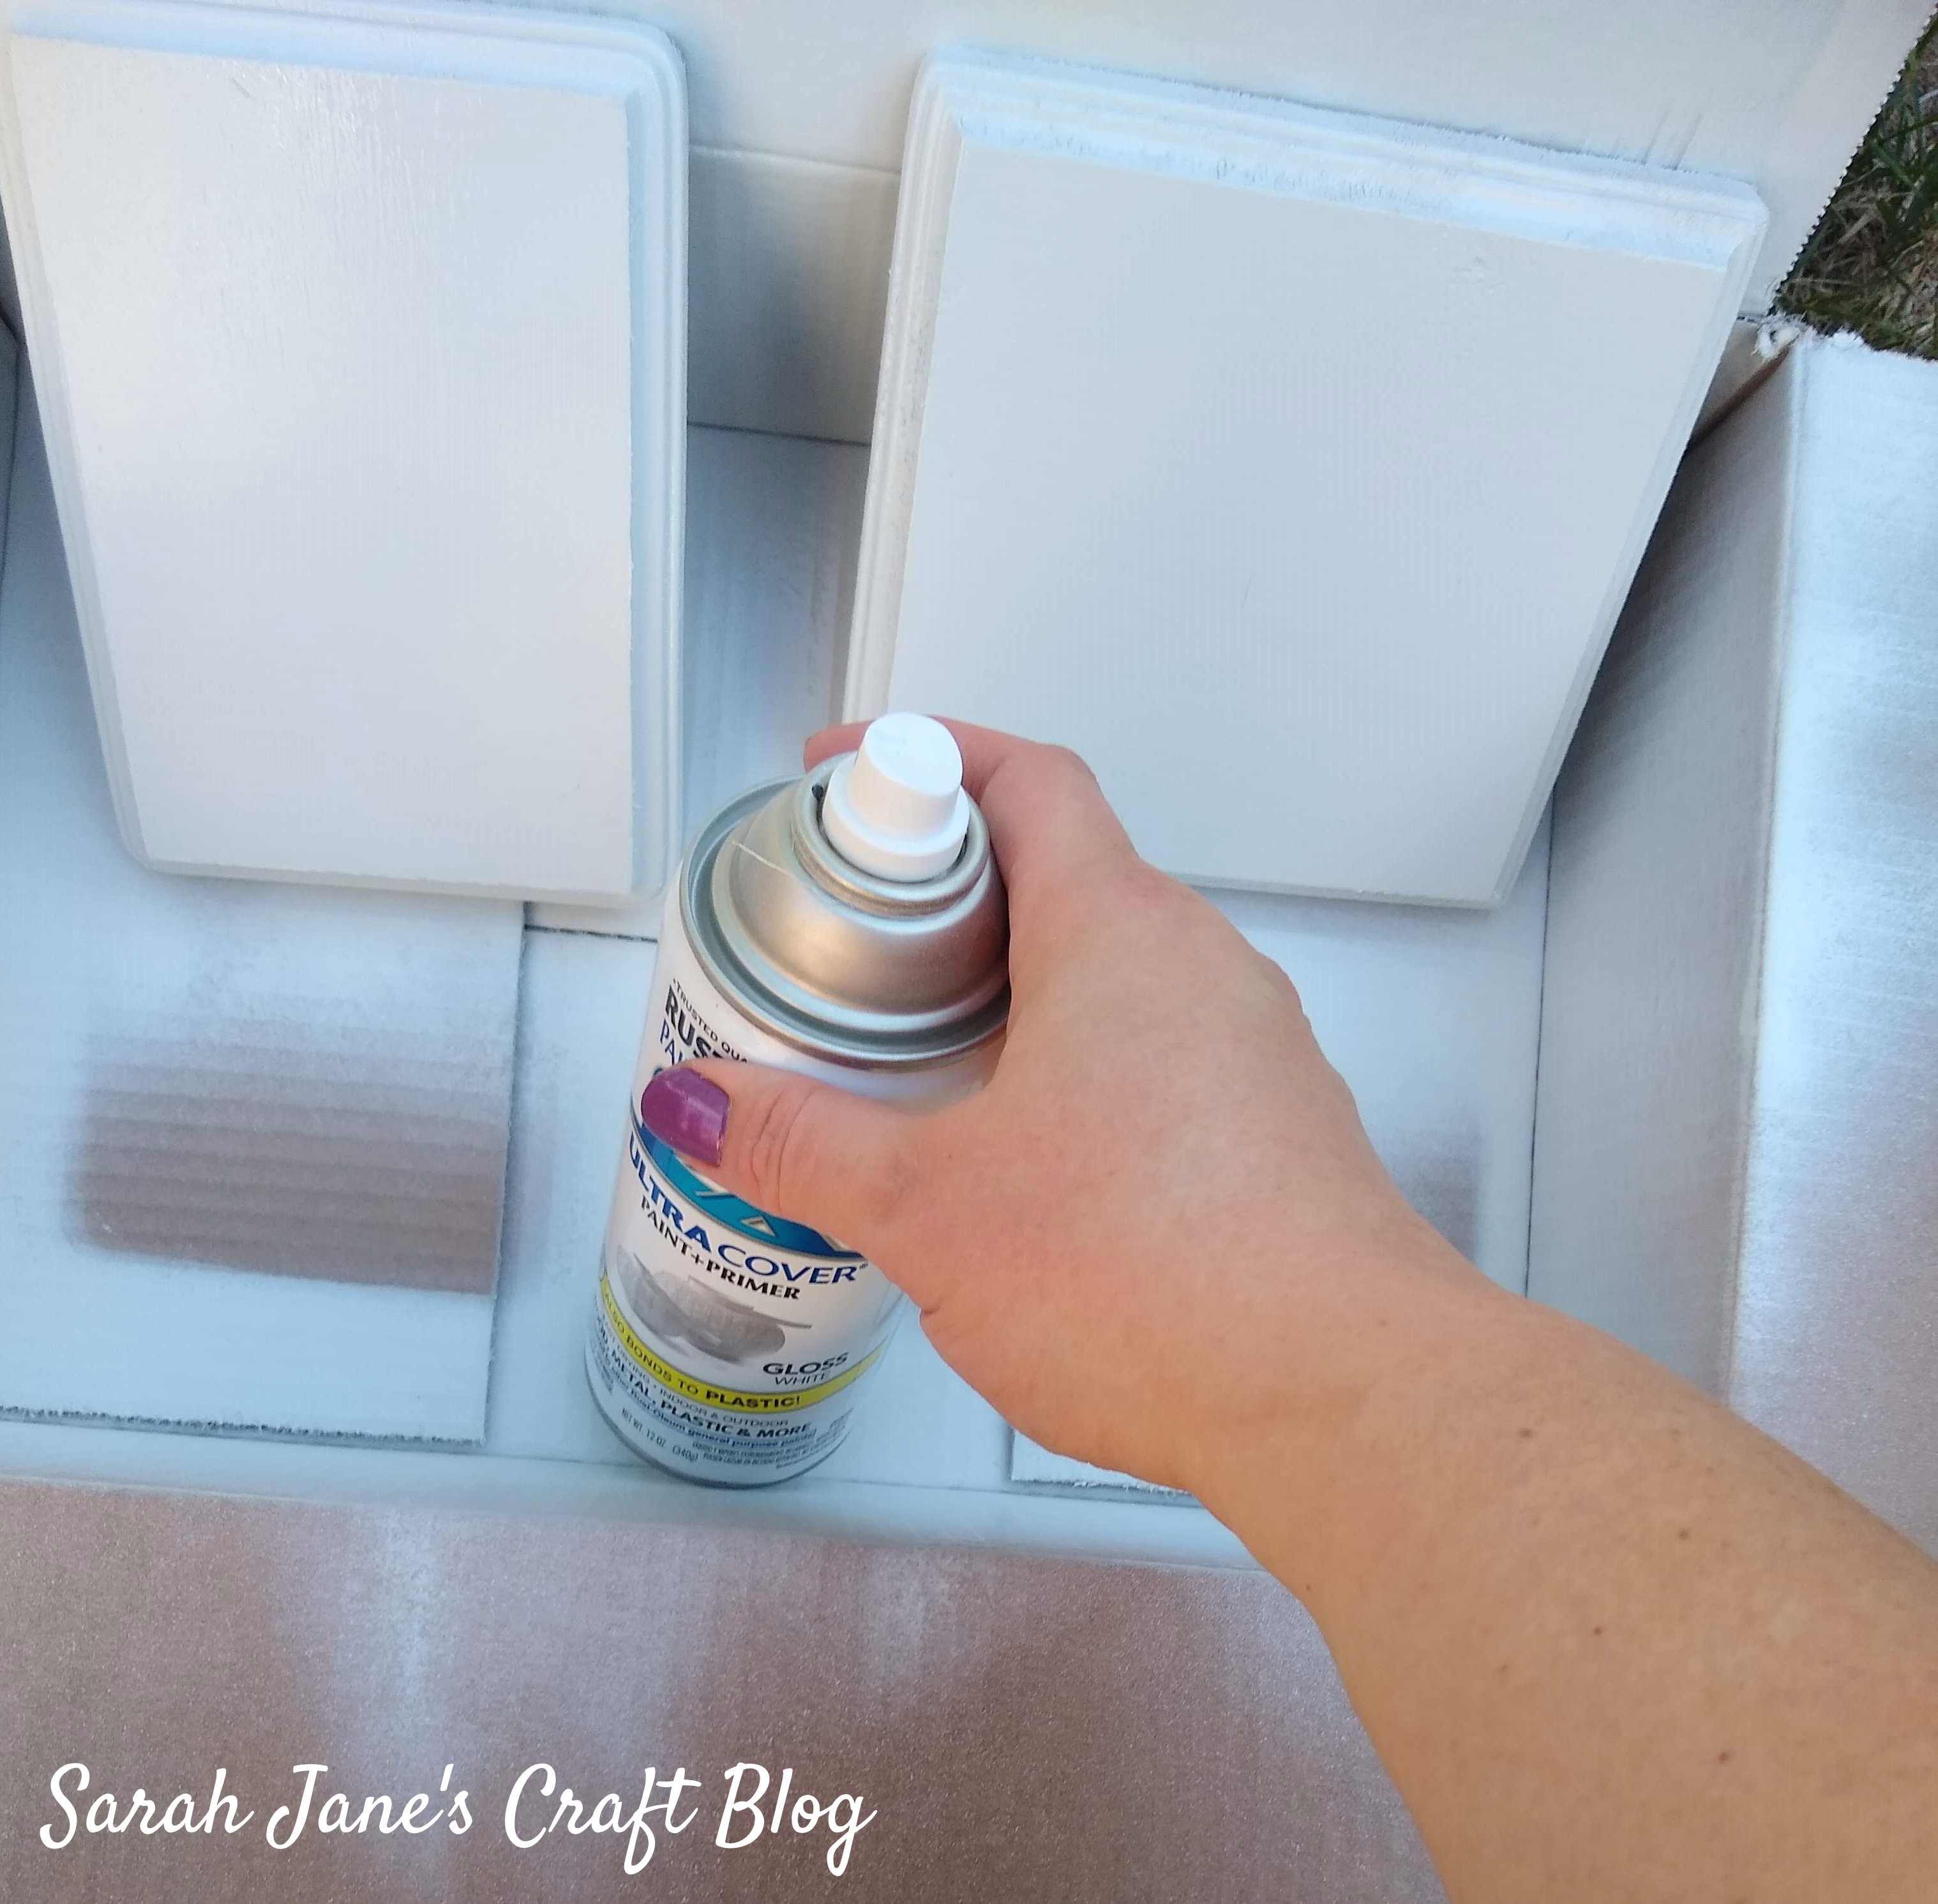
Months ago, I spray painted two of them white and they'd been sitting in my craft cart since then just waiting to be made into something. (They were unfinished pine plaques, so it took several coats of spray paint to turn them solid white.)

I found a website with free printable greeting cards and found one that I thought would work well as a little sign and used the crop and resize tools in Word (top right when you click on the photo) to get it to a size that would fit on my wooden plaque.
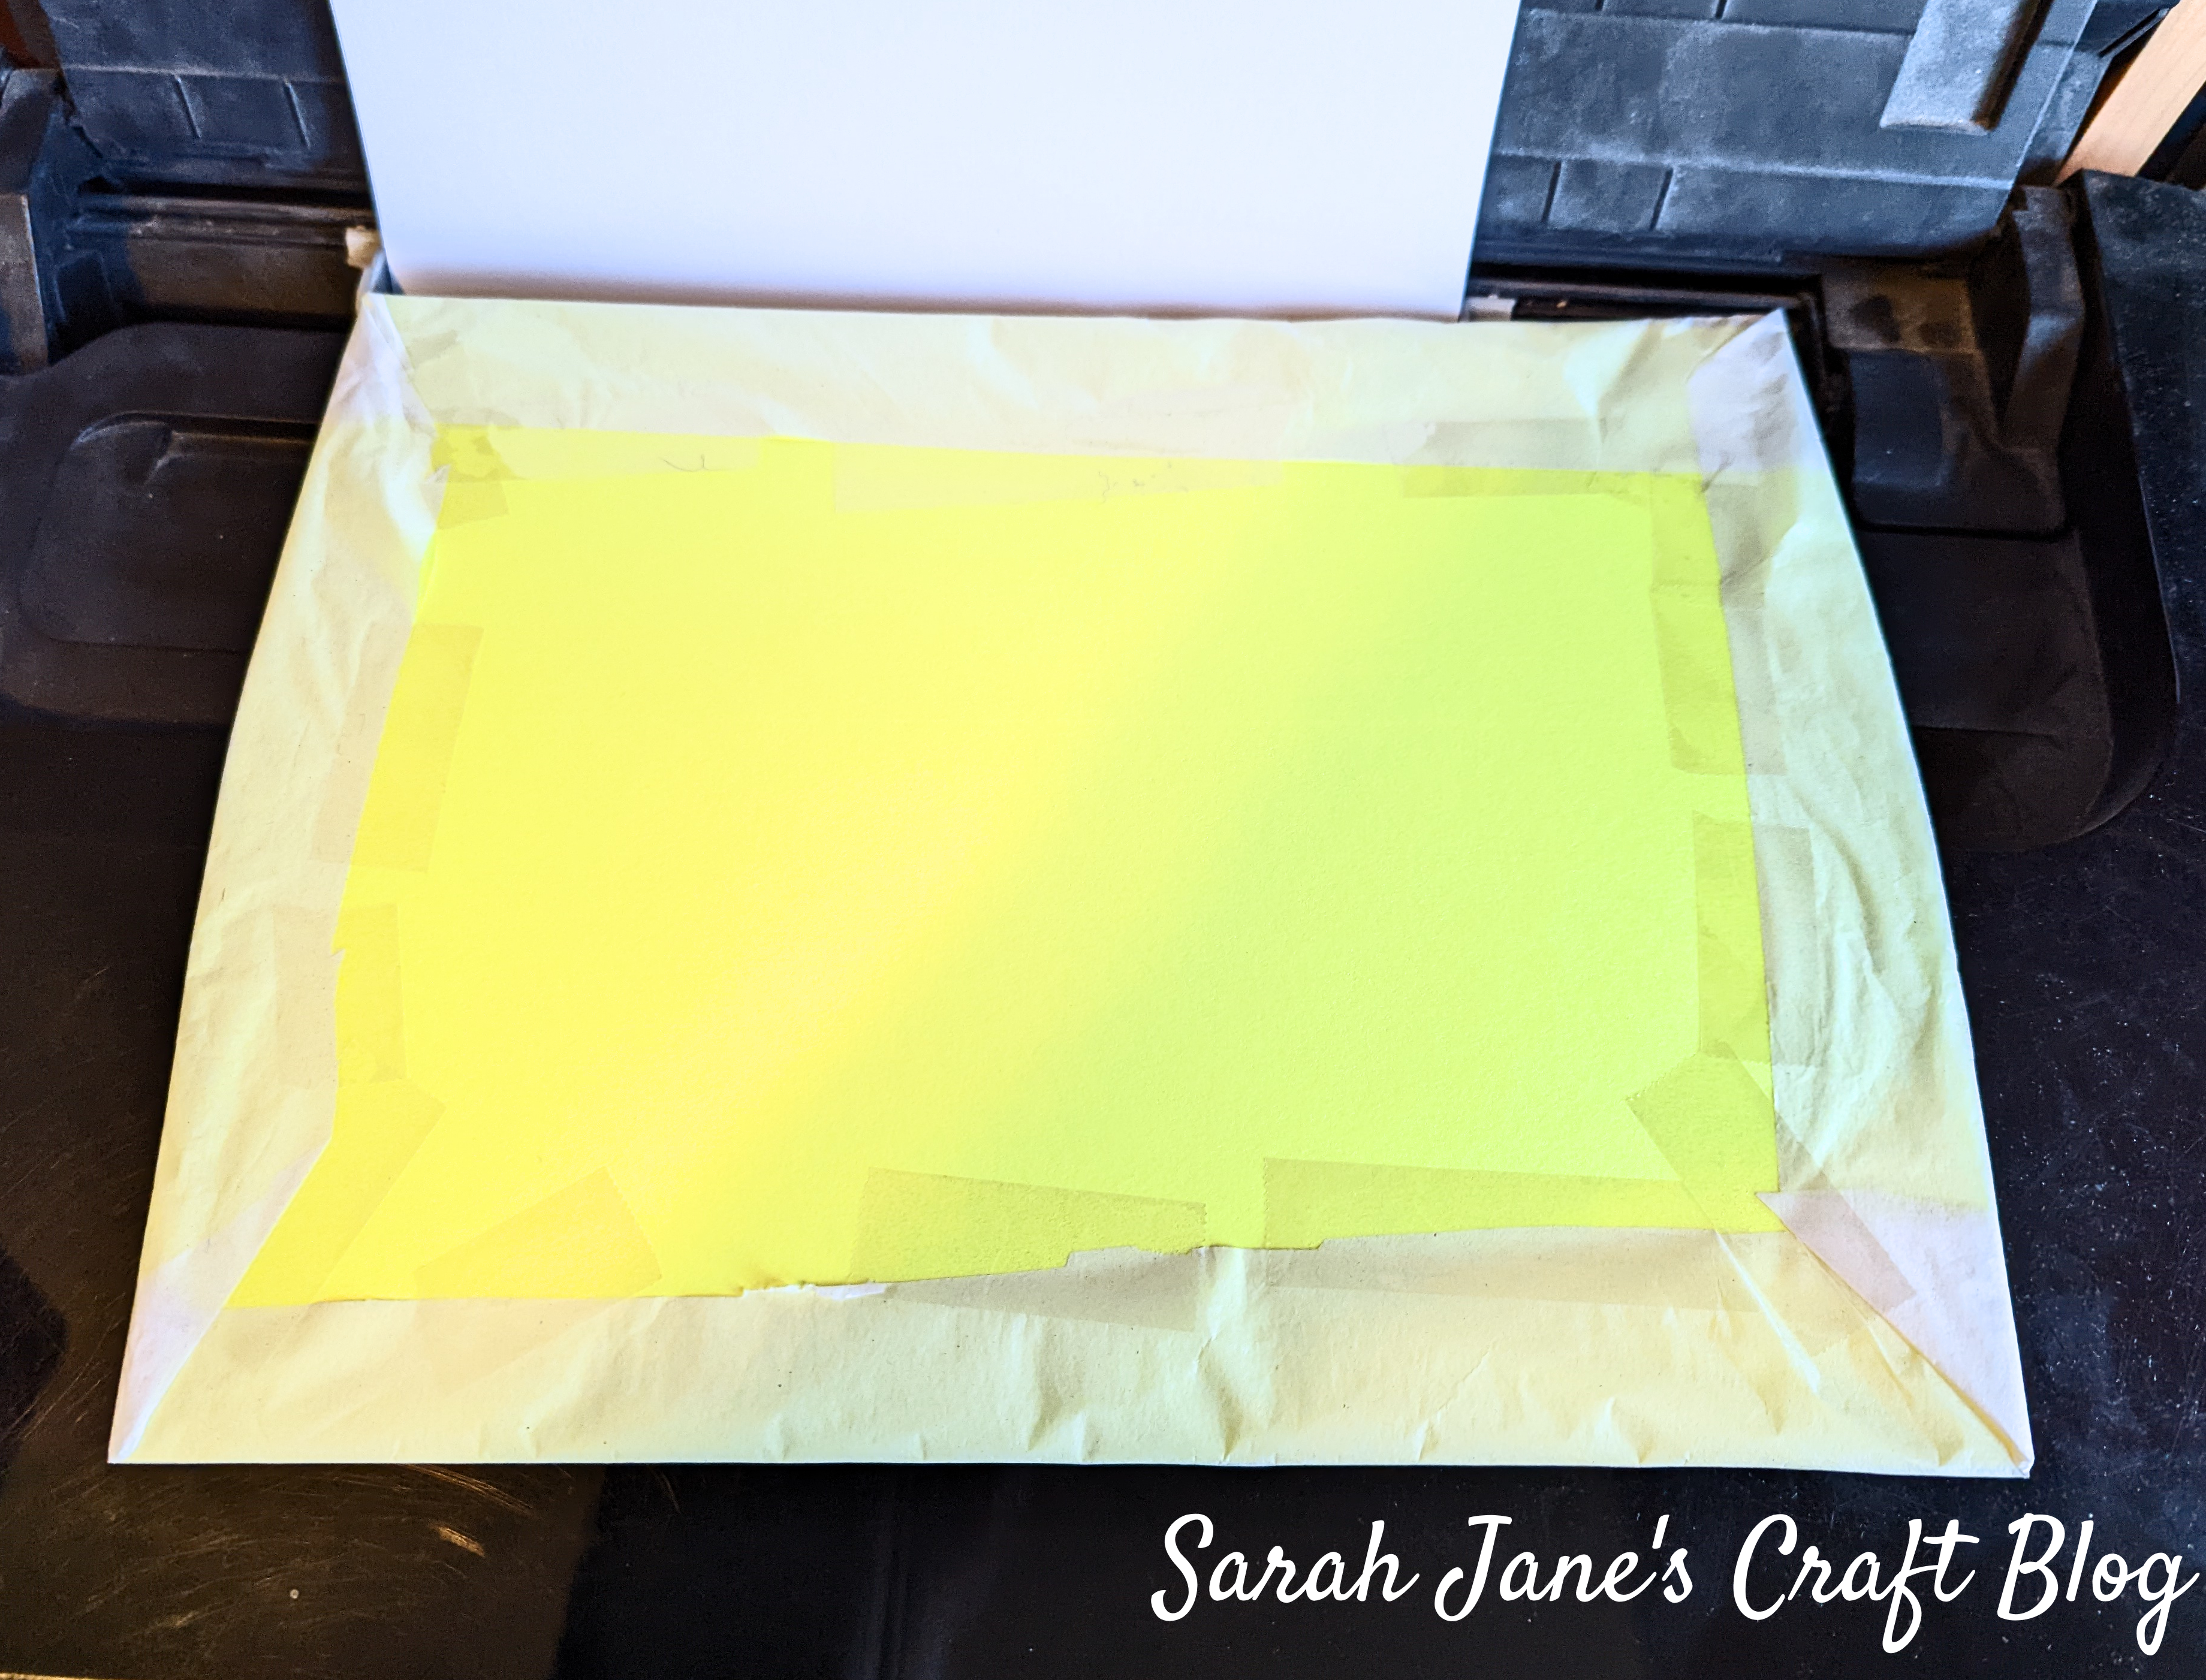
Then I taped a piece of white tissue paper to a piece of card stock. Make sure to tape down any loose bits so they don't get caught when they go through the printer.

I put the tissue covered card stock in the paper tray of my ink jet printer. The first attempt was covered in ink--I hadn't taped it tight enough. So I ripped the tissue paper off of the card stock and tried again. This time, taping it a bit more carefully.

Success! The second printing went much better. There were a few little dots of black ink, but no streaks from the printer.

I gathered everything I would need: my spray painted pine plaque, Mod podge (or other decoupage glue), foam brushes, a scissors, and my printed tissue paper.

I cut my tissue paper off of the card stock and placed it over the plaque. I lined it up as best as I could and rubbed my finger along the edge of the plaque to make a crease in the tissue paper.

I used the crease to cut the tissue paper out the same size as the top surface of the plaque.

Then I painted a thin layer of mod podge onto the plaque.

I carefully placed the tissue paper onto the glue and tapped it down. Do not rub the tissue paper unless your fingers are completely dry and the glue has not soaked through to the top. If the tissue paper or your fingers is wet, as soon as you touch it, it will tear.
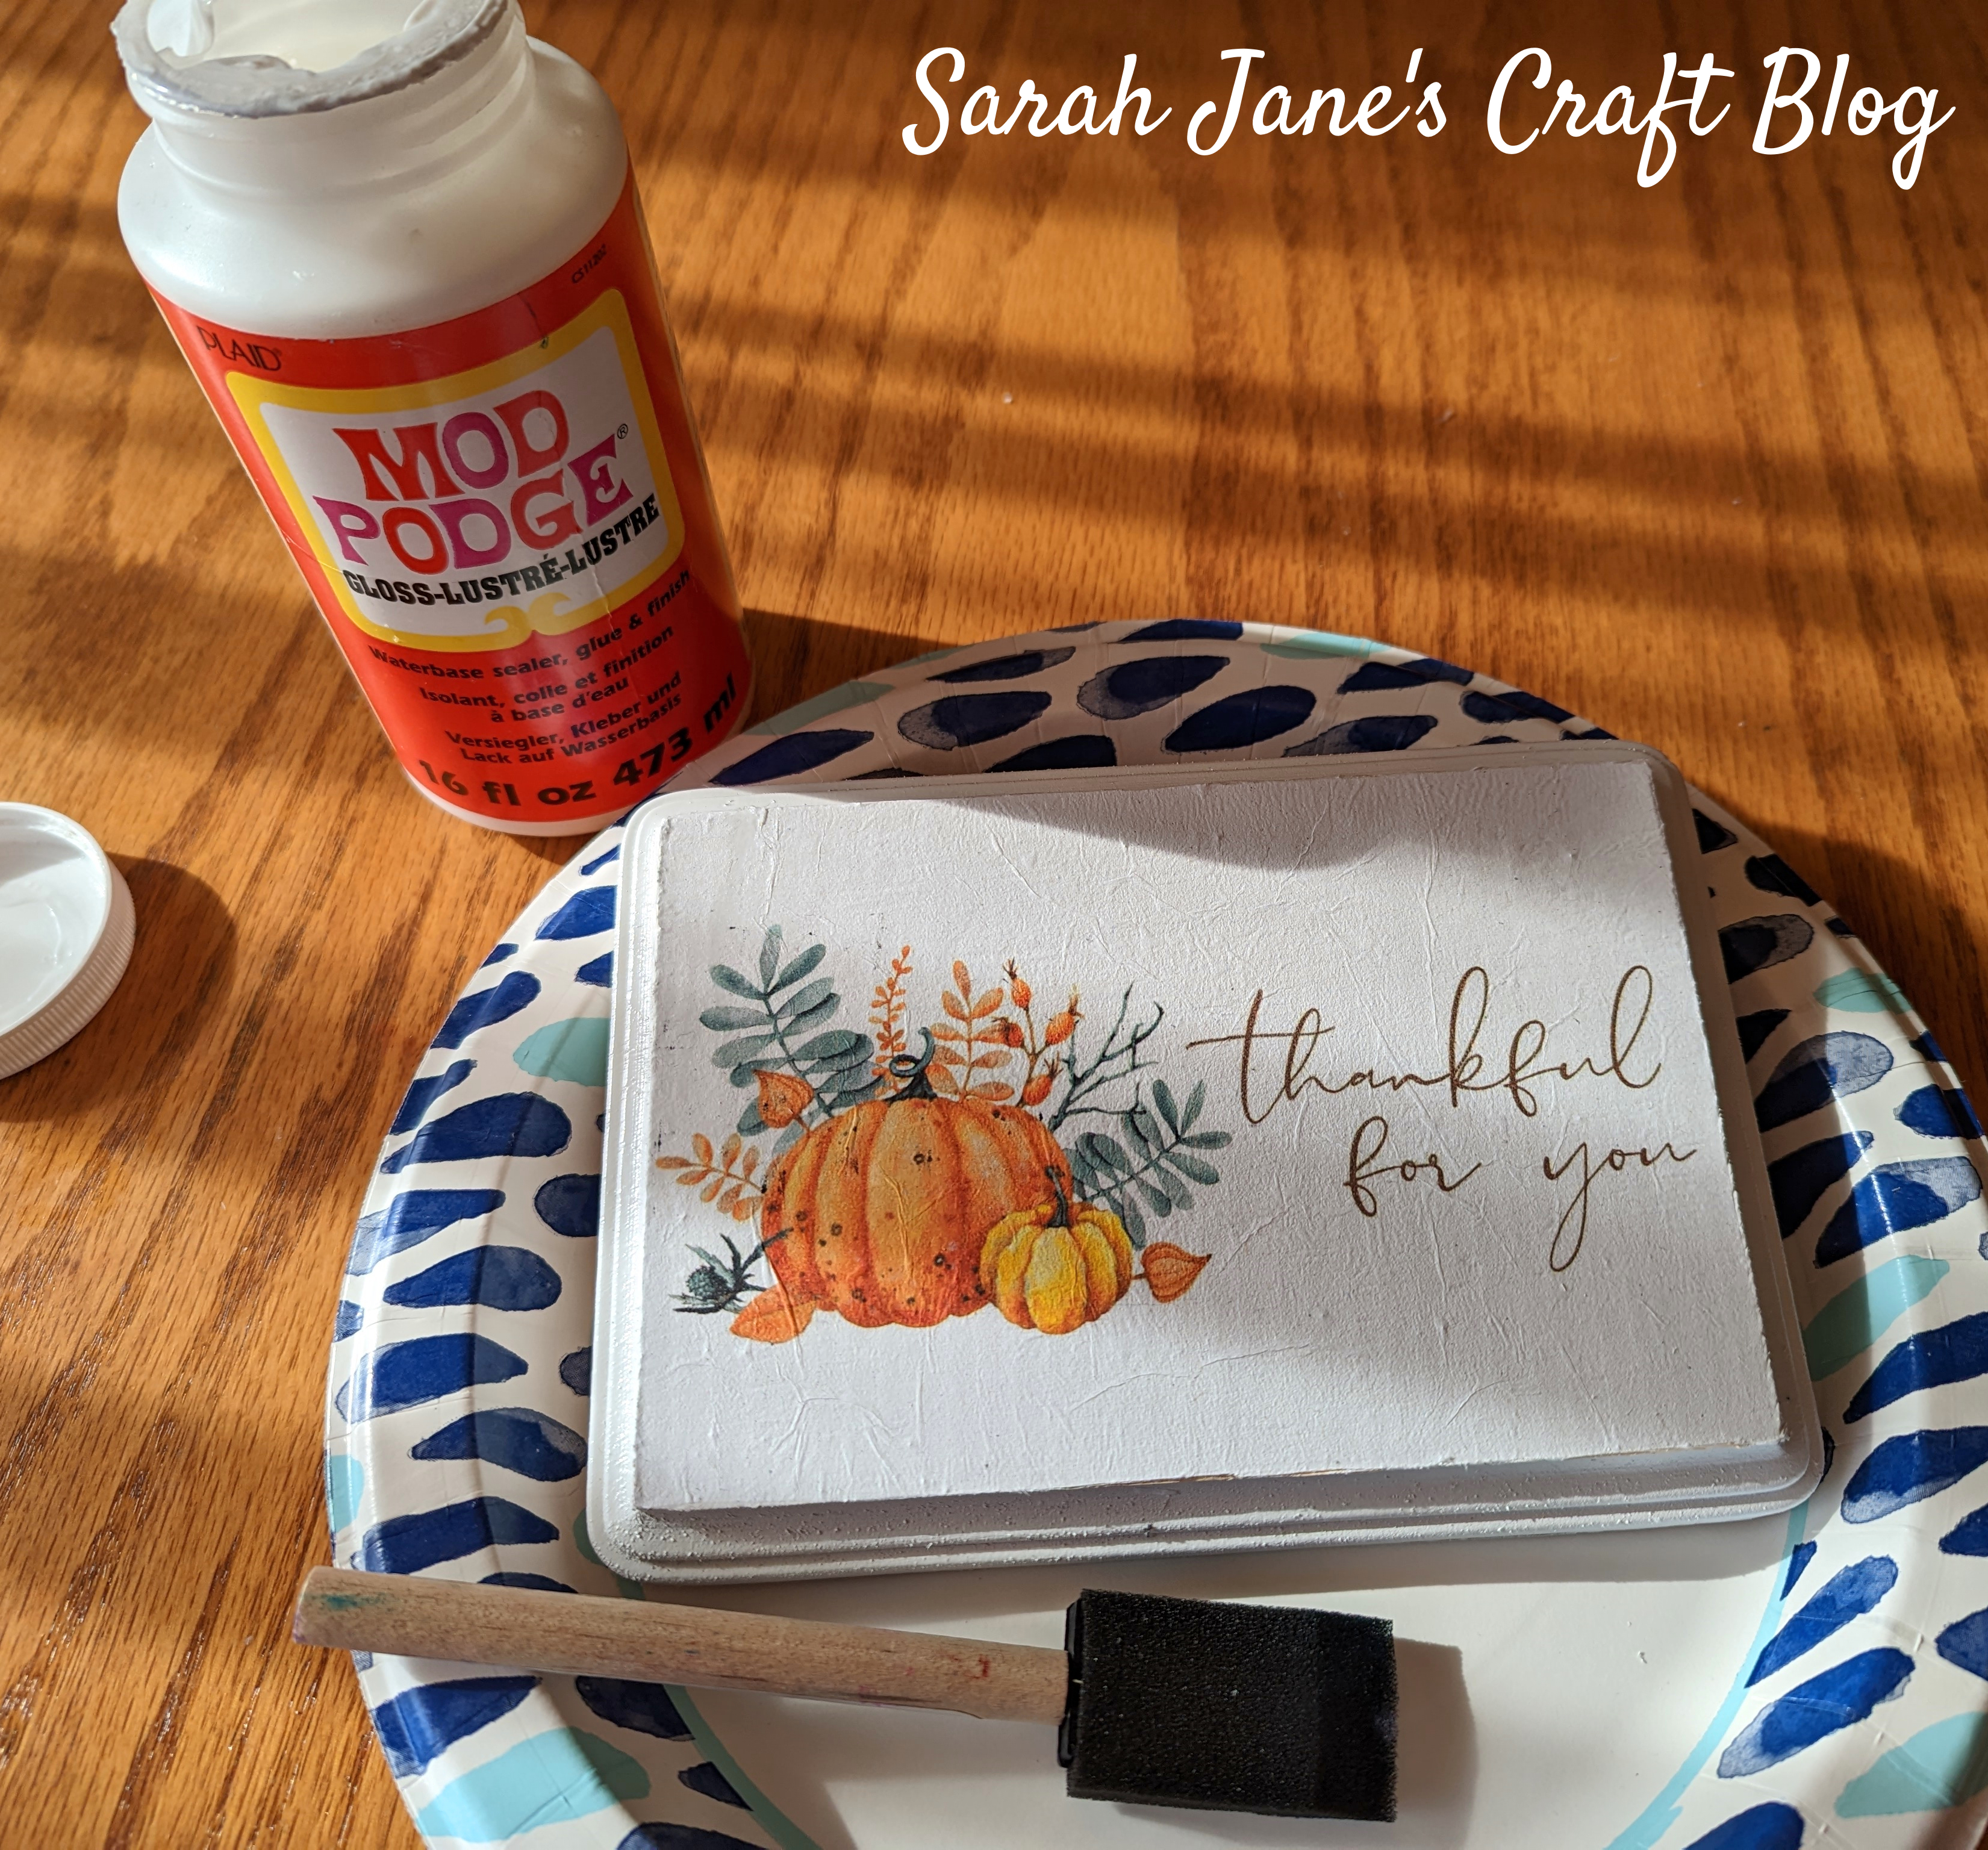
I let the mod podge dry for 20 minutes or so (even longer would be better), but it was fairly set by then and then came back to coat the top with some mod podge to seal it and provide a glossy finish.
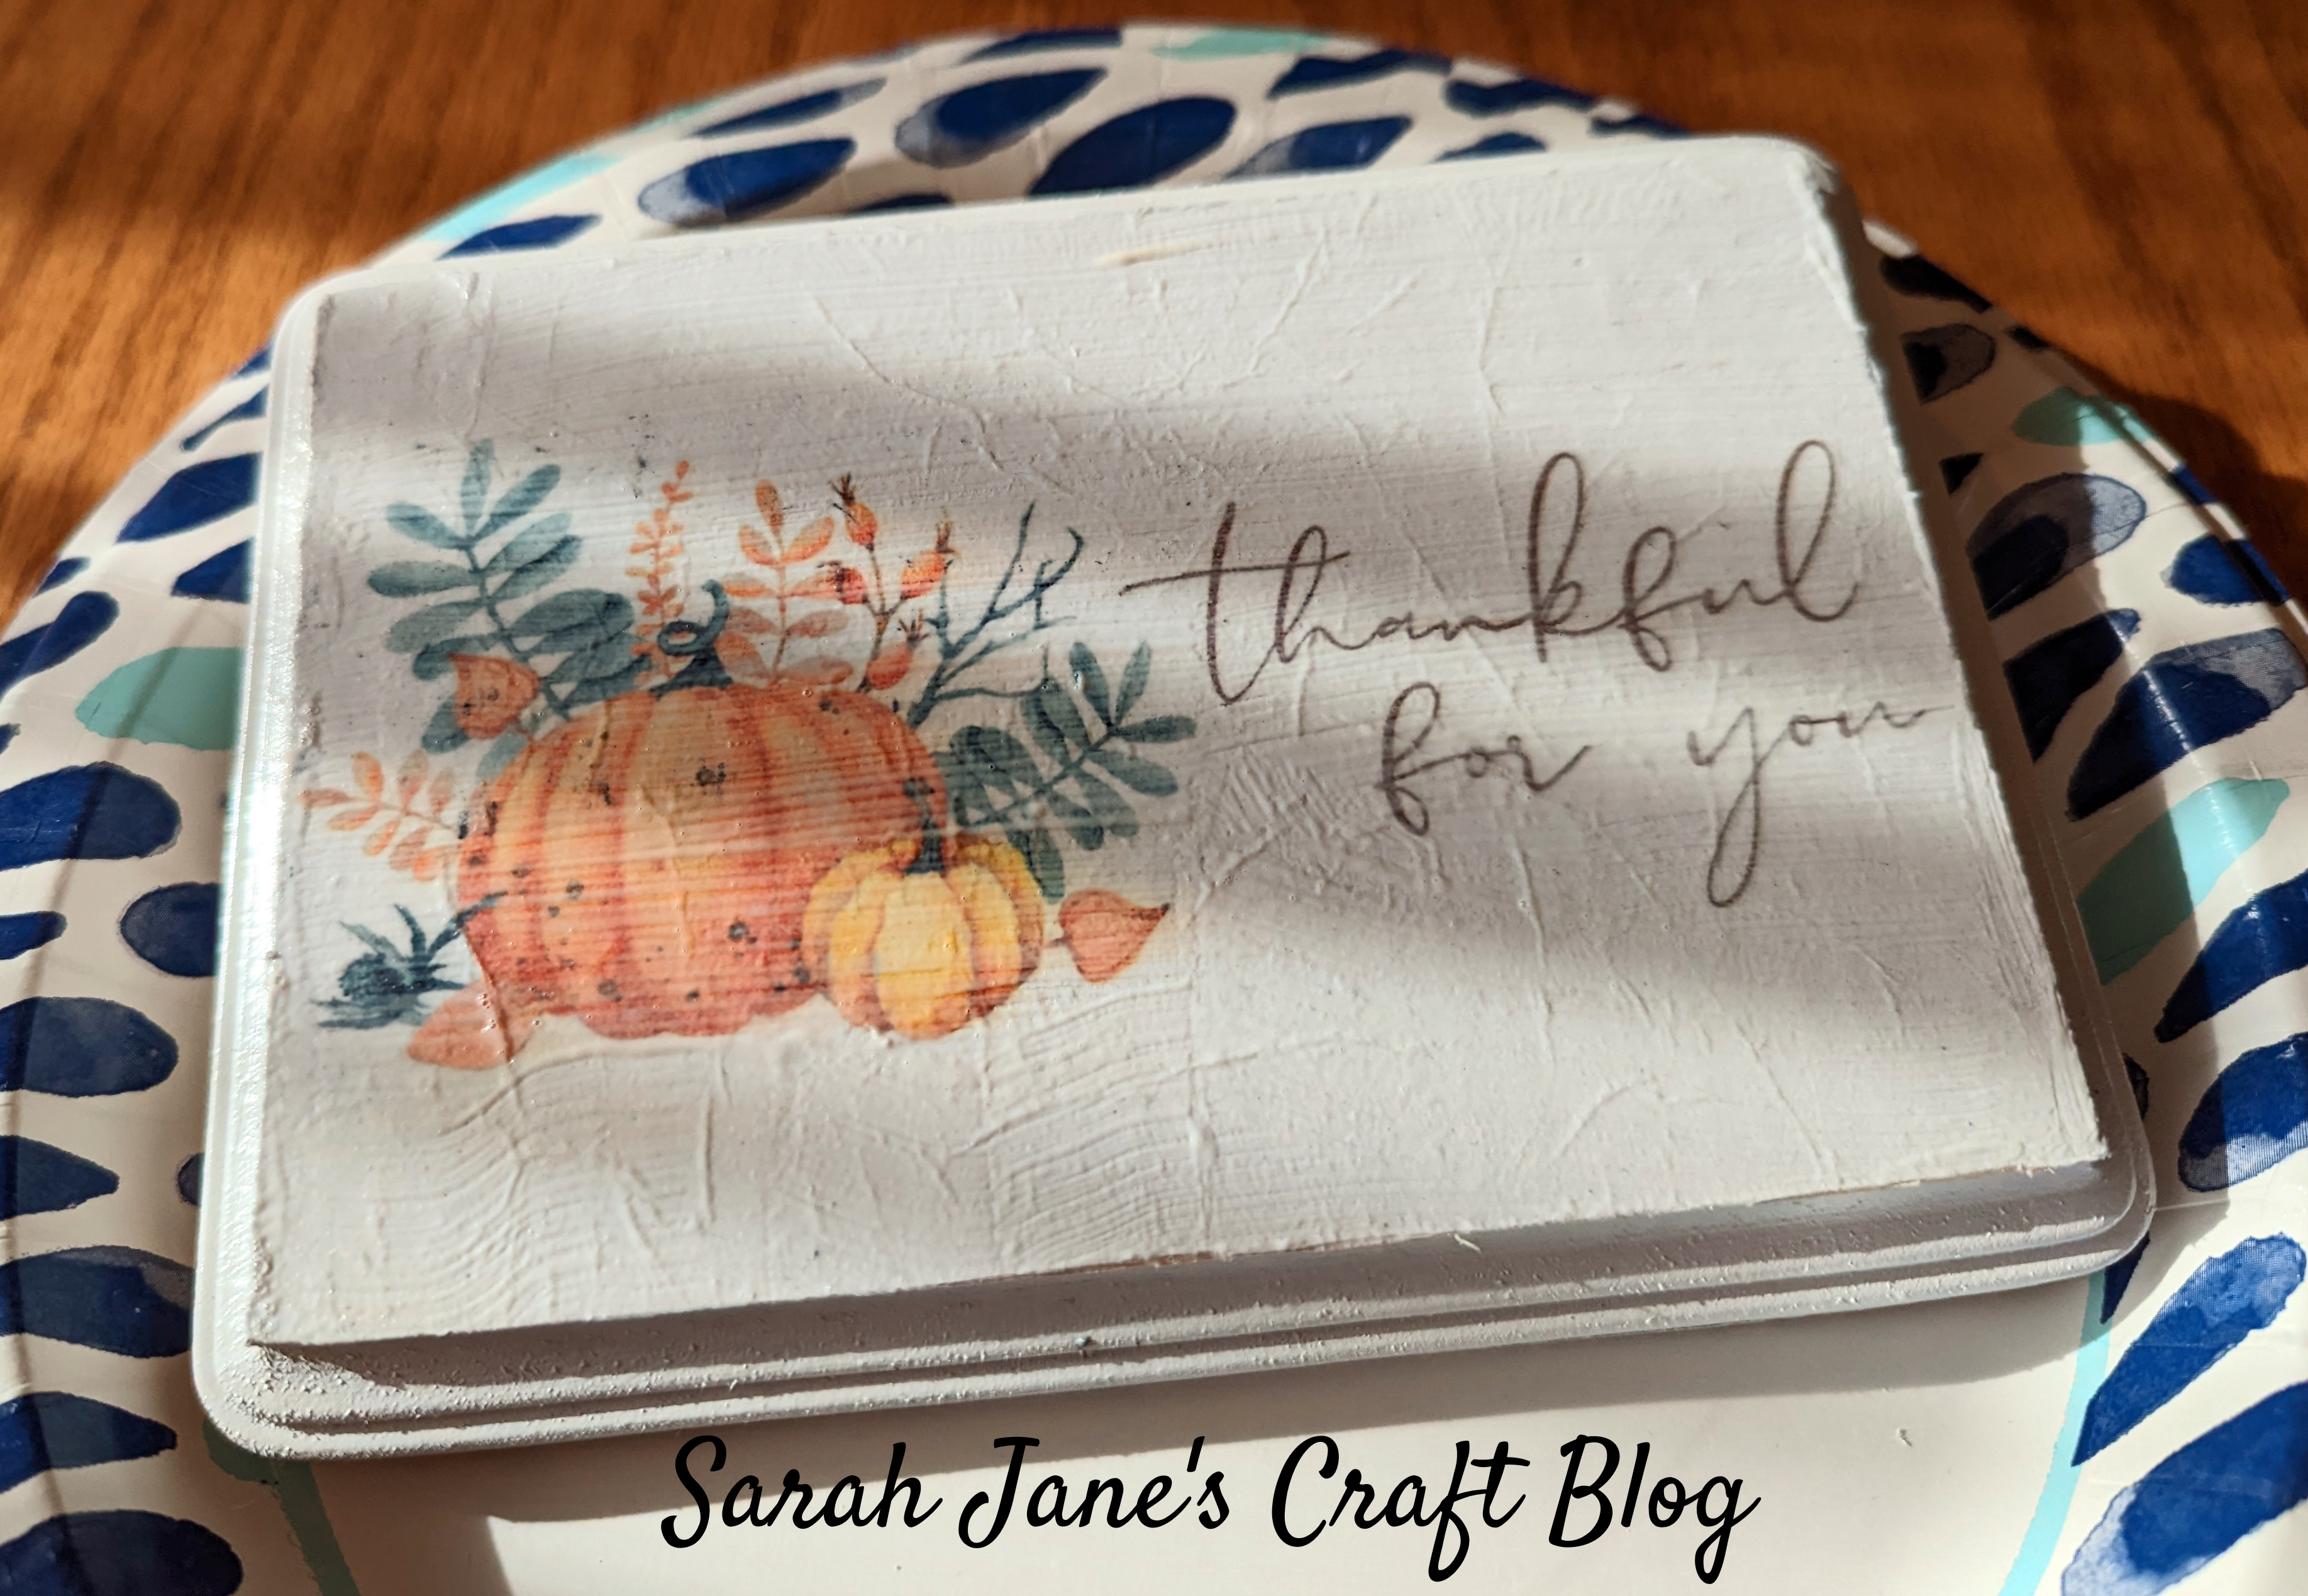
If I had known that the ink would smear when I topped it, I would have probably sprayed it with some sealer first, but I didn't know. I do know from past projects that you can minimize the ink smearing by letting the tissue paper dry overnight. I didn't do that either, so it was probably destined to smear a bit.

It turned out ok, but some of the orange from the pumpkins smeared and the tiny bits of black ink seemed to blossom in the mod podge, so it wasn't as crisp and clean as I would like. I may have to try some weathering on it to make it look more intentionally rustic, but for now, as long as you don't look too closely, it looks pretty good.


Comments
Post a Comment