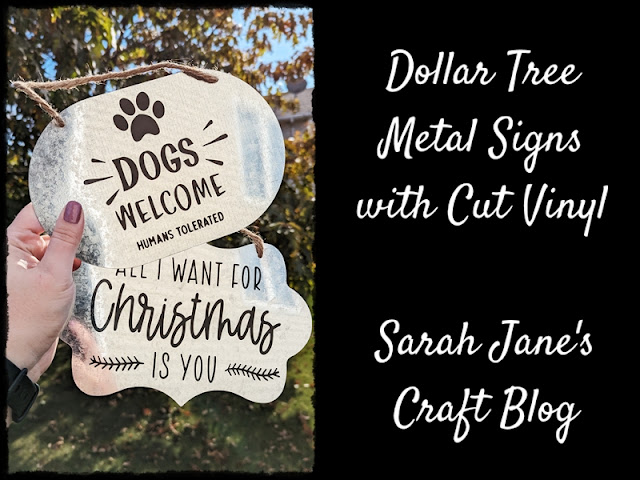
Dollar Tree Metal Signs with Cut Vinyl Decorations
Well, it's official. The window for creating holiday crafts has opened. To start off with, I decided to drag out my old Silhouette Cameo 2 and cut some designs. I decided to ease into it, though, by sneaking in a dog lovers sign, too.
If you follow the blog, you may remember that the last time I used my Silhouette, I swore I wouldn't use it again to cut vinyl until I got a new blade. Well, I got a new blade, so here we are ready to swear while weeding yet again.
I printed a mix of designs and tried to cram as much in as possible. I have some Thanksgiving/fall projects in the works while squeezing in some Christmas designs. The "All I want for Christmas" design that I'll be using on a sign for today's project was a freebie from the Silhouette Studio from a previous year that I hadn't cut yet.
I had meant to use the bottom "Dogs Welcome" design, but even though I measured the sign, the design was way too big once I cut it out. I'm not sure what happened there. So I decided to go with my spare design in the top right. Both of those were from a free design website.
After I had my designs set, I sent them to my machine to cut using the default vinyl settings. They cut smoothly. I used a mat just to make sure that it loaded straight and didn't have any issues. I selected black vinyl for all of my designs to save time.
I cut the designs apart and grabbed one of these signs from Dollar Tree that I've made signs with before.
Now the moment of truth! Did the new blade make a difference? Oh yeah. I had no problems removing the first layer of vinyl, and the weeding was overall much easier.
After I finished picking out all of the letters, I used some transfer tape to apply the decal onto the sign.
Well, it was a tiny bit off-center, but I was happy to get back to using the Silhouette for projects and excited to start making holiday crafts!
Now onto the second sign. I was expecting to use a larger design for this sign, but I didn't feel like resizing and cutting again when I had a "spare" design that I had cut out as an extra that would work.
The first layer of vinyl came off easily, but the design was supposed to include a box with the text removed at the bottom. Unfortunately, the blade picked out a few tiny pieces of vinyl while it was cutting that would have made the letters look incomplete if I removed them from the box, so I opted to keep the letters and remove the box.
After the excess vinyl was removed, I applied my paper transfer tape to the design and rubbed it down.
Then I peeled back the paper backing from the vinyl and applied the transfer tape to the sign. I rubbed the vinyl down again and peeled back the tape.
Though the design is a bit small for the size of the sign, it still turned out cute.
Even though they weren't perfect, I am excited to get back to using my Silhouette. I have several more projects in the works, so be sure to check back for more projects.


Comments
Post a Comment