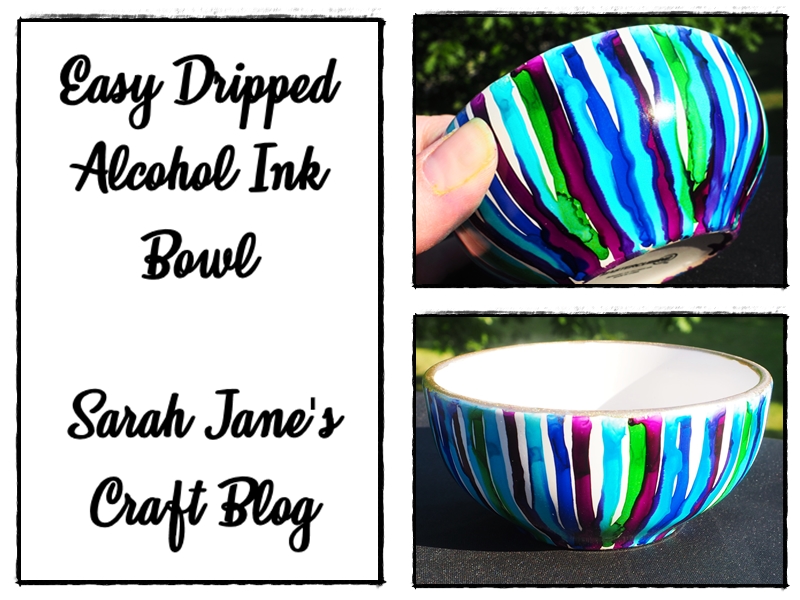
Easy Dripped Alcohol Ink Bowl
A few years ago, I bought some small white bowls at Big Lots. They were a lovely satin finish that allowed ink to run, but not slide across the surface. I've used these bowls for several projects, and I found one lonely bowl in my craft stash just waiting for decoration. So, I thought I'd try out a simple project with alcohol ink that would be good for beginners.

I chose a few shades of alcohol ink that wouldn't turn brown if mixed together (on the same side of the color wheel), I ended up adding a fourth later on. I used all Ranger inks for this project: Mojito (green), Cobalt (blue), Boysenberry (purple), and Turquois (aqua). Then I flipped over my bowl and put it on top of a folded over paper towel (that's on top of a craft mat to keep it from bleeding on to my table).

Then I squeezed the Mojito green ink onto the bottom of the bowl, starting at the base, and let it drip down to the paper towel. You don't need too much ink to get there. If your bowl is very glossy, a single drop will probably do it, I just squeezed until it looked like it would run all the way down. I continued around the base of the bowl making relatively equal stripes.
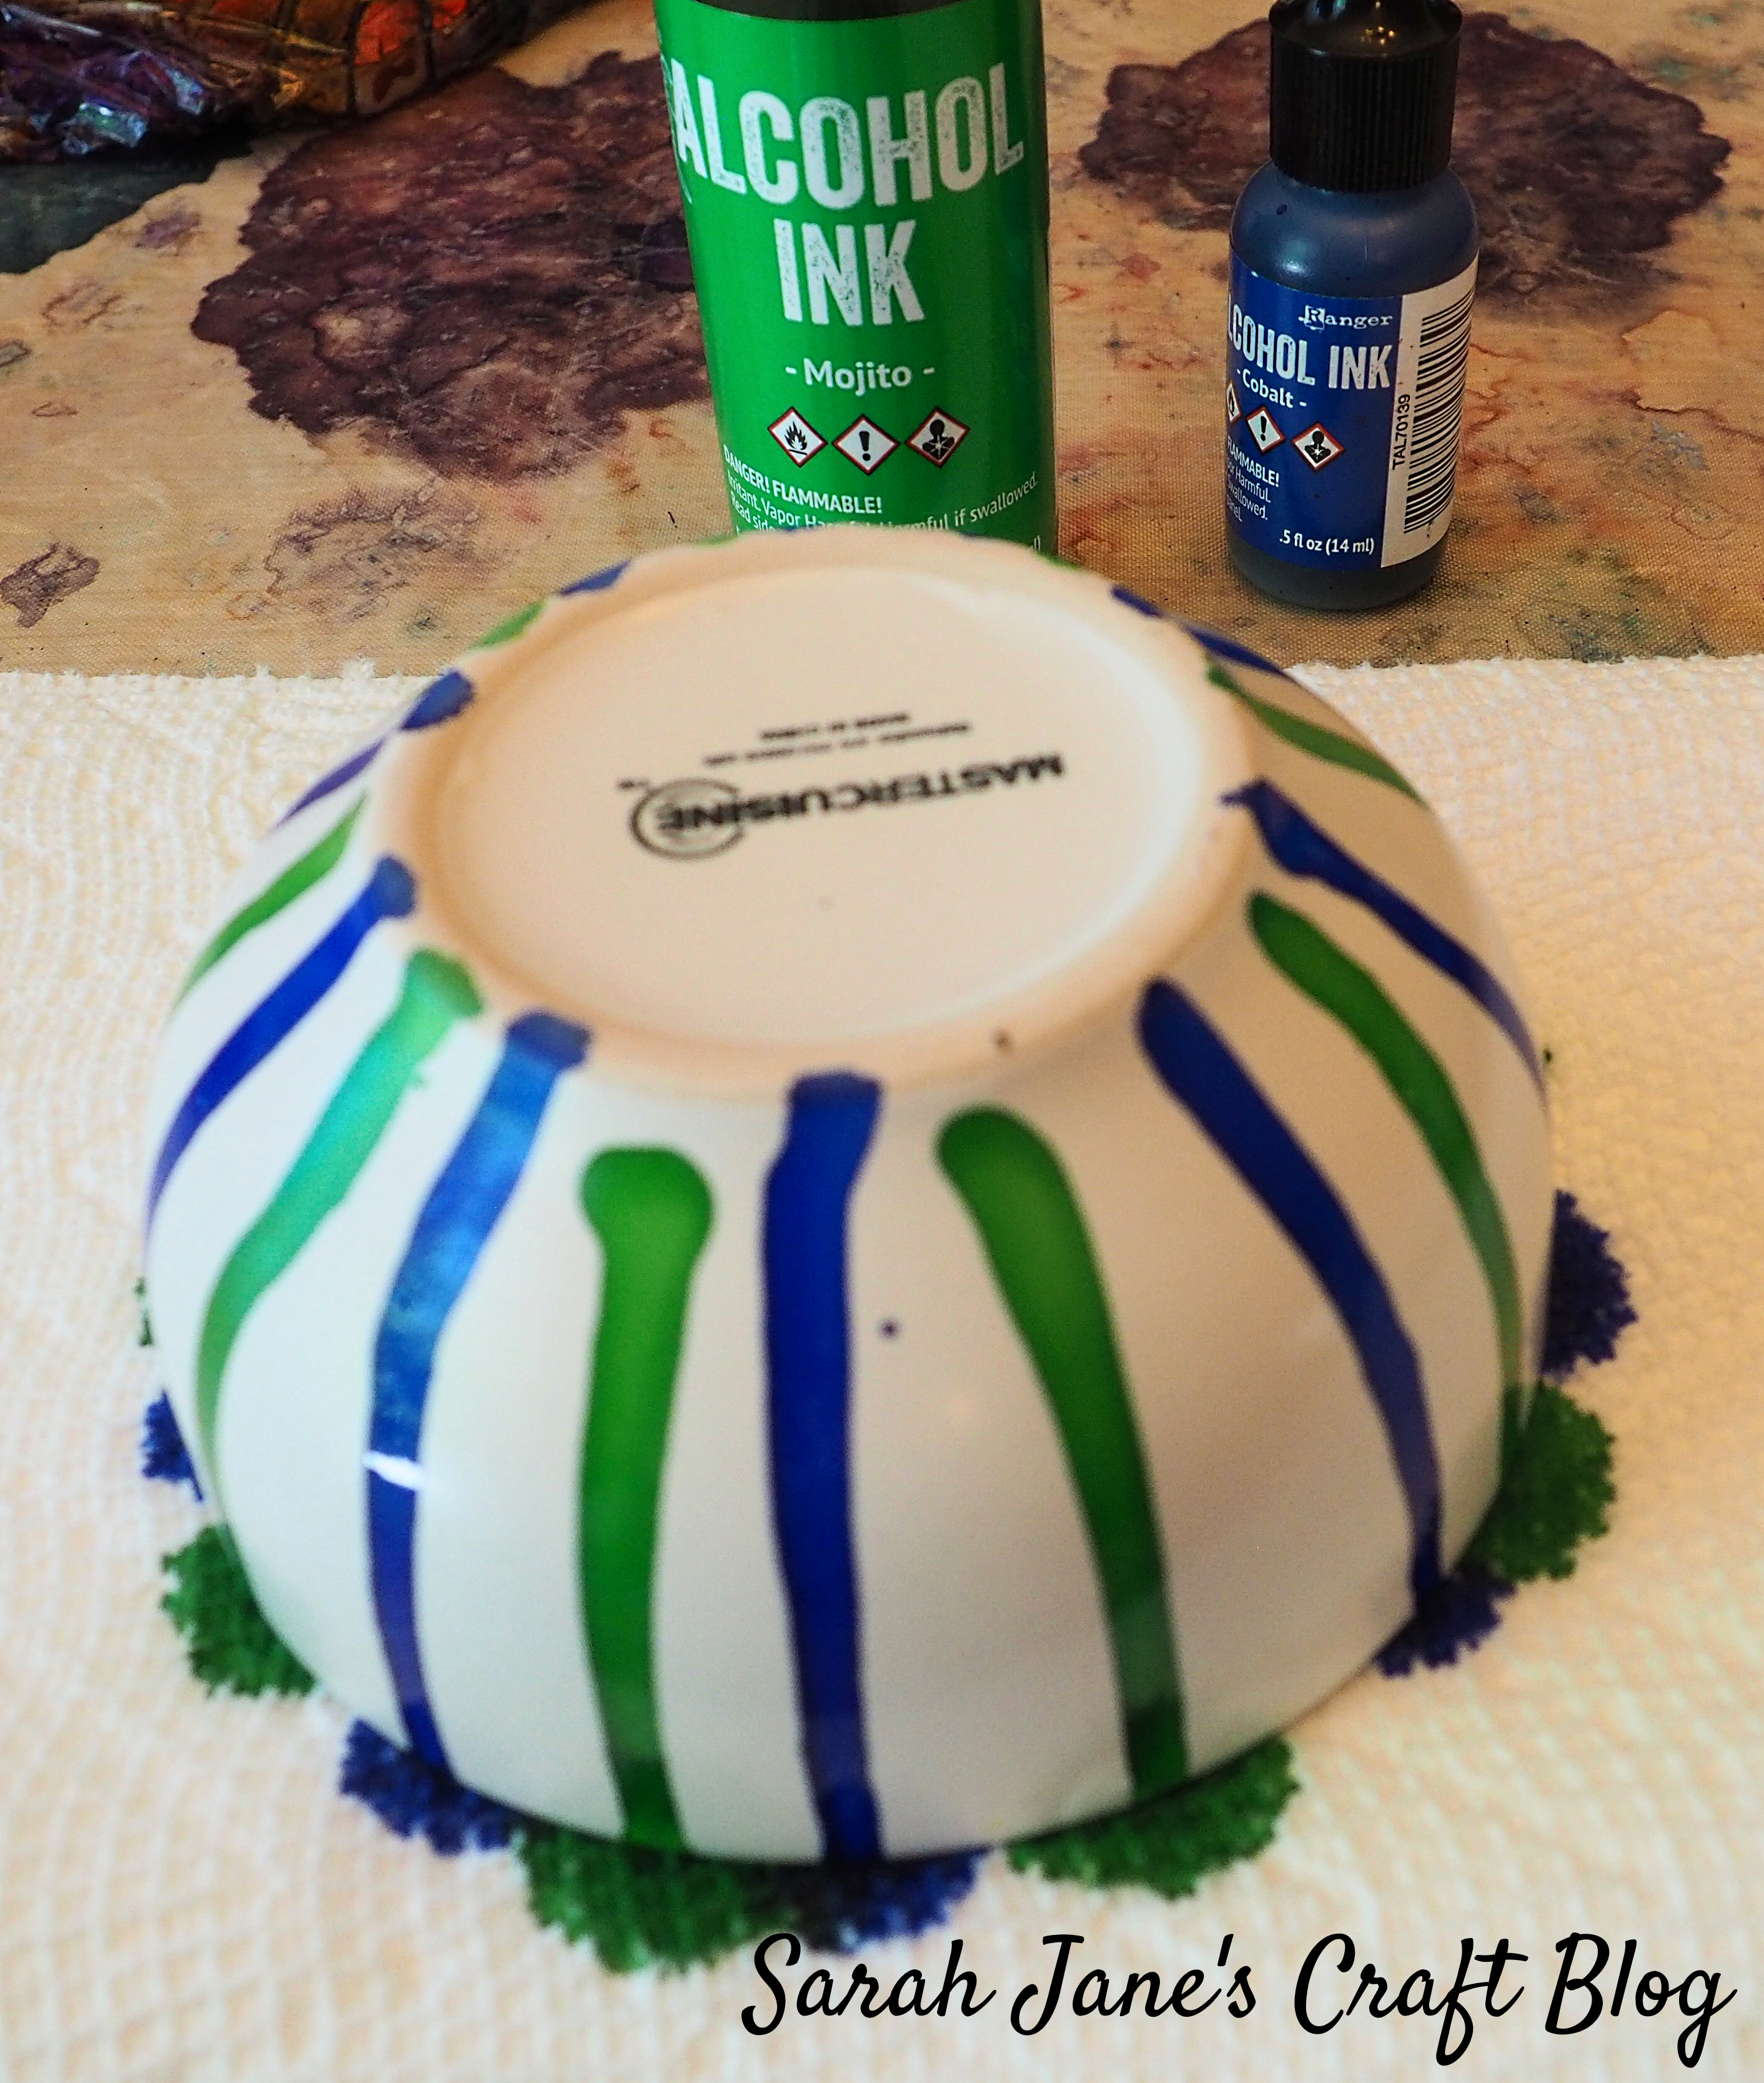
Then I added the Cobalt blue in between each of the green stripes.

Then I added in the Boysenberry purple. Now the lines are getting a bit crowded and some of them

Then I thought it needed a brighter color to help balance out the darker ones, so I added that turquois in wherever I could fit a line. I opted to trace the ink down the bowl for this last color instead of letting it drip. If I had dripped it, it probably would have attached to one of the nearby ink lines instead of filling in the areas close to the rim that needed filling in. So I lightly squeezed the ink and moved the tip down the bowl to guide the ink. You could add another color to fill in the remaining white, or stop and just a couple of colors to have more white space in your design, whatever you like the look of.

After I let the bowl dry for 15 minutes-ish to make sure the bowl was dry to the touch, I sealed the stripes with some Krylon Kamar Varnish to set the ink. You can pick up the Kamar Varnish most places that sell art supplies. It is not in the spray paint aisle, but in with the fixative and setting spray. It's a water based sealant. Which means that it won't reactivate the alcohol ink. After the Kamar Varnish dried (I waited about an hour), I decided to decorate the top lip of the bowl with some Pinata Brass. I just used a paint brush to paint it on. It took a couple of coats. You could use a q-tip with some rubbing alcohol and clean up the rim before spraying with your sealant instead if you like. The brass ink doesn't run too much (unless it's thinned), so it works pretty well for painting the top rim of the bowl.

Then I hit the rim and the top edge of the bowl with a bit more Kamar to finish it off.

I think this turned out pretty well for a quick and easy alcohol ink project.


Comments
Post a Comment