Etched Glass Candle Holder

In February I made my first etched glass project since I was a teenager, and it was so much fun that I've been thinking about what to do next ever since. I decided to make some candle holders, and after lots of thought, I decided on a bird design. I googled bird silhouette and looked through lots of designs before settling on one that was simple enough that I thought I could cut it out while still be detailed enough to be interesting. I ended up finding a design that I couldn't track down the original owner of (which is why I don't have a link to it). I pasted the image into Word so that I could easily resize it and flip the image so that I could have the birds facing each other in the final project. I printed out my birds onto some regular copy paper.

I grabbed a cutting board, my xacto craft knife, some contact paper, two square candle holders from Dollar Tree and got to work.

I cut my paper templates and a square of contact paper so they were all the same size so they would line up equally when I positioned them on the candle holder. Then I taped the template on the cutting board with some masking tape and then taped the contact paper over it so that nothing would slide around while I was cutting.

I carefully cut along the edge of the outline, trying my best to get it to get as close to the original as possible, but it doesn't need to be perfect to turn out pretty well, so don't stress out too much if your leaves look a little wonky, just do your best. Then once it was cut out, I carefully peeled it up, cutting along any edges that were sticking or that needed to be cleaned up a bit as I went.
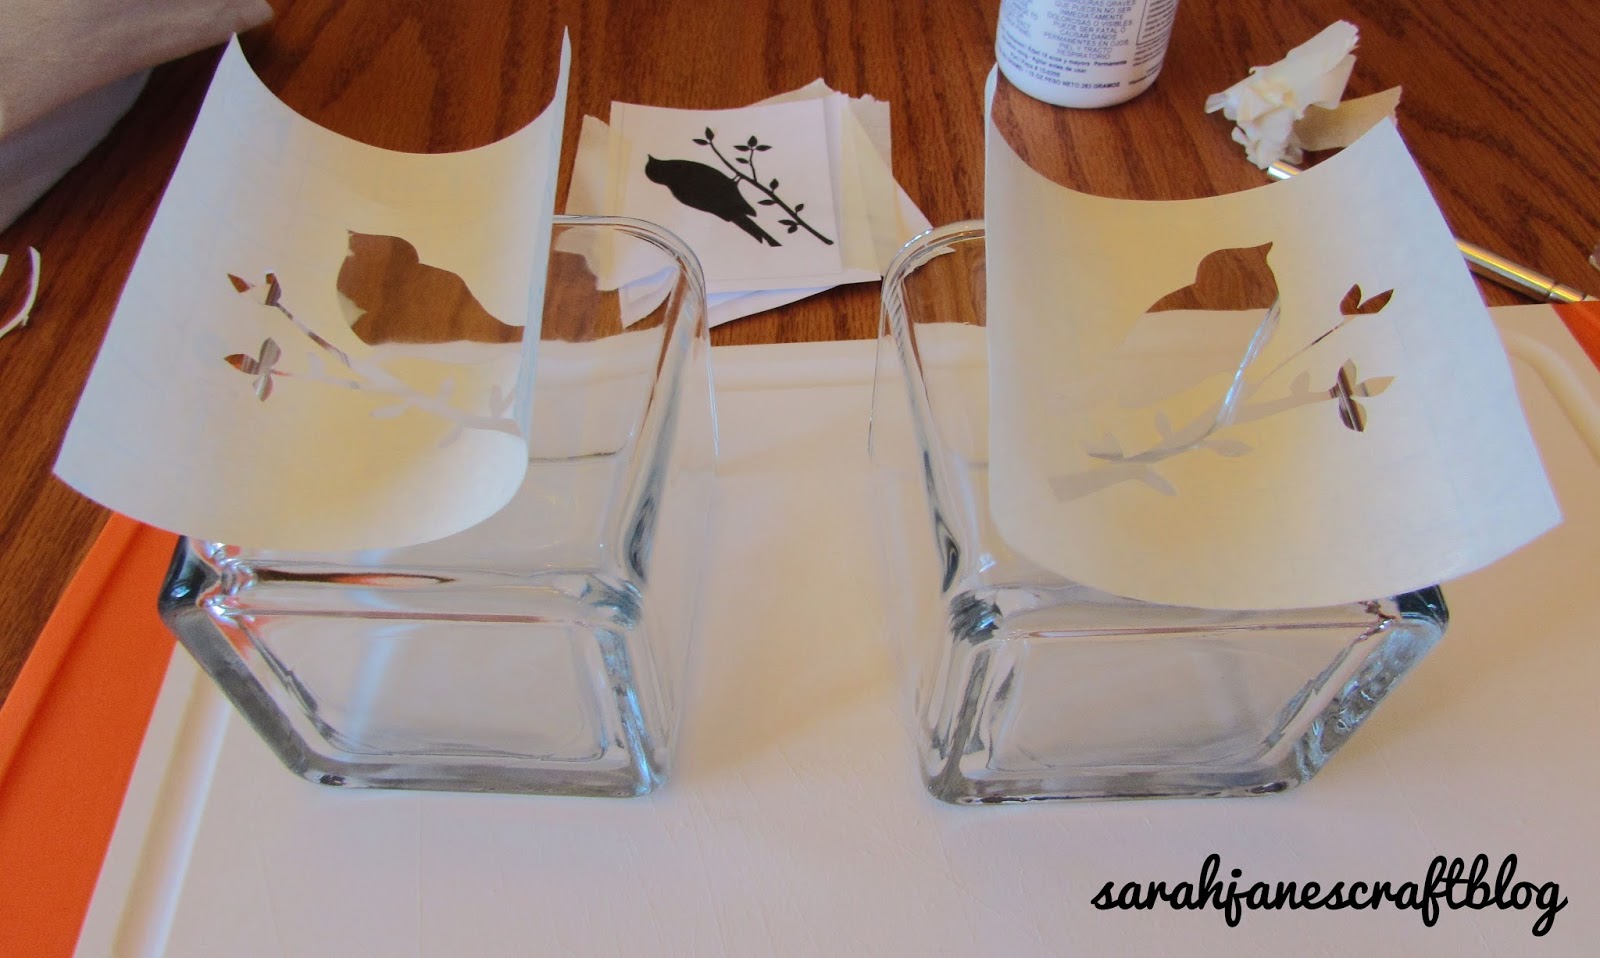
Then I lined up my birds on the candle holders before I peeled the stencils I cut out off of the paper backing.

I peeled the backing off and carefully placed the sticker stencil on the candle holder. Then I used the back of my nail to rub all of the edges down so the acid etch wouldn't bleed under the edge.

I put my two candle holders with their stencils into the sink lined with some foil, but since they are square, putting down some parchment or a few layers of newspaper on the table would work too. Just be close to a water source since it's acid.

While wearing gloves, I used a foam brush to spread a layer of Armour Etch onto the stencil and then set a timer for 5 minutes. After 5 minutes, rinse the acid off with lots of water. Use the foam brush or your gloved fingers to massage the etching cream off of the glass. Make sure it's all washed away before you peel off your stencils. Then dry to reveal your etching.

I loved the way these turned out, but they were hard to get a good picture of. Post your etching projects in the comments and happy crafting!


Comments
Post a Comment