Posts

3D Printed Easter Ornaments

Image
After last week's printed Bunny Egg Holders , I was on the search for more Easter themed print projects for the 3D Printer . I came across these Window Picture ornaments with Easter scenes and knew they'd be a quick and fun project. I printed the first Easter ornament using standard settings (.2 resolution 20% infil) using white PLA filament . The first ornament printed perfectly. It took a couple of hours to print, so I started up a second different design right after it finished. Since it finished when it was dark, I didn't get any pictures of the second one printing, but it turned out perfectly just like the first one. I've got these hanging in a window right now (just as the original designer intended), but I'm sure they'd look great hanging up just about anywhere in the house this time of year. Check out more Easter projects here: Easter Craft Collection Check out more 3D Printing projects here: 3D Printing Collection  

3D Printed Egg Holder Easter Bunny

Image
As I was looking for some new printing projects to make with our 3D printer , I found this cute bunny-shaped egg holder . The design comes in two sizes--one for Cadbury Eggs and one for Kinder Eggs. You can adjust for other sizes as needed when slicing the design to prepare it for your printer. I used some white PLA filament and set the bunny to print using standard settings (.2 resolution) but with 10% infil. The bunny took about an hour and a half to print and came out pretty clean. The eye looked better on the top of the design than it did on the bottom/bed side, but otherwise, it was perfect. As soon as it printed, I dug out a Cadbury Egg and tested to make sure it worked. It was just the right size, and I set it up to print another!

3D Printed Shamrock Vase

Image
Since it's St. Patrick's Day this week, I thought I'd share a print project for the holiday. I picked this cute Shamrock Vase from the designs on Thingiverse to print on our 3D printer . I opened the design file in Cura and noticed that unlike the previous designs that I printed in vase mode, this one was a solid column. So, in addition to the usual settings for a vase (.2 res, 0% infil, Spiralize Outer Contour), I also had to set the top layers to 0 so it would print as an open vase. The original design file was also quite large and laying on it's side. So, I rotated it, and set it at about 37% it's original size. I used green PLA  to print the vase, but I noticed as it printed, it was over extruding. There were bumps all over the outside surface. It reminds me of a music box cylinder. The usual culprit for over-extrusion is the temp setting isn't quite right--which is odd since we've printed other projects with this filament at that temp (200 degrees) tha...

3D Printed Alohomora Key Rack

Image
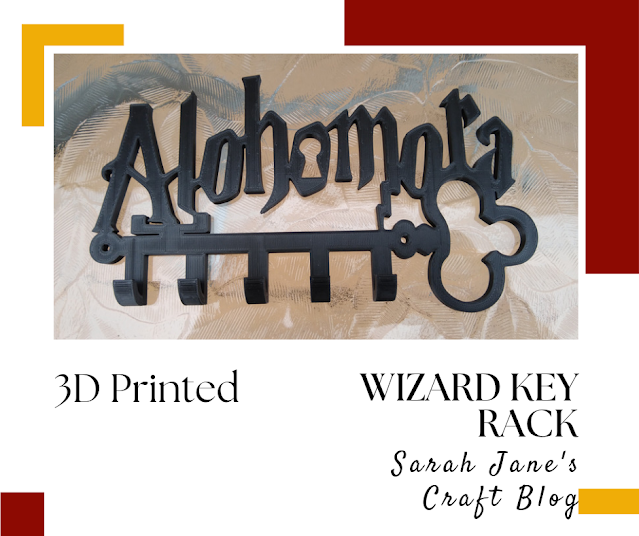
Always on the hunt for useful things to print on our 3D printer, I came across this cute Alohomora key rack . For those of you who aren't big Harry Potter nerds, Alohomora is the spell used to unlock or open, so it's a perfect fit for a place to hold your keys. This print design is a pretty simple one. I sliced it in Cura and used the default settings (.2 resolution, 20% infil). I left the design size at 100%, but had to position it diagonally across the print bed to get it to fit. It didn't take long for the design to start to look like the finished product. I used a Black PLA to print the key rack. I enjoyed checking on this print as it went, it's always fun to see it make the patterns in the middle of a design (for prints that aren't solid). After the tops of the letters finished, it just had the hooks left. The print for this project went really  smoothly. The print took about 6 hours and the only issues I had were with some wisps of plastic on some of the poi...

Easter Craft Collection

Image
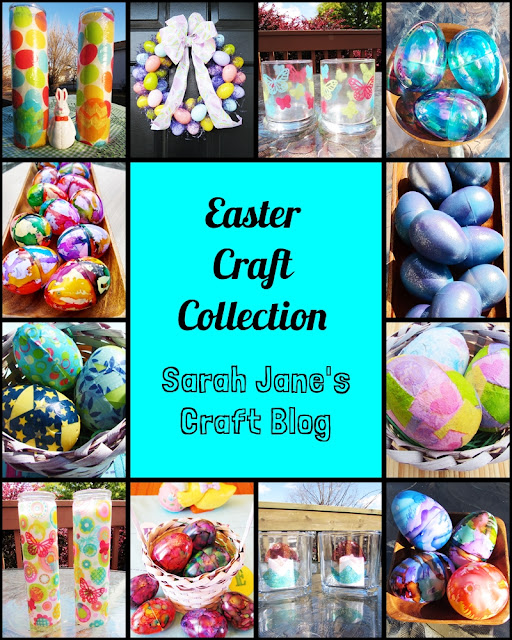
As I'm getting ready for the season, I thought I'd share some of my Easter crafts. Check out the collection here: Easter Craft Collection

Blown Alcohol Ink Mugs

Image
I've decorated a few mugs with alcohol ink over the years. As much fun as it's been to create these decorated mugs, I never really know how best to seal them so they can be used as mugs. I've used some as pen cups, but you only need so many pen cups. So, when I found some white mugs at Dollar Tree, I decided to try to decorate some mugs and test out some sealants. To make sure these mugs could be used as mugs, I started by cutting a strip of permanent vinyl about an inch wide to wrap around the top of the mugs to keep sealant and inks off of the part of the mug that would touch your lips. I selected some sailboat blue for my first ink to apply on the mug. For my past mug projects (using mugs from Big Lots), I was able to drip the ink onto the mug and control the way that it traveled by carefully rotating the mug. I was even able to thin it a bit and control it's movement. The glossy finish on the mugs from Dollar Tree made it much more difficult to control the move...

3D Printed Heart-Shaped Vase

Image
Well, I had to print something fun for Valentine's Day, and when I found this cute vase, I thought I'd give it a try. It's described as a Love and Kisses vase since it has as heart-shaped base and opening and a pattern of Xs on the sides. I printed the vase using the recommended settings of 0% infil in vase mode/spiralized. I used a red PLA which is a beautiful shade of red in person, but apparently a shade that is really difficult to get good photographs of. The vase setting is so much fun to watch print. The print goes up really fast. One minute it's printing the base and ten minutes later it's going vertical. This vase is about 5 inches tall and took about an hour and a half to print. It turned out really cute for a quick little print project! Check out some of the other Valentine's Day projects here: Valentine's Day Craft Collection .