Plastic Wrap and Alcohol Ink Candles

This fall I tried a new technique with alcohol ink that I had been wanting to try: plastic wrap. The first project I used this technique on was a decorative wine bottle from the dollar store. For that project, I struggled with the plastic wrap not being large enough to cover the whole bottle, so when I decided to do it again, I picked a project that I could easily wrap a piece of plastic all the way around. I also thought I'd be more adventurous with my color choices (last time I chose colors all in the same color family). So this time I chose to make some rainbow colored altar candles.

I put down my craft mat and chose a selection of rainbow colored alcohol inks in bright shades. Then I scraped the labels off of the altar candles (and used some goo gone to remove any leftover stickiness). Then I tore off a sheet of plastic cling wrap and put it down on my craft mat.

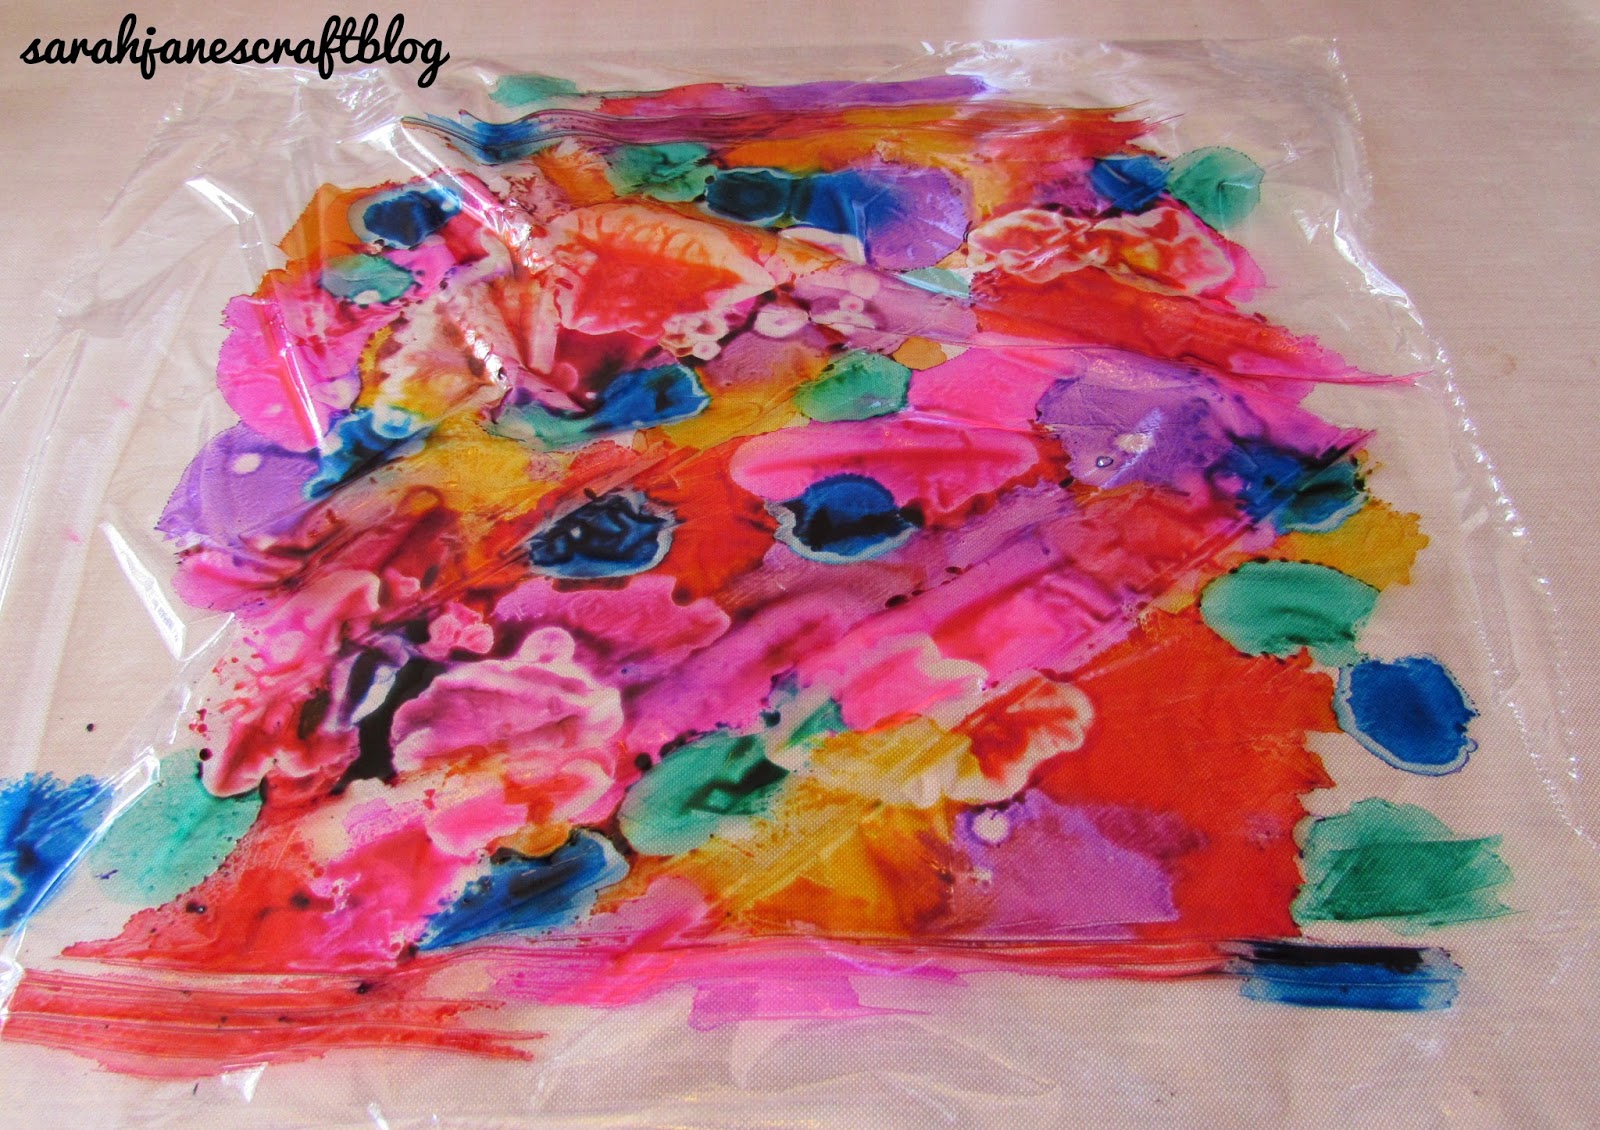
I randomly dripped my colors onto the plastic wrap. I noticed that the green was mixing with some of the other inks (pink, red, and orange) to create brownish tones.

To make sure it covered the whole candle, I dripped some rubbing alcohol onto the inks to help it spread.

Then I set the onto the plastic wrap and rolled it up. I ran my finger over any areas that looked like they were missing ink to spread it out and set it aside.

On my second sheet of cling wrap, I made a point to start with the colors that would blend well (the orange, yellow, red, pink, and finally purple). Then I added the blue and green carefully into any voids so they wouldn't run together as much.
Again I dropped a tiny bit of rubbing alcohol onto the sheet to help the ink spread.

The second candle turned out a bit less muddled and brown. I was a bit worried that they wouldn't look like a set, but I left them alone while I cleaned up my craft mat and hands of ink.

I did a test on the first candle and peeled back part of the plastic. The ink was still quite wet. It created a pretty watercolor-like pattern, but I was hoping for rainbow candles, so I rolled the ink back up and let it set. I had seen a tutorial online that let the plastic sit on a ceramic tile (which I haven't tried yet), so I thought I'd leave it to dry.

After watching an hour long show on Netflix, I came back and checked them. They were a bit less runny, but still wet under the plastic. Alcohol ink generally dries quite quickly (less than a minute), so I wasn't quite sure what to do, but I decided to peel the plastic off since the colors seemed even less defined than when I first peeled the plastic off after inking. I'm not sure I needed the added rubbing alcohol from my first applications. If you're going for soft colors, though, I'd recommend using the extra rubbing alcohol to help spread the ink.

I knew I wanted to add some more colors to my candles--they were looking awfully mauve. So I grabbed another sheet of plastic wrap and dripped ink onto it and placed my candle on the plastic wrap and peeled it away immediately. I used the plastic to add both color and texture to the ink. I'd peel and stick the plastic even without fresh ink on it to move the colors around and create textures.

I repeated this action several times with the same piece of cling wrap--sometimes adding colors, sometimes not. You could probably get colors that come out cleaner and less brown if you changed plastic with each color. After 5-10 minutes of layering color and peeling away plastic, I was starting to get more rainbow colors. They were still a bit muddied, but they came out quite artsy.

It's hard to get a good picture of this technique (I noticed that with the wine bottle project too). They actually come out even prettier in person than they appear in the picture. I still feel like a novice at this particular inking technique, so I look forward to trying it out some more with different colors and surfaces in the future.


Comments
Post a Comment