Posts

Showing posts from April, 2014

Alcohol Ink Picture Frame

Image
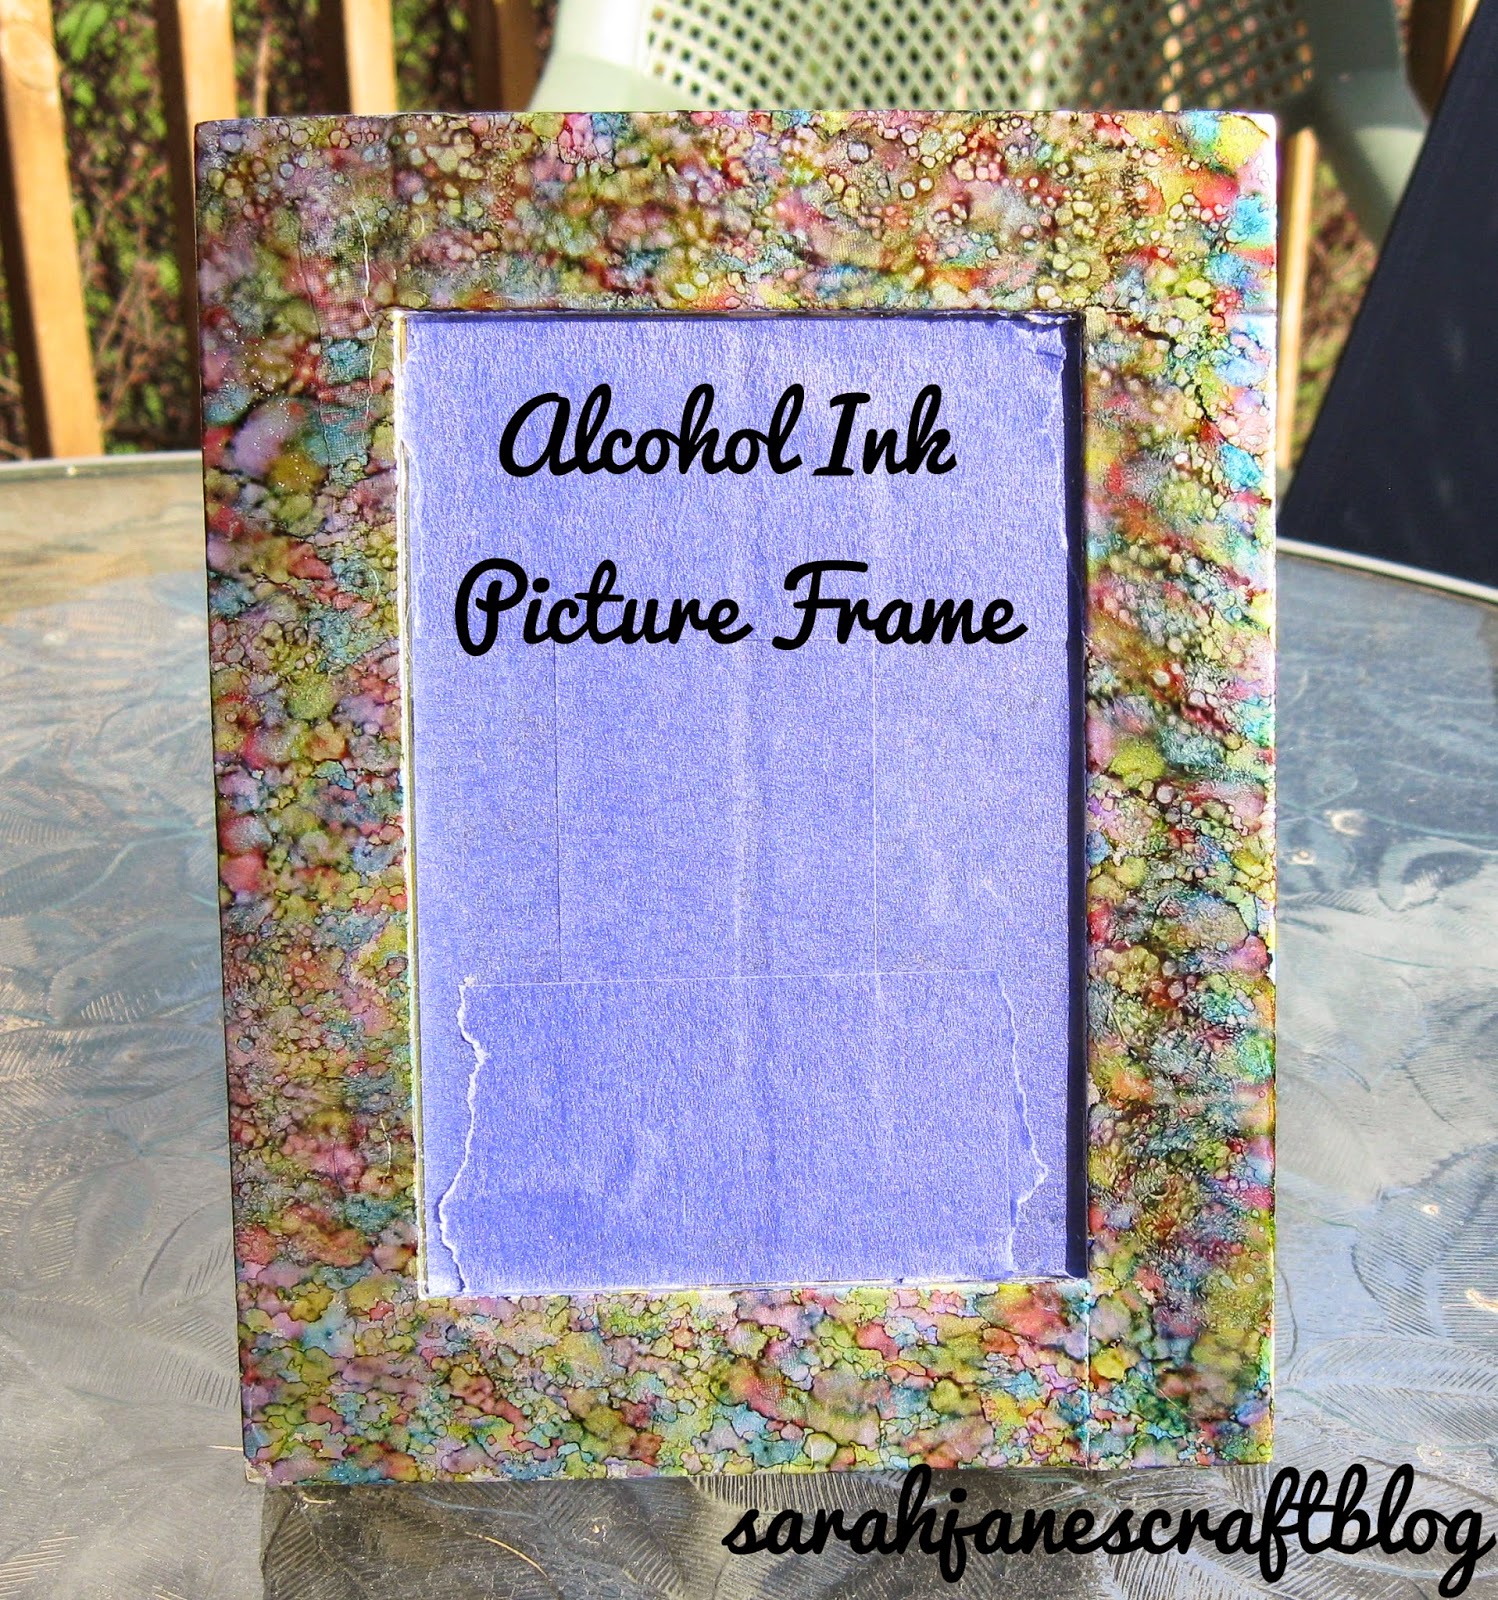
Alright, so I know I've been making a lot of Alcohol Ink projects, but they are just so darn much fun (and they are usually pretty quick).  After I spray painted some picture frames to give them new life a couple of weeks ago, I thought--hey I bet I could alcohol ink over silver spray paint....and yep, I was right, you totally can.  I grabbed a flat photo frame from my stash to give new life to.  This one is from the 90s.  It has flowers painted all over it and is a lovely shade of neon yellow-green.  Needless to say, it didn't really go with anything in my decor. So I grabbed the same box and spray paint from the last silver spray paint project and got to work.  I taped up the glass on this one instead of taking it off the frame as it's a shadow box frame.  The glass is held in place with wooden strips inside the frame.  I didn't feel like ripping the whole thing apart, so I taped the glass. The finish on this frame is odd.  It's painted a brigh

Alcohol Ink "Dyed" Easter Eggs

Image
This week's post is a day early because it's EASTER.  Happy Easter!  I thought I'd share the project I made a few days ago now instead of waiting for a year to share it before Easter.   I was going through some links to alcohol ink projects online trying to come up with something new I could try with my inks, and I kept seeing the same projects over and over again, and I suddenly thought, hey plastic Easter eggs are smooth and non-porous, I should totally be able to use alcohol ink on them.  So I dug out some cheap plastic Easter eggs that I'm sure I bought after Easter on clearance in the last couple of years (since I used all my old ones up when I made my Easter Wreath ). So I grabbed a bunch of eggs and my inks and my craft mat and got to work. I left them split in half so that I could set them on the table without them rolling and I used a couple of toothpicks through the holes in the egg to help move them around and hold them. I put a piece of felt

Washi Tape Photo Mat

Image
This weeks project was a Trash to Treasure makeover of some old picture frames.  I figured I could do one better and make some cute photo mats for the frames to jazz them up even more.  I grabbed some regular white card stock and popped the glass out of the frame and used it as a template.  I cut around the glass with an x-acto craft knife . After I had my frame sized card stock, I pulled out some washi tape that I got at Target on clearance (just over a dollar for 3 rolls of black and white washi tape--sa-weet!).  I taped it along each of the edges, not worrying about the ends because I was going to be mitering the corners with my craft knife. It's also not a big deal if the tape isn't perfectly positioned along the edge of the card stock since that will be covered by your picture frame--just get the tape on straight and you're good to go. The easiest way to do the corners is to just overlap the tape and cut a straight line from the inside corner

Trash to Treasure: Spray Painted Picture Frames

Image
When I was cleaning up in the basement to make room for my crafting stuff, I came across some boxes of picture frames. I went through and sorted them into three piles: get rid of, keep, and make into something new. The "make into something new" pile was filled with frames that were dinged up or missing glass--ones that would probably end up in the trash if they were donated to a thrift store. So I figured I'd show them some love, or end up up throwing them out myself.   This pair of matching frames was at least intact. The back pieces were all there and in good shape, both frames had glass, but they were dirty and dinged up.  So, time for a quick makeover! First, I took off the backing and took out the glass and set it aside to be cleaned. Then I wiped off the old frames with a damp cloth and went over the dings with an emery board. Some fine grit sandpaper would probably work even better. Then I propped the frames up in a box and took advantage of

Six Pack Picnic Carrier

Image
It's trying to be spring here.  Not quite, but it's getting there.  Forecasts have this week being in the upper 50s to mid 60s, which is about where we're supposed to be at this time of year (and warmer than it has been). Though it's not toasty warm, we've been grilling for weeks. The first warm snap of the year and we were off to swap out our empty propane tank for a new one. Hopefully I'll be able to use this weeks craft soon to eat outside, but until then, we'll just say I'm well prepared. I did hear that next week might be in the 70s, so picnic time might be just around the corner. I snagged a 6 pack carrier from the claws of the recycling bin and decided to give it a second life.  I grabbed this cute camping themed scrapbook paper from my stash (you'll need two matching or coordinating sheets) that I got in a packet from Tuesday Morning a while back. Next I measured each of the faces of the carrier with a ruler and cut the rec

DIY Alcohol Ink Applicator

Image
A while back I made my very own alcohol ink applicator because I'm cheap, that and I didn't want to wait to have one shipped or drive across town to buy one .  Instant gratification can be a good motivator. That applicator worked so well (and is the long one in the picture above), that I decided to make a couple more to refine it just a smidge.  The scrap of wood I used in my first applicator is a leftover piece from a set of shoe shelves.  It came with these little connector pieces to link the shelves to another set.  I threw them in my scrap bin figuring I'd use them for something. So the first one I made by gluing the hook side of some hook and loop tape to a chunk of wood.   The process remains the same, but this time I wanted to make the applicator smaller. I often end up using only one end of the old long one (it's about 3 inches long) and if you're working on a larger surface, that can mean waste--waste of ink and waste of felt. So I figured I'd