Posts

Easter Craft Collection

Image
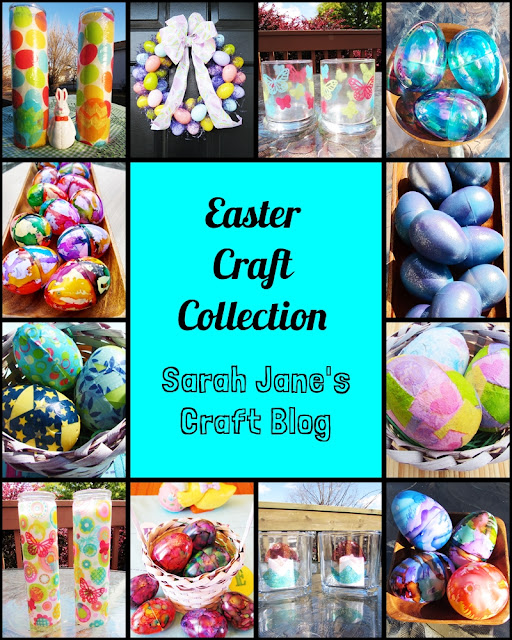
As I'm getting ready for the season, I thought I'd share some of my Easter crafts. Check out the collection here: Easter Craft Collection

Blown Alcohol Ink Mugs

Image
I've decorated a few mugs with alcohol ink over the years. As much fun as it's been to create these decorated mugs, I never really know how best to seal them so they can be used as mugs. I've used some as pen cups, but you only need so many pen cups. So, when I found some white mugs at Dollar Tree, I decided to try to decorate some mugs and test out some sealants. To make sure these mugs could be used as mugs, I started by cutting a strip of permanent vinyl about an inch wide to wrap around the top of the mugs to keep sealant and inks off of the part of the mug that would touch your lips. I selected some sailboat blue for my first ink to apply on the mug. For my past mug projects (using mugs from Big Lots), I was able to drip the ink onto the mug and control the way that it traveled by carefully rotating the mug. I was even able to thin it a bit and control it's movement. The glossy finish on the mugs from Dollar Tree made it much more difficult to control the move...

3D Printed Heart-Shaped Vase

Image
Well, I had to print something fun for Valentine's Day, and when I found this cute vase, I thought I'd give it a try. It's described as a Love and Kisses vase since it has as heart-shaped base and opening and a pattern of Xs on the sides. I printed the vase using the recommended settings of 0% infil in vase mode/spiralized. I used a red PLA which is a beautiful shade of red in person, but apparently a shade that is really difficult to get good photographs of. The vase setting is so much fun to watch print. The print goes up really fast. One minute it's printing the base and ten minutes later it's going vertical. This vase is about 5 inches tall and took about an hour and a half to print. It turned out really cute for a quick little print project! Check out some of the other Valentine's Day projects here: Valentine's Day Craft Collection .

Alcohol Ink Valentine's Plate with Vinyl Resist

Image
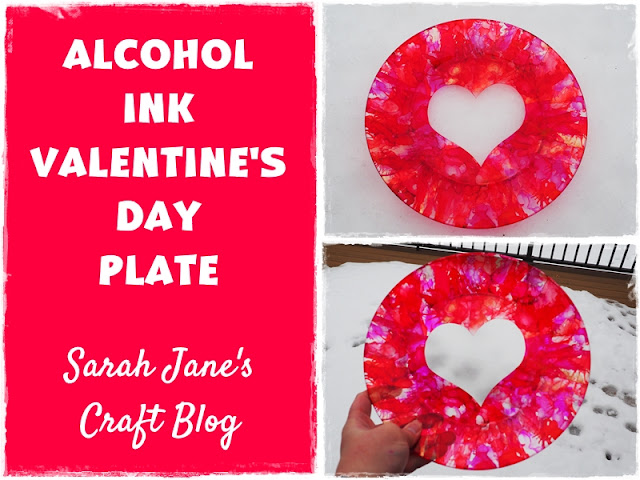
I found this glass plate from Dollar Tree in my craft stash and thought it would be fun to get back to doing some inking projects . I printed a heart template that I found online and it out of copy paper. Then I found a piece of vinyl to use as a resist. If you don't have any permanent vinyl in your craft stash, you can use contact paper or painter's tape, but permanent vinyl will have the least bleed through. I traced my heart template onto the paper backing of the vinyl and used a scissors to cut it out. You could use a cutting machine, too, but this was easier and faster than dragging out and setting up my Silhouette. I peeled the paper backing off of my vinyl heart and positioned it as close to center as I could and then rubbed down the edges. I got out my craft mat , my red and magenta alcohol inks, Pinata brass , some rubbing alcohol , a can of air , and a hand bulb . I started by dripping a drop or two of ink and a drop or two of rubbing alcohol and blowing it around...
3D Printed Breathe Right Strip Holder

Image
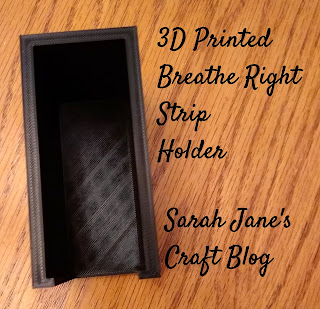
Just a quick print project this week. I'm always on the lookout for ways that our 3D print projects can be useful and not just silly little toys or figurines, so looking for a way to store Breathe Right strips has been on my wish list from early on. When I saw this dispenser  design, I knew I wanted to try it out. I printed the design using standard settings (.2 resolution and 20% infil) using black filament . The print seemed sturdy once finished and took around 5 hours to print. I immediately put some Breathe Right Extra strips in the holder. They fit perfectly (torn apart from their two packs). It has just a bit of extra room in the length, so I'm guessing it also fits the large strips. It easily holds a 44 count box with room to spare. I'm guessing a box from Costco with 72 is its intended capacity, but I haven't tried it out yet to know for certain. I'm not 100% sold on this method of storage, but it seems to work just fine and would likely fit in a small drawe...

10 Year Craftiversary (Anniversary) of Sarah Jane's Craft Blog!

Image
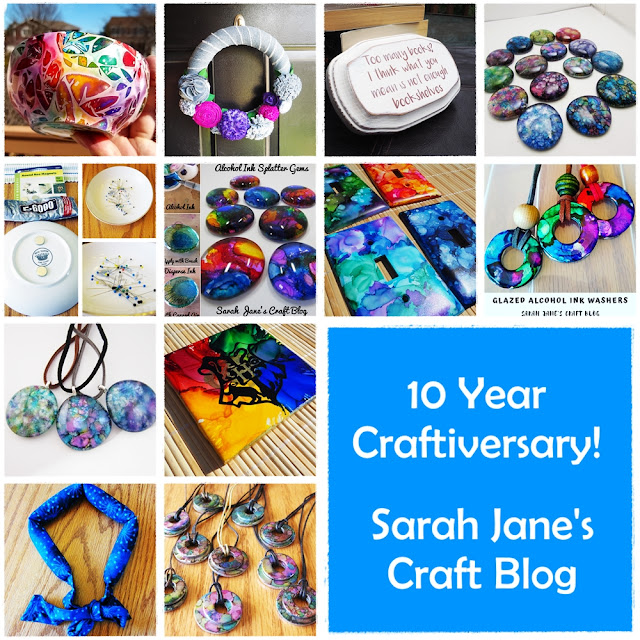
On January 27, 2012. I posted my first project to a blog that wasn't even titled Sarah Jane's Craft Blog yet. I went on to post 33 more projects in the first year of my craft blog. In 2013 I started the tradition of regularly posting (at least once a week), and I've been regularly posting craft projects ever since! Over the past 10 years the blog has seen over 2 million views and featured over 500 craft projects. I can't believe I've even done that many craft projects, let alone, shared them here on the blog. Check out the blog's very first craft project: Fleece Rope Bones Check out the Blog's most popular projects:  Blog's Most Popular Posts Here's to the last 10 years and, hopefully, the next 10 years of crafting!

3D Printed Articulated Octopus

Image
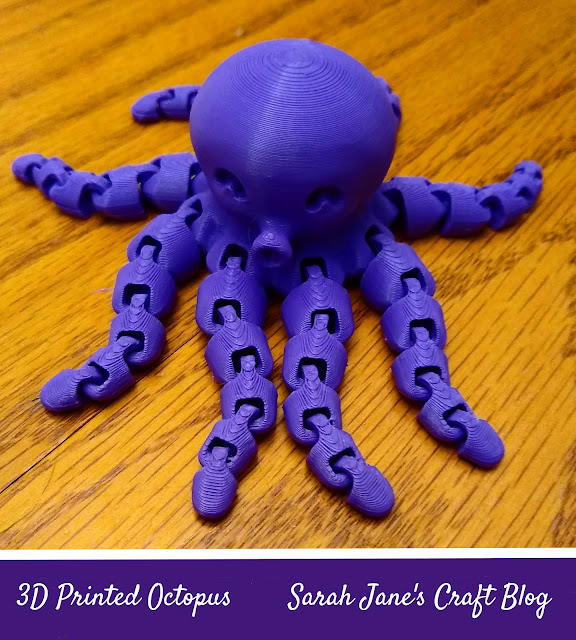
Just a quick print project this week. This octopus design was one of the first ones I saved when we got a 3D printer . The linked sections of the octopus tentacles all print at once, so it's a fun and easy print project. I got some purple filament for Christmas, and I immediately knew that I wanted to print the octopus. I printed it at 120%, and it still was fairly small (about 3 inches across). It was printed at .2 resolutions and 15% infil and took about 5 hours to print. These reticulated toys are pretty common print designs, and they are adorable. I can't wait to print a few more varieties!