Posts

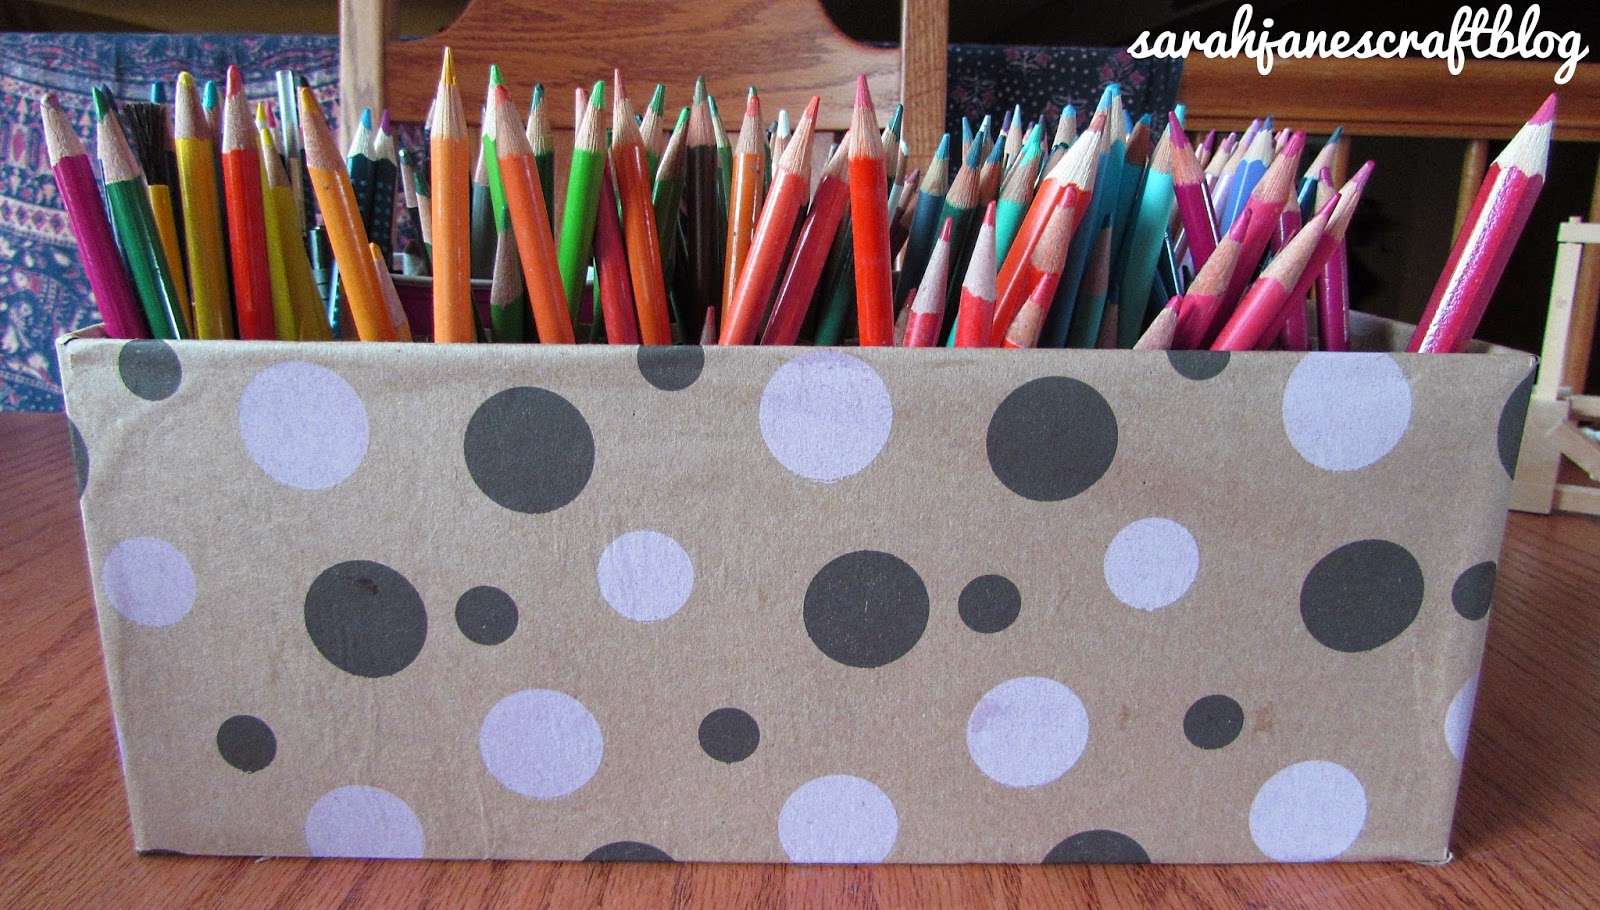
Shoebox and Cardboard Tube Organizer
Image
I've been meaning to create an organizer to hold my colored pencil collection for years.  Colored pencils are one of my favorite art media.  I'm not sure why, there's just something very satisfying about having a rainbow of fine tip erasable colors at your fingertips (and the  Crayola ones are pretty good and relatively inexpensive). So the easiest and cheapest way to get my large collection of colored pencils out of the box they were being stored in and into an organizer was to use a shoebox (free! yay!) and cardboard tubes (also free! woo!). I started out by covering my cardboard shoebox with some gift wrap from the dollar store.  I chose this dotted brown craft paper variety for two reasons--it's thicker than regular cheap wrapping paper and it would match the cardboard tubes I was using to divide the box. I cut the paper in a strip wide enough to fold over the top and bottom edges.  I cut two pieces off the end of the roll.  I could...

Stenciled No Sew T-shirt Infinite Scarf

Image
Last week's stencil project had me inspired.  In my stack of stencils there were a bunch of butterflies, but I didn't know what to make with them.  I had seen some projects online to make an infinite scarf out of an old t-shit, but all I had were old white t-shirts.  The t-shirt below was from 1998.  It was a freebie from my college days, and since I worked in the department that gave them out, I had 3 of them.  This one was pretty white for being 16 years old, but it had a small hole in the top back and the hem was starting to pull out--a perfect candidate for a cut job.  It was also a XXL, which would make for a decent sized infinite scarf. I grabbed a pair of scissors and trimmed the bottom hem off.  I made a quick slit and then cut through one layer of the shirt. After the hem was cut off, I folded the shirt right below the screen printed image and tried to get it relatively straight.  Then I cut along the fold.  I ended up b...

Stenciled Cork Coasters

Image
Awhile back, I was in the Walmart plant section and noticed they had theses great cork mats for putting underneath plants.  The smallest, were coaster sized and had MDF on the bottom and a layer of cork on the top.  I figured they'd be perfect to decorate.  So I bought them, and then they sat in my crafting stash for quite a while.  In fact, I'm not even sure that Walmart still sells these (I'll have to check the next time I'm there). For my birthday in June, my sister gave me a bag full of crafty freebies that she had laying around, and one of the things in the bag was some stencils.  I have never stenciled (aside from tracing letters with magic marker onto poster board, which doesn't really count).  So I grabbed my craft paint and a foam brush and I tested out my stencil on paper....it failed big time.  The paint got underneath the stencil and it looked a total mess. So I ran upstairs and grabbed a makeup sponge and tried again.  So muc...

Fun Foam Photo Mattes

Image
So I bought some really inexpensive black and white photos at Big Lots a while back because I thought I could hang them in the guest bedroom.  Well, I painted the guest bedroom earlier this summer and I'm now working on finding stuff to hang on the walls, so I dug these out of storage and wondered why the heck I bought them.  They each had cheesy inspirational sayings on the bottom of them.  So I tried to figure out how I could cover up the words without breaking the bank, since all 4 photos and frames cost about $15 bucks. It simply didn't make sense to pay money to get custom mattes....so I brainstormed and decided I should try out fun foam. The kind you buy at the craft store has a label that says acid free, so they should be ok, at least in the short term as a matte, it's already pretty thick and easy to cut, and the biggest factor--it's super cheap, way cheaper than matte board (and it doesn't require any special tools to cut). So here's what o...

Death Star Fun Foam Impression Stamp

Image
Hubby and I celebrated our anniversary last week, and I wanted to make a geeky gift bag to put a few gifts into as a heartfelt gesture.  I also thought it would be cool.  So I decided I should try to make a Death Star stamp.  I mean, really, who doesn't love the Death Star (you know, except the people of Alderaan and pretty much all of the Rebels, but why split hairs)? I figured the easiest way to make a Death Star stamp would be to make an impression stamp with fun foam . I tested this concept awhile back and made some very basic stamps, but nothing quite this large.  I started by finding a coloring book outline of the Death Star online.   I put my cut out Death Star on top of my foam and drew around it with a ballpoint pen.  I then cut the circle out of the fun foam. Next I drew over the most prominent lines on the Death Star with my ballpoint pen to get a general impression.  The pen doesn't sink in much when drawing on top o...

Vellum Photo Candle Holders

Image
I've seen quite a few projects that used vellum to create luminaries or candles holders or lanterns with printed photos on them.  A long while back, I picked up an 8 1/2 x 11 sheet of vellum at the local Michael's figuring I'd get around to making something with it eventually.  Well cue eventually.  This week I printed a set of photos of my family onto the vellum to make some candle holders. I opted to use Word to make my print outs because it has a feature where I can easily see how big in inches (not in pixels) my photos are and it doesn't alter them from that measurement when you go to print it (as has been the case with some photo printing programs).  I measured my candle holders  which ended up being about 10 inches in circumference and about 3.5 inches from the lip on the bottom to the top edge.  I made my photos 3.6 inches because I'd rather they be a bit large and need to be trimmed than not be big enough to go all the way to the t...