3D Printed Dice Tray with Dice Rack

This week a dice tray caught my attention on Thingiverse. This project also had the benefit of bringing together 3D printing with regular crafting, which is right in my wheel house.

I printed this project using the instructions on the post on Thingiverse: .2 resolution, 15% infil. Other than that--the print had no special instructions. As long as your bed is level, this is a simple print.

It's printed using black PLA filament and the entire print took about 8 hours.

It was dark when it finished printing, but it turned out perfectly. You may have to let this one cool on the bed for a bit before prying it up since it has such a large flat area--mine was fairly well stuck on there.

Next up, the crafty bit. I dug through my craft stash to find some felt and I opted to use a rotary cutter to cut it nice and straight. The original post has the exact dimensions listed for the felt, so I used their dimensions and cut the pieces out with a rotary cutter. For the side pieces, I used the sides of the tray to trace the curved edge and cut that part out with a small scissors.
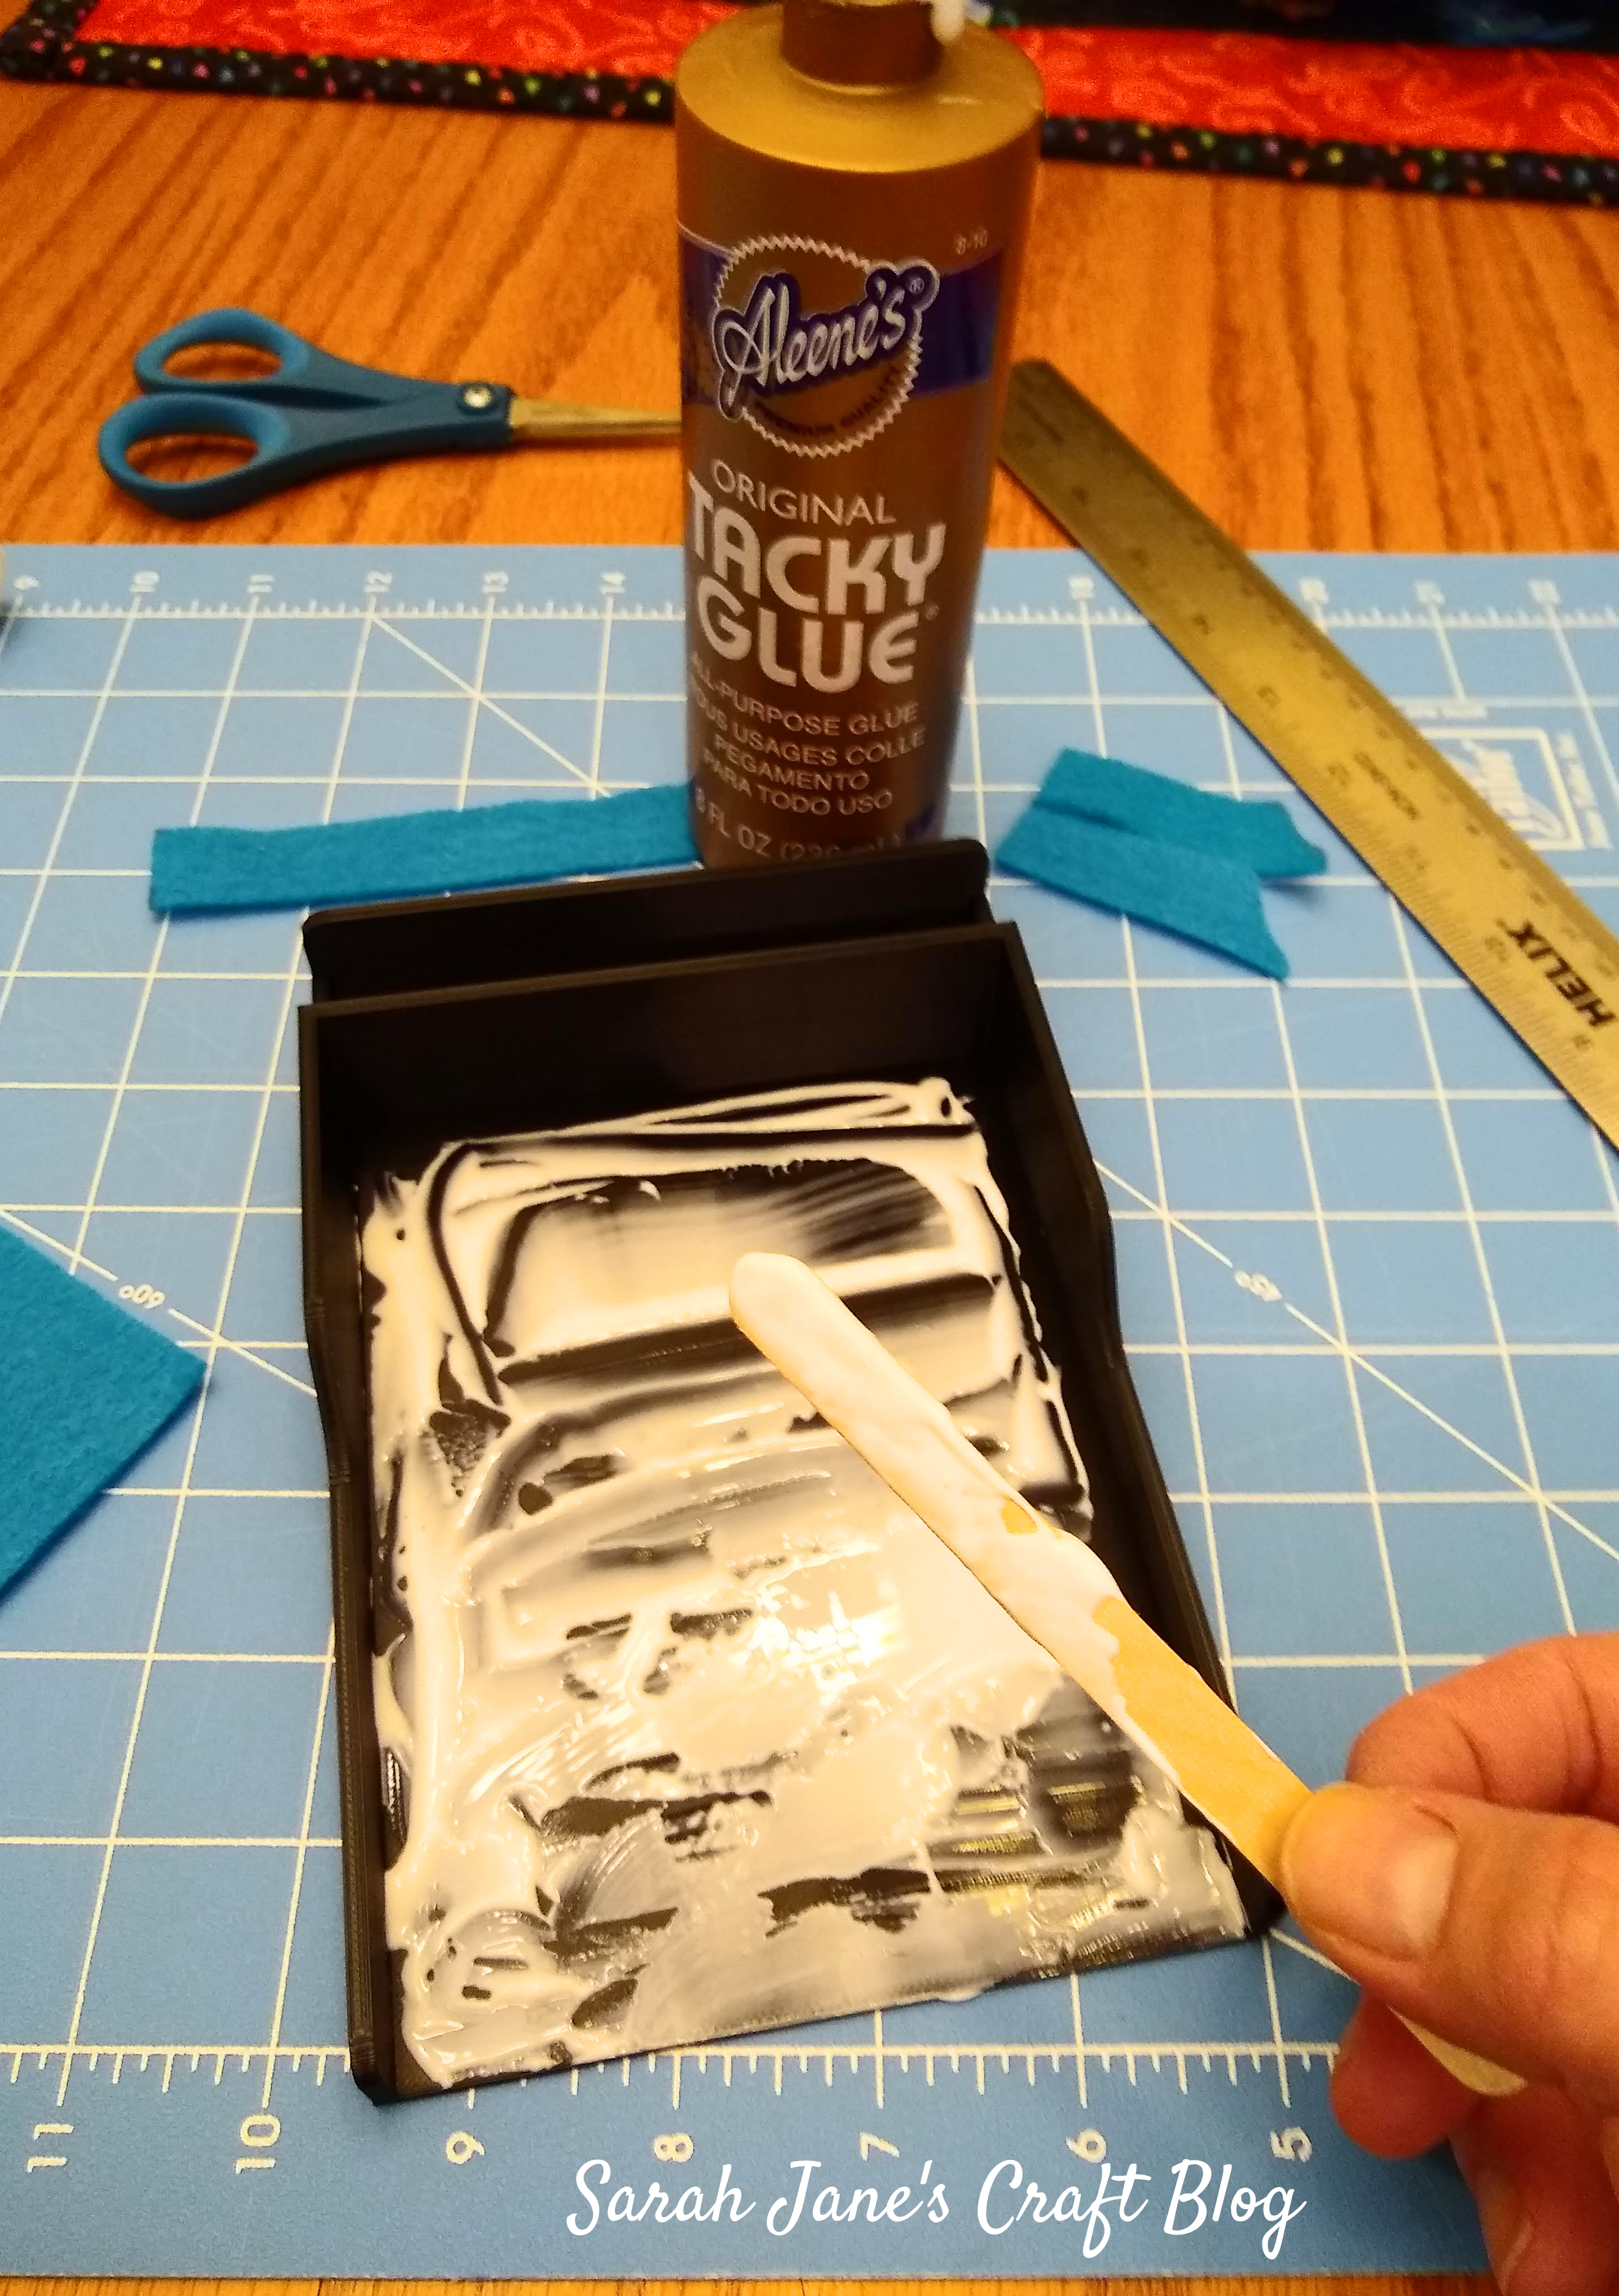
Next I glued the felt down using Tacky Glue. If you're not familiar with tacky clue, it's a PVA based glue that's tackier and more flexible than school glue or wood glue. It's great for gluing felt (and it's widely available and inexpensive in the U.S.). I haven't used it on plastic before, but the project post said they used PVA glue, so I'm hoping it's a good bond. I spread a thin, but still generous layer of glue (it soaks into the felt a bit and I wanted to make sure all of the edges were glued down well) with a craft (popsicle) stick.

I pressed the felt into place making sure the edges were all glued down well and everything was positioned straight. Be careful not to stretch the felt or you may end up with excess felt on one of your edges.

I repeated the same process with the side pieces, but was a bit less liberal with the glue. I had to use a wet paper towel to wipe up some excess glue along the edges, but it turned out just like the picture on Thingiverse, so I was pleased. I may just have to make another (but I'll wait until the glue has dried on this one first).


Comments
Post a Comment