Posts

Showing posts with the label fall crafts

Thanksgiving Signs

Image
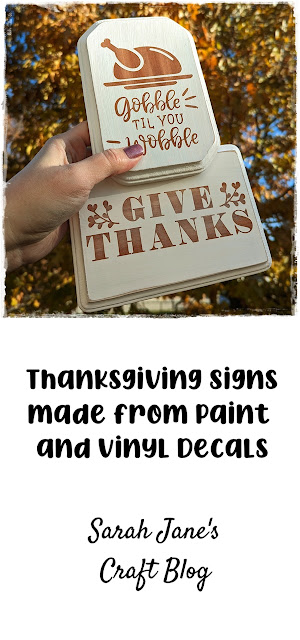
Last week I made a pumpkin spice sign out of a wooden pumpki n from Dollar Tree. The project was working so well, that I opted to turn a few more of the vinyl decals I cut from the week before that. I found some free designs and some freebies from the Sillhouette stores and made 3 pages of cuts all at once out of black vinyl I don't remember where this week's designs came from (that's what I get for cutting a bunch all at once). I used standard settings for glossy permanent vinyl on my old Silhouette and let the machine run. After cutting out all of my designs, I separated the designs from each other using scissors and set them aside for each project. I had a couple of wooden signs from a trip to JoAnne's ages ago that I hadn't made anything with, so after the Pumpkin Spice sign turned out so well, I decided to give them a similar treatment. I painted the signs with a layer of thinned-out brown craft paint and a tiny drip of maroon paint to make it warmer in c...

Dollar Tree Pumpkin Sign with Vinyl Decals and Paint

Image
Last week I cut a bunch of designs out on my Silhouette Cameo (v.2--it's an oldie, but still kicking). I made a couple of signs, but I'm back this week with more. This time, I used the vinyl decals as a resist to create a painted sign. I started by setting up a bunch of designs in the Silhouette studio. I think the Pumpkin Spice design came from a page that was doing a free trial.  Then, I cut all the designs out on black permanent vinyl . The removable variety might work for this project (since I'll be peeling it off after painting), but I've used the permanent vinyl before to make signs with paint like this , so I knew it would work and hand it on hand. After the design was cut out, I separated it from the rest of the sheet of vinyl with scissors and got started weeding. I carefully peeled away the excess vinyl to prepare the design. This was so much easier now that I picked up a new blade. Then I set aside the vinyl to prepare the pumpkin. I used some brown and bur...

3D Printed Bat Key Chains

Image
Over the last couple of weeks, I've been printing some adorable little Halloween keychains on our 3D printer . I made ghosts and pumpkins , so all that was left was the bats . I printed these bat keychains using the recommended settings (.2 resolution and 15% infil) with some black PLA . I did print one in orange, on accident (I was trying to print the pumpkin, but the file names were cut off and I couldn't tell which was which).  These little bats printed well and finished in about 25 minutes. Now I have to go hunting my craft stash for more keychains to connect to them. I kept the orange mistake bat in my photos of the collection since I knew the black prints would be hard to photograph. It's a bit easier to see the details on the orange. I bet they'd be cute in purple, too.

3D Printed Pumpkin Keychains

Image
It's been a dreary, cool, rainy, and busy week here. So after last week's cute ghost keychains , I swapped out my filament to orange and made the pumpkin keychains from the same designer. These little orange pumpkins brought a bit of brightness into my life on an otherwise dreary week (weatherwise). I set up the print as recommended (.2 resolution and 15% infil) using some orange PLA on our printer. The print took about 20 minutes and came out perfectly. These are really cute and quick. I think they'd make great pins with the hanging circle removed. I grabbed a few more keychains from my craft stash and clipped the pumpkins into place. I look forward to tossing these in with the candy for trick-or-treaters. There's a bat keychain, too. Do you think I should print that one next?  

3D Printed Ghost Keychain

Image
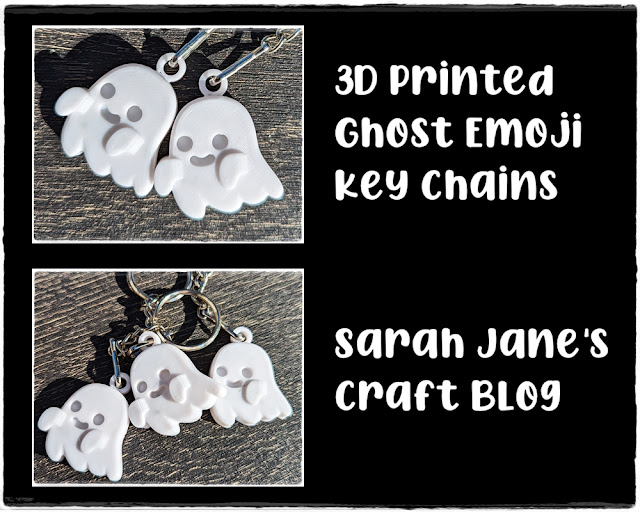
Well, I had white PLA loaded in the 3D printer, so I was on the lookout for another cute print project I could do without having to switch the filament, and I came across these cute ghost keychains . I set it up using the instructions listed (.2 resolution 15% infil) and printed it on our printer using white PLA . It printed in about 20 minutes and turned out pretty well! Since the first one turned out pretty well, I printed a couple more and raided my craft stash for some keychains. Unfortunately, I ended up with some dark areas in my white filament on all three of the ghosts. I don't know what's causing that (junk stuck in the nozzle? heat set too high? burning hairspray since I use that for bed adhesion?). So if anyone knows what's going on, let me know. I've really only noticed it happening with the white filament. So even though there were some dark spots, the key chains turned out pretty cute. I'll probably check out some of the designer's other keychains...

3D Printed Ghost Ornaments or Suncatchers

Image
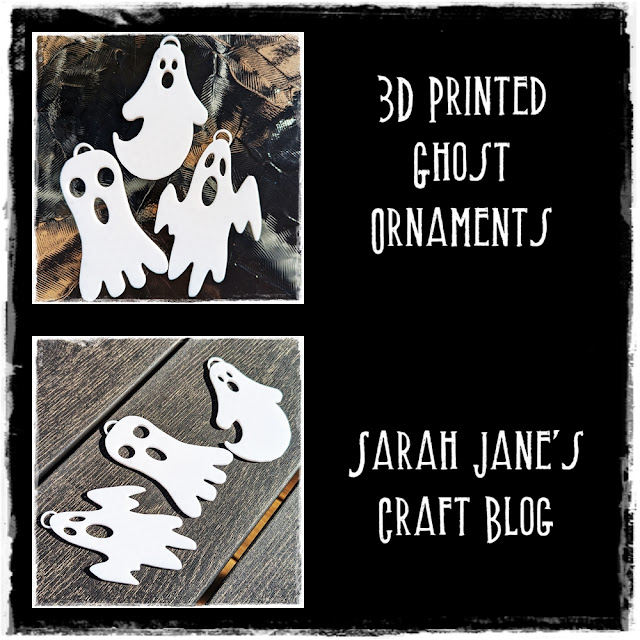
Made a quick 3D Printing project this week to share with you. These ghosts were a fast and easy print.  I set up our printer with some white PLA filament and set the pattern to standard default settings (.2 resolution and 20% infil). Since it was a flat print, I opted not to print a skirt or a brim and just sprayed the bed down with hairspray for bed adhesion. The print went fairly smoothly, though there were some dark spots early on in the print. They were mostly covered, but I'm guessing this would work better if your last print job was also with white filament. They took a couple of hours to print all three ornament/suncatcher ghosts and they came out pretty well. The sun's angle didn't make for a good photo in the window, but you can see (below) that the infil shows through when hanging it in the window (to avoid this, set it to 100% infil). These are only a few inches tall, so I might try printing one of them big to see how it goes. If I do, I'll share it with y...

Alcohol Ink Stained Wood Pumpkin

Image
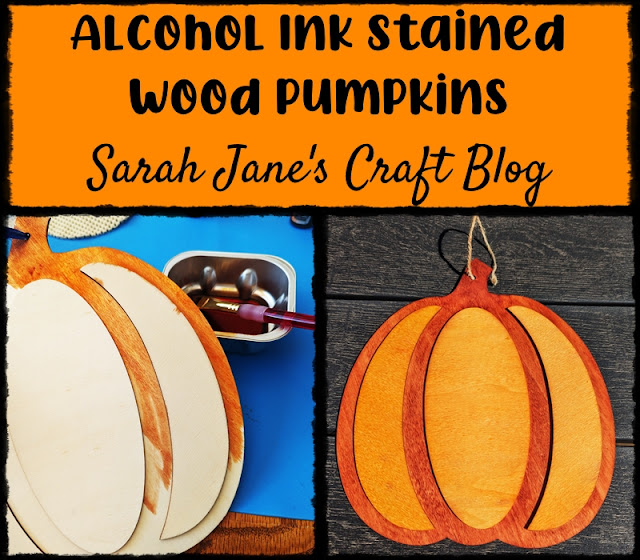
Earlier this year, I experimented with staining wood with alcohol ink . It was successful and hasn't faded after a couple of months, so when I saw this two-layer pumpkin on a recent trip to Dollar Tree, I knew I needed to try another staining strategy. The wooden pumpkin came with a raffia bow glued to the top, so I pulled it off and scraped the glue off and sanded the area until it was smooth. Then I put some blue painter's tape onto the twine string so that I wouldn't get ink on it. I laid down a silicone craft mat and rounded up all my orange alcohol inks . I started by dripping some of the darker shades of orange into a metal container and thinning it a bit with 91% rubbing alcohol . Then I used a paint brush to paint it on the bottom layer of the pumpkin. I painted about 3 layers of the darker orange on the bottom layer and attempted to mix in some brown to make the stem pop a bit. I let the darker layer of ink dry for about an hour and then I came back and made anoth...