Posts

Showing posts from May, 2022

3D Printed Quacks of Quedlinburg Crates

Image
I knew I wanted to print these crates for Quacks of Quedlinburg as soon as I saw them on Thingiverse . They looked like they'd be super functional for storing the pieces and making the game set up a bit faster. They were also cute, designed to look like little wooden crates. I sliced the print files from Thingiverse using standard settings (.2 resolution, 20% infil) with automatically generated supports. The crates have a slot for a lid and a lip for stacking on the base that both require supports. I printed the crates on our 3D printer using some matte brown filament . The crates took 4-5 hours to print. The prints came out a bit messy (most likely because of the supports) but generally printed well and were easy to clean up afterward. I printed 3 of these crates without dividers and 5 with two dividers/3 compartments. I chose to print them all with the slots to hold the cardboard books for the game. One of the 3 compartment crates is used to store the white starter tokens and

Metal Washer Craft Projects

Image
 Check out the blog's collection of metal washer projects here: Metal Washer Craft Projects

Mod Podge Craft Collection

Image
 This week's project ran into some technical difficulties and will be delayed. Until then, check out the collection of Mod Podge craft projects: Mod Podge Craft Collection

3D Printed Dice Trays

Image
A couple weeks ago, I printed one of these dice trays with our 3D printer . I thought it turned out great so I printed another. Then my hubby said he wanted one that was bigger, so I increased the width of the original print files and printed a 3rd! All I did was stretch the file in my slicing program before printing so the dice tray area was pretty much a square instead of a rectangle. Stretching the width kept the dimensions of the dice rack at the top/back of the tray the same while making the dice area bigger. Then I printed it with some Black PLA as directed by the original post (.2 resolution, 15% infil). After the trays printed, I cut some felt to fit inside the tray and used a layer of tacky glue to stick it to the tray.  The post on Thingiverse also gave dimensions for back and side bumpers, I adjusted those for my new width and glued those onto the sides. I used a craft/popsicle stick to spread the glue and wiped off the excess with a wet paper towel.  These turned out awe

Sarah Jane's Craft Blog Alcohol Ink Craft Collection

Image
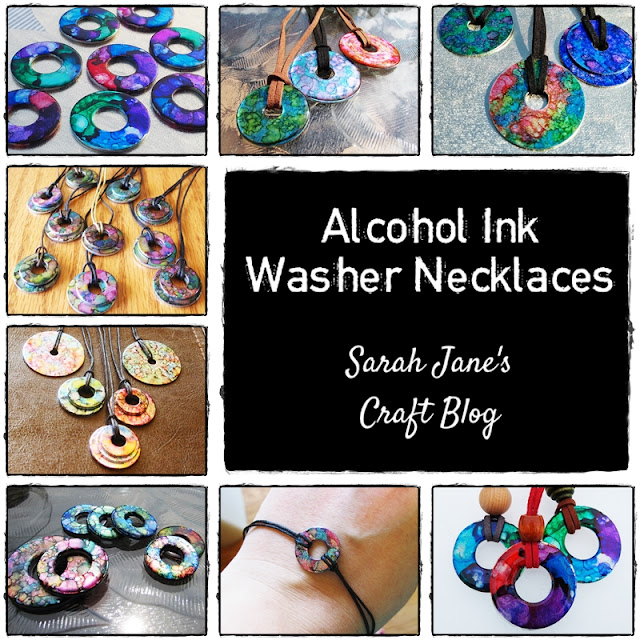
Check out all of the blog's alcohol ink projects here: Alcohol Ink Craft Collection