Eraser Stamps

Ever since I got my Speedball Carving Kit, I knew I wanted to make eraser stamps. Truth be told, you could probably make these stamps with a craft knife too, but since I have the carving tool, I used it. I picked up a 3 pack of these nice flat white erasers at the Dollar Store.

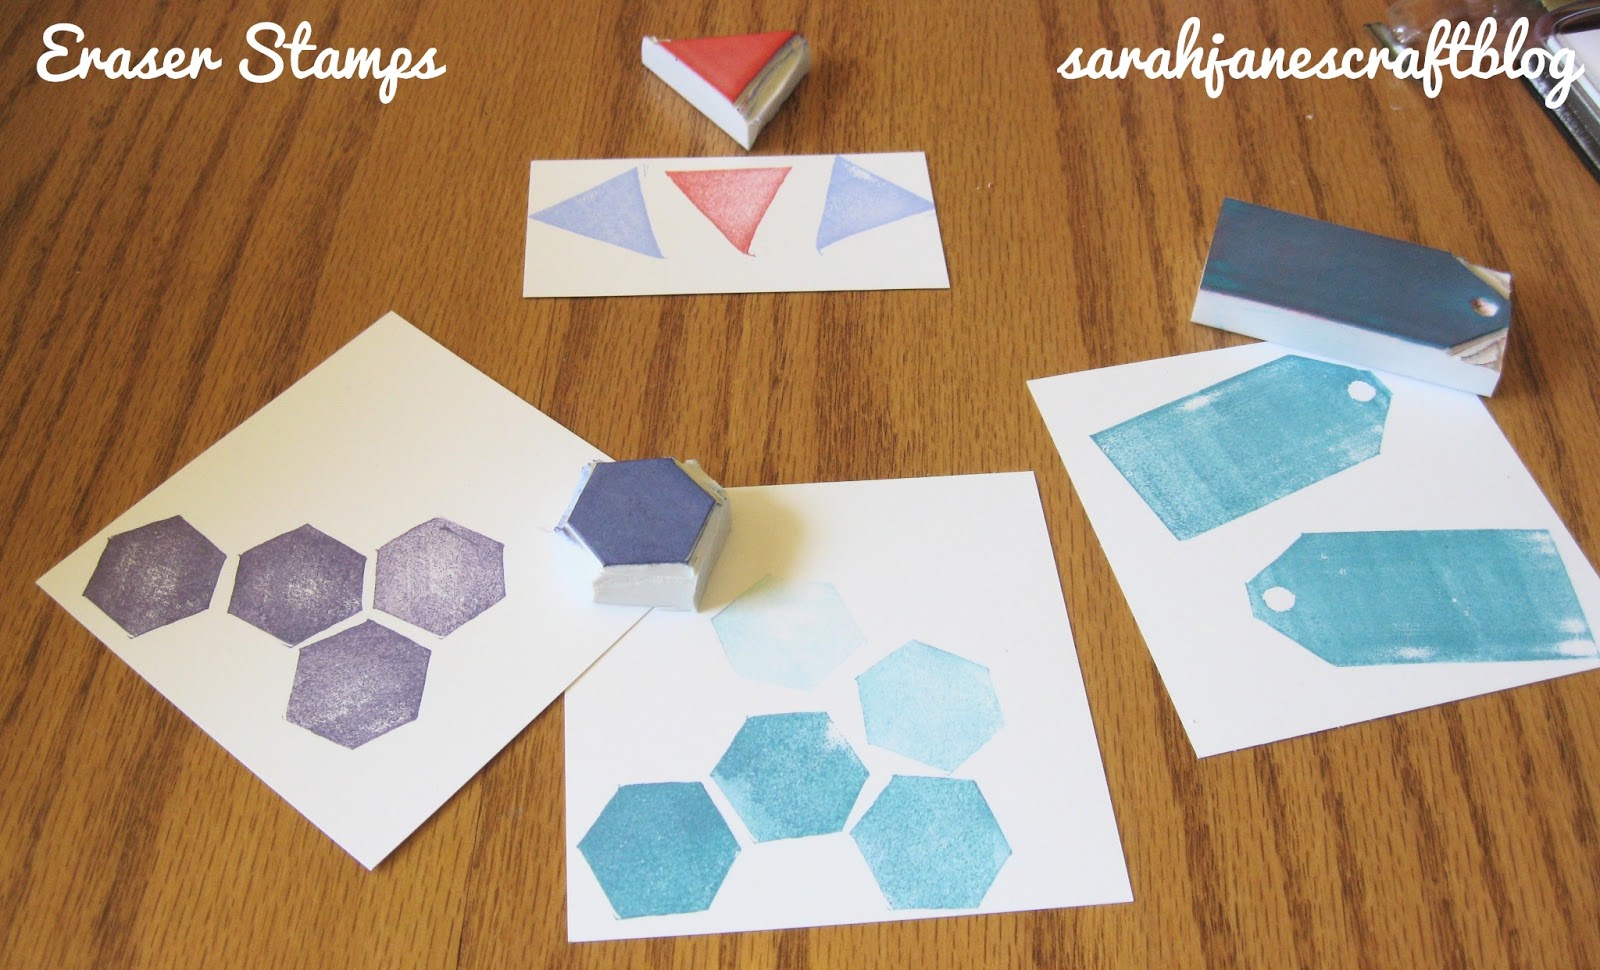
I drew designs straight on the stamps with a ballpoint pen. I did print out some tag examples and shape patterns off of the internet so that I got the angles right. I traced right around the hexagon one. When you're carving, it's a good idea to do it on top of some paper (I have parchment above, but newspaper or a paper plate would work too) to catch all your little eraser bits. Go around the lines with your smallest carving tool, and then carve away the rest with a larger bit.

When I made the triangle and hexagon stamps, I wanted to make them out of one stamp--so I used a regular scissors to cut the rough shapes out (I didn't know if it would work, but low and behold, it cut the eraser--crookedly, but it did the job). A craft knife may work better--I just didn't want to go dig mine out.
Once you've smoothed out the edges, you can give the stamps a whirl. I noticed a couple places to clean up when I made my first stamps. I just went back over it with the carver in a couple places and then smoothed out some barely ragged spots by rubbing it with my finger (it is an eraser after all).
I used the stamps right away to make some cards. I created a pennant garland on one, a happy birthday card with the tag and some corresponding colored diamond patterned paper, and paired up the hexagons with a card that had a hexagon pattern already embossed on it (from the dollar bins at Michaels--I love those dollar bins at Michaels). Much like the fun foam stamps, these are a bit imperfect, so plan accordingly. These eraser stamps, though, are much more durable than the fun foam and cardboard stamps and can be reused indefinitely.


Comments
Post a Comment