Posts

Tissue Paper Covered Disinfectant Wipes Trash Bag Holders

Image
This fall I covered some of these empty wipes containers to put grocery shopping bags in, but recently I thought it would be a good idea to just fill them with rolls of trash bags: great to throw in the trunk of the car--or even better--to take camping.  I wanted a more flexible and durable cover for the trash bags than scrapbook paper, so I reverted to a method I used before to cover some plastic French's fried onion containers . That project used a couple of layers of tissues paper on plastic.  The Mod Podge really loves tissue paper.  It soaks right through the paper and creates a good solid bond and good seal over all of it.  It's also remains very flexible and won't crease or wrinkle (well the finish is a bit wrinkled intentionally) if the container is squeezed or dented. All you need is some colorful tissue paper, empty disinfectant wipes container (with the label removed), Mod Podge, a foam brush for the glue, and something to cut your tissue pape...

As Seen on Pinterest: Oil and Vinegar Wood Treatment

Image
A while back I saw a post on pinterest claiming that you could use canola oil or olive oil with vinegar to remove (or at least reduce the appearance of) scratches on wood.  I figured I had to try this out.  Sounds super easy and uses ingredients I have on hand.  I had some misgivings about the idea of using food-grade oil on wood.  I was worried that it might develop a smell.  So instead of trying this with food oil, I pulled out a container of furniture oil (seemed like a logical choice).  I had some Old English Lemon Oil on hand.  I grabbed a disposable plastic container and put in about 1/4 cup of the lemon oil (I eyeballed it) then I added 3/4 cup of vinegar (which I measured). I swirled it around in the container to mix it and grabbed some paper towels.  I then proceeded to find the most scratched up piece of wood in our house: the window sill of our picture window in the living room.  It's at doggy height and our pup is constant...

Alcohol Ink Glass Gems

Image
Always looking for a new way to use alcohol inks, I decided to try them out on glass gems.  You know, the kind you buy at craft stores to fill up jars and vases (or as point markers in board games).  I have amassed quite a collection of glass gems for crafting and game playing.  I pick them up when they go on sale at Michael's or when Dollar Tree starts selling new varieties.  I think the large clear gems I have below are from Dollar Tree, though I'm not sure. They are sold most places that sell craft supplies. I picked out some gems that were relatively flaw free and set up my work space with my craft mat . Using  my DIY applicator , I dripped ink onto both ends with two different mixes of colors .  I found that this method worked well and allowed me to try different combinations and layers on each gem without having to reload my applicator multiple times.  The bolder colors seemed to show up the best through the gem, and smaller pattern...

Paper Strip Heart Decorations

Image
I wanted to make a simple decoration to hang on my light fixture above our kitchen table for Valentine's day. I had seen these paper strip hearts floating around the internet and figured they'd be pretty easy.  They were pretty easy once you got the measurements and the directions to stack up your paper strips all down. So here's what I did.  I cut strips 1/2 an inch thick.  I think if I did it again I'd go with wider strips--3/4 of an inch or maybe even an inch wide. I tried out a few different sizes, but cutting strips in 5, 6, and 7 inch increments seemed to work out pretty well and gives you a nice sized heart.  You could do 4, 5, and 6 or 6, 7, and 8 inch hearts for slightly larger or smaller decoration without out any changes to the instructions. Cut two strips of paper for each heart in matching scrapbook paper.  Then choose paper that coordinates but is different for each of the smaller sets.  So you'll end up with 2 strips at 7 inch...

Pony Bead Sun Catchers: Valentine's Edition

Image
This fall I made some sun catchers out of melted pony beads using a muffin tin.  Then, I made some Christmas ornaments by melting the beads in cookie cutters.  I made a couple of heart shaped ornaments that look fantastic as Valentine's Day Sun Catchers. Check out the linked posts for full instructions! Here's a photo of one of the hearts right after I pulled it, cooled, out of the cookie cutter.  It just needed a little love from the dremel (to knock down some edges and drill a hole) before it was hung up.  Whether on the tree or in the window, these look fantastic!

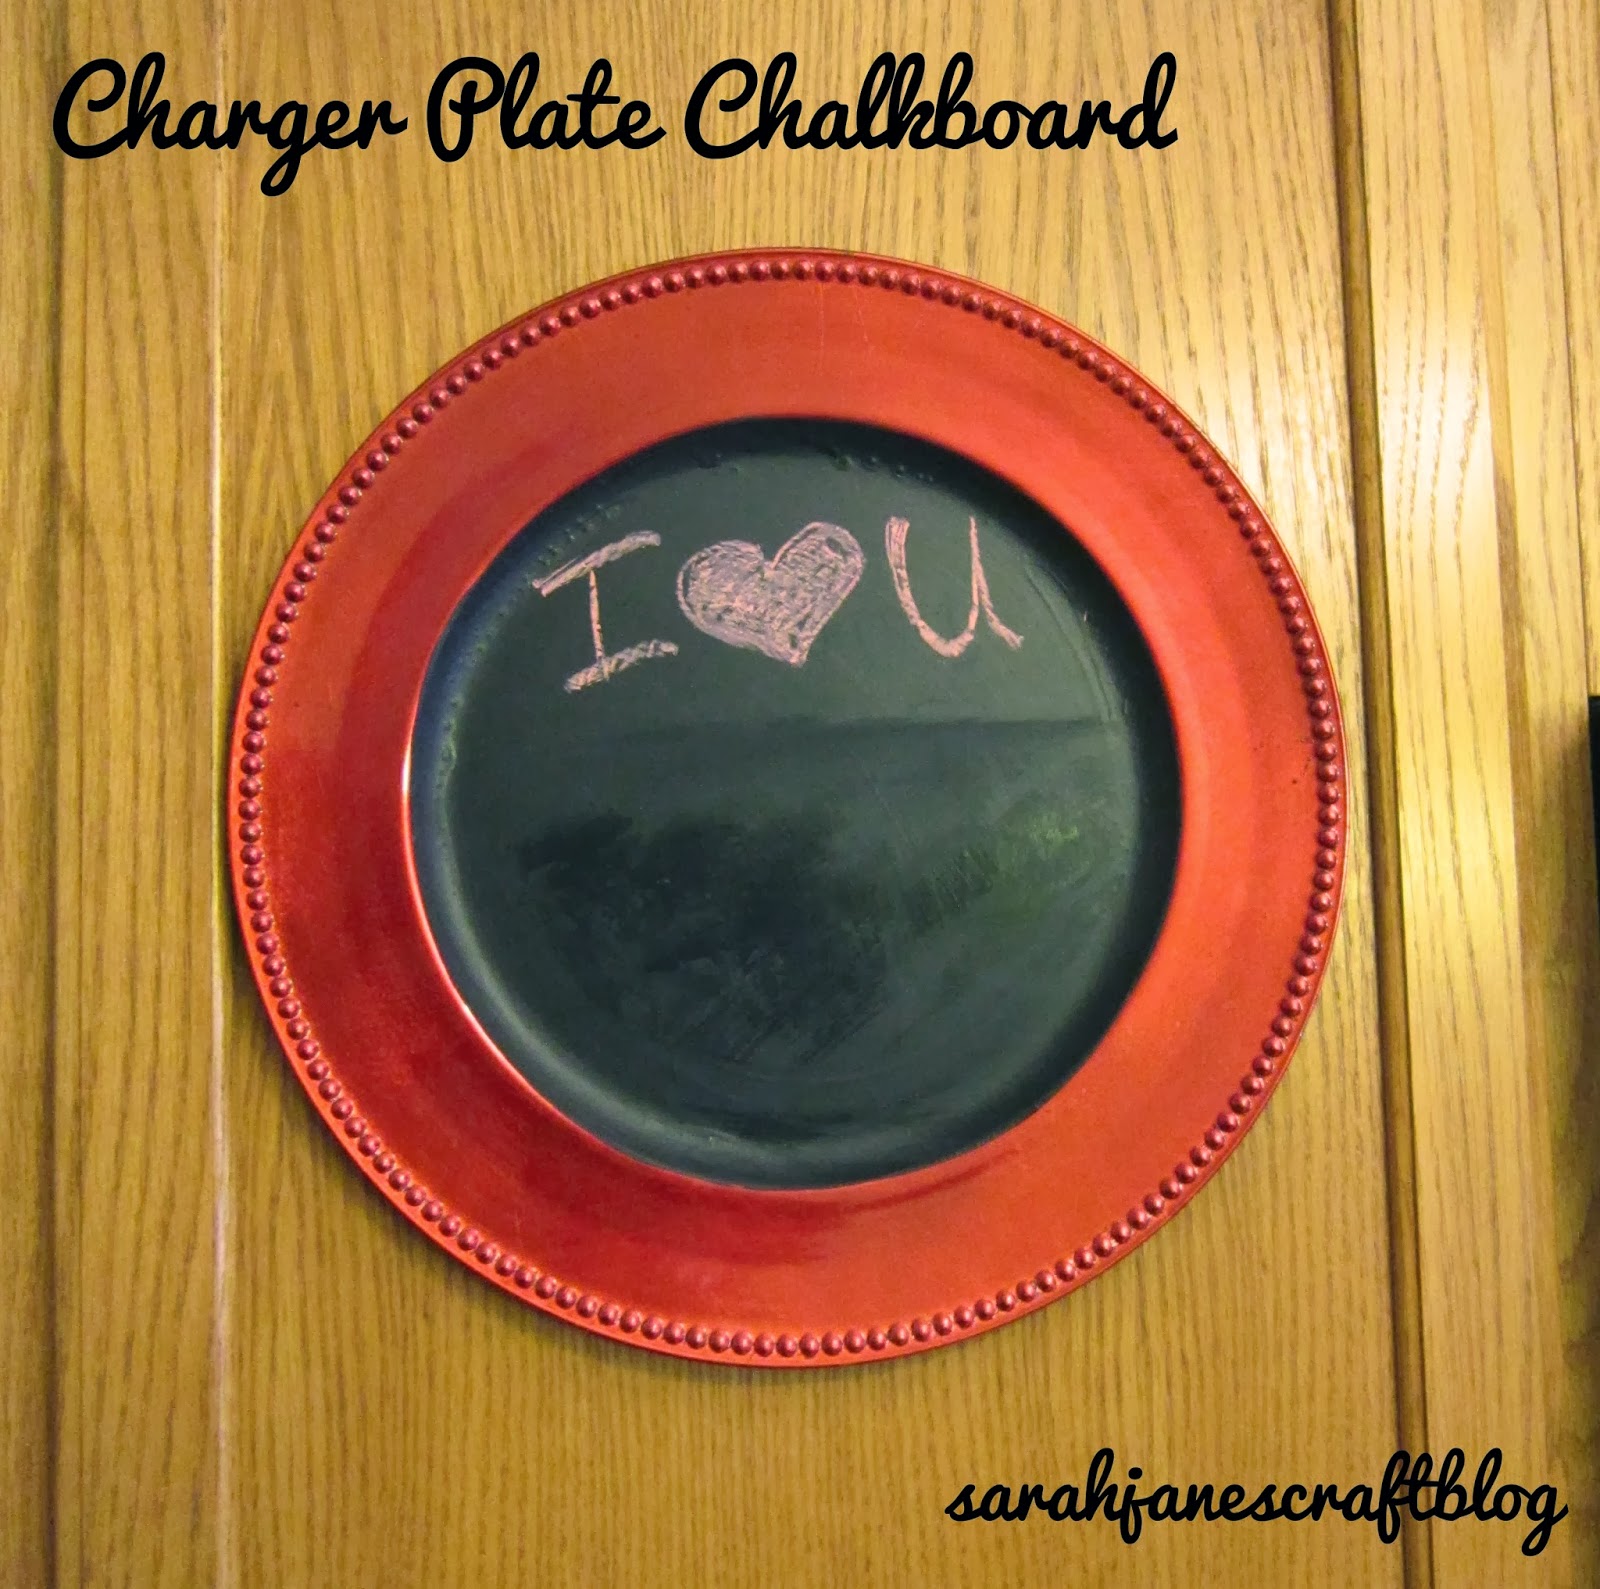
Charger Plate Chalkboard

Image
I stumbled upon some red charger plates leftover from Christmas marked at 75% off.  So I thought that making a chalkboard out of one would be a great project.  Total cost for project: 50 cents. The people who owned our house before us painted the garage door with chalkboard paint and left the quart behind (along with a bunch of other old paint cans).  The paint is over 4 years old, so I figured it was time to use it up, or at least use it for something. I started out by roughing the surface of the plate up a bit with some fine grit sandpaper.  It has a shiny finish, and I wanted to make sure the paint would stick.  You could, of course, use a primer, but I was impatient and the only primer I had lying around was oil based. After I sanded a bit, I wiped the plate off with a wet paper towel. Next I painted a thin coat of the chalkboard paint.  Be sure to stir it well, especially if it's been sitting in your garage for 4+ years.  ...

Alcohol Ink Decorated Charms

Image
I've been having so much fun playing with alcohol ink lately. I keep on  looking for new things I can ink up. I figured these plastic charms from Tim Holtz that I picked up with a coupon a while back would do the trick nicely. I picked out a few that I figured could be made into necklaces or key chains or tags and a couple smaller ones that I could stack. Then I inked up my homemade applicator with small dots of ink and started stamping them onto one of the larger charms.  And this is what it looked like after a few passes with the applicator.  It was so quick and easy that I whipped up the rest in no time.  I changed my felt out and tried some different color combinations and ended up with what you see below.  At first I didn't like the gold and blue one (the lightest one), so I stuck with the dark colors, but after it dried and I took a look at it, I think I kind of like it.  I'll have to try some different shades out for my ne...