Posts

Showing posts from July, 2018

Photo Coasters

Image
Last week, I made a quote tile by printing onto tissue paper and decoupaging it onto a ceramic tile. Well, it's my anniversary week and I made a few extra sheets of card stock covered with the tissue paper....so I decided to make some photo coasters using old wedding photos. I cropped my photos to 4 1/4 inches square--the size of my ceramic tiles from Home Depot. and printed them out onto a piece of tissue paper that had been taped over a piece of card stock. Then I set the photos aside to dry. I cut my photos out while still on the card stock and grabbed my  mod podge  and a foam brush. I painted on a thin layer of mod podge and carefully set the tissue paper photos onto the glue. I squared up the bottom edge and then just tapped it into place from the bottom up. Be sure your fingers stay dry because the tissue paper is very fragile and tears easily when it is wet with glue. Then I set the tiles aside to dry for about an hour. After the glue has se

Decoupage Quote Tile

Image
A while back I made a decorative tile by printing out a design onto tissue paper and decoupaging it with mod podge onto a ceramic tile. It was mostly a success , so I've been eager to try it again. I've printed onto tissue paper for decoupaging a few times in the past . It's pretty simple if you have a top-loading inkjet printer. Just tape a piece of tissue paper onto a piece of card stock. Cut the tissue paper a bit bigger than the card stock on all sides. Fold the edges over and start by taping them in the middle of each side (as above), then keep taping until the edges are secure enough that they won't get caught in the printer. Then just set the card stock in your paper feed with the tissue side facing whichever side prints (on mine it's face up) and print your document. It seems to work a bit better when the paper feed tray is empty so that the card stock has room to bend and flex. Sometimes the printer will have ink on its rollers or on its

Flamed Alcohol Ink Candle Holders

Image
One of my favorite new ways to apply alcohol ink these days is to light it on fire. You read that right--I light it on fire (if you immediately thought of Beavis and Butthead --then you too might have been a teenager in the 90s). I've done a few projects using this method , so I've worked out most of the kinks, and I'm starting to feel fairly comfortable with the process. Because of this confidence, I decided I could totally flame alcohol ink on rounded surfaces like candle holders--why not? It actually turned out pretty well, but there were a couple minor hiccups. I chose some small votive candle holders that I picked up for 79 cents a piece at Walmart to give it the curved surfaces thing a go. I set up a cookie sheet with foil on it (mostly to keep ink off of the pan) and then rolled some foil up to make a little cradle for the candle holder to keep it from rolling. I also put a cork trivet under my pan so I could work on the kitchen table. I have also set

Beginner's Guide to Alcohol Ink Stamping: Multiple Colors and Media

Image
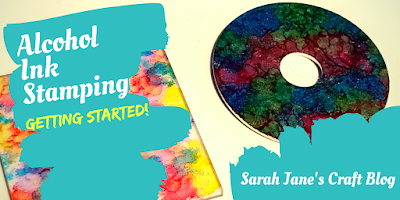
This is part two in my Beginner's Guide to stamping with alcohol inks. If you missed part one, check it out here: Beginner's Guide to Alcohol Ink Stamping: Basics on Ceramic Tile . In part two we'll take a look at some other surfaces you can stamp alcohol ink on and learn a bit about stamping with multiple colors. If you're not sure what these alcohol ink things even are, check out this post: Getting Started with Alcohol Inks . To get started stamping, you'll need: Alcohol inks An applicator and felt  (homemade is fine--last week's post discusses these in more detail) Parchment paper or a craft mat to keep your work surface clean Rubbing alcohol for clean up Stuff to stamp (we'll go through several options, but any glossy flat surface will work to stamp) My first group of examples to stamp is plastics. In the past, I've stamped milk jug plastic , dominoes , buttons , switch plates , plastic Easter eggs , transparency film , sh

Stars and Stripes Crafts Collection

Image
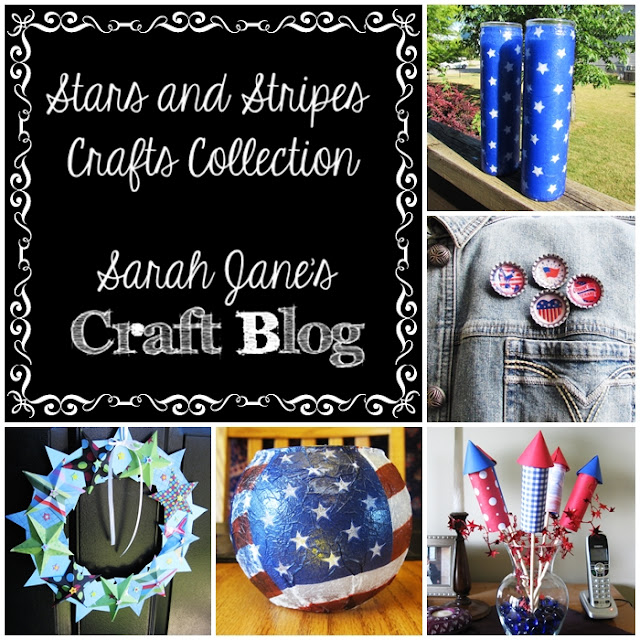
Happy 4th of July! Check out my collection of patriotic crafts here: Stars and Stripes Collection

Beginner's Guide to Alcohol Ink Stamping: The Basics on Ceramic Tiles

Image
Shortly after I started this blog (5 or 6 years ago now), I got my first set of alcohol inks. Ever since then, I've been inking up all sorts of things . A couple of years ago I even made a Getting Started with Alcohol Inks guide, but I still found that folks had lots of questions about the actual application of the ink. So I'm starting a beginner's series to hopefully answer your questions. I'm starting with ceramic tiles because I think they are the most beginner friendly. 4 x 4 ceramic tiles are cheap (like 15 cents a piece) and the glossy surface takes the ink really well. They also have the added benefit of being pretty easy to clean off with rubbing alcohol if you feel like your project looks terrible and you want to start over. To start, you'll need: an applicator and felt (explained below) parchment paper (not wax paper--the ink bleeds through) or a craft mat  to protect your work surface alcohol inks ceramic tiles rubbing alcohol for cl